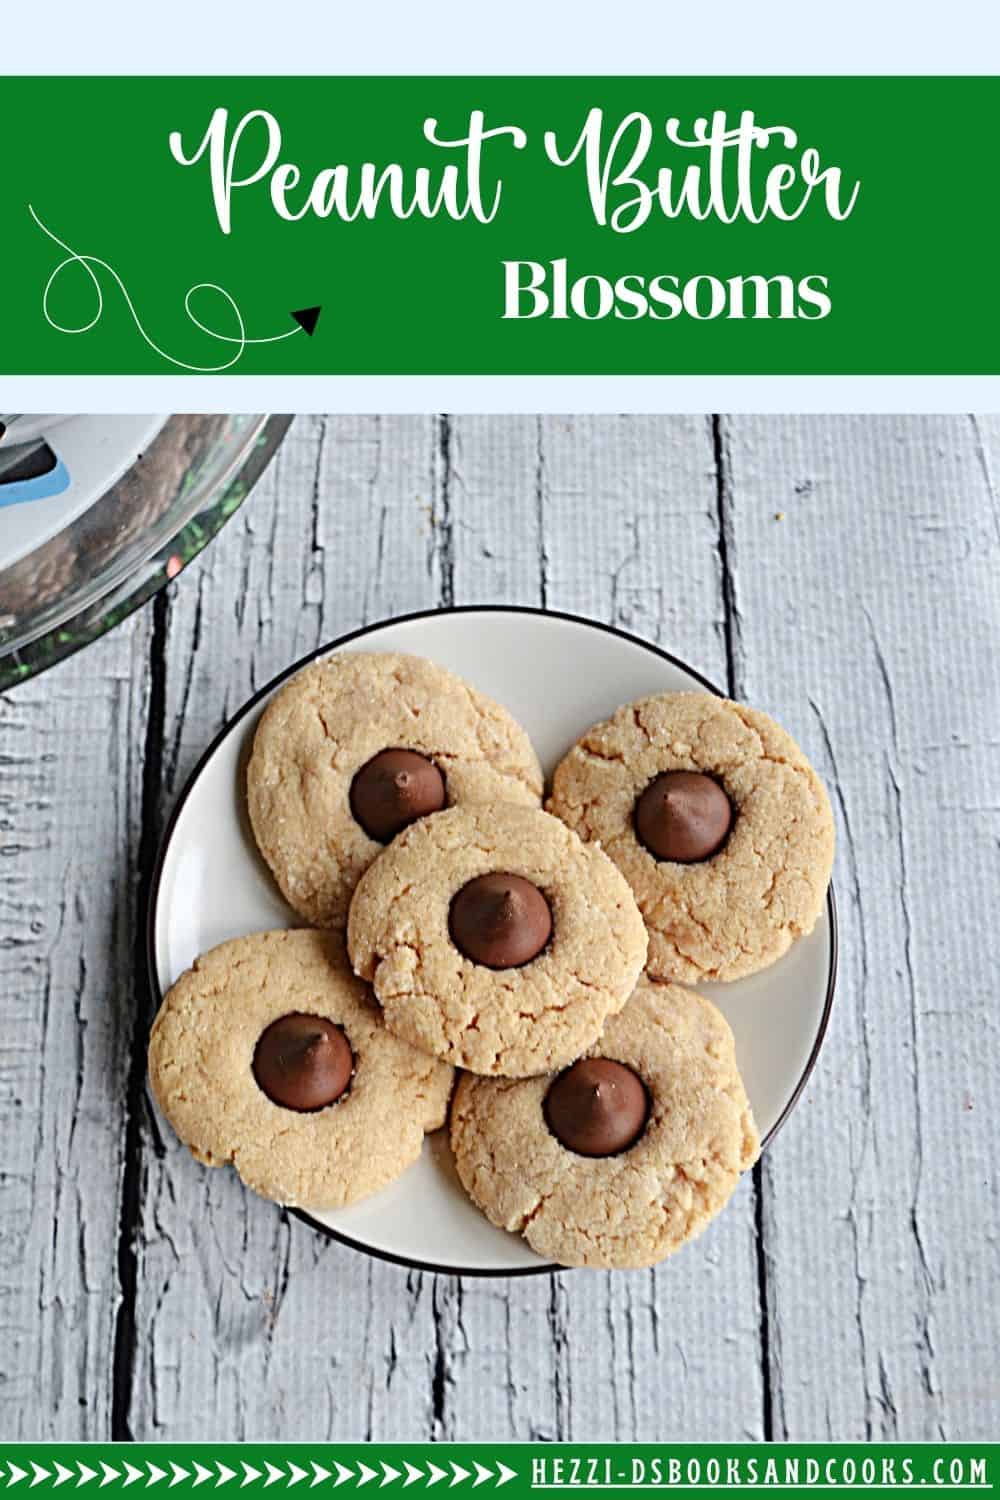
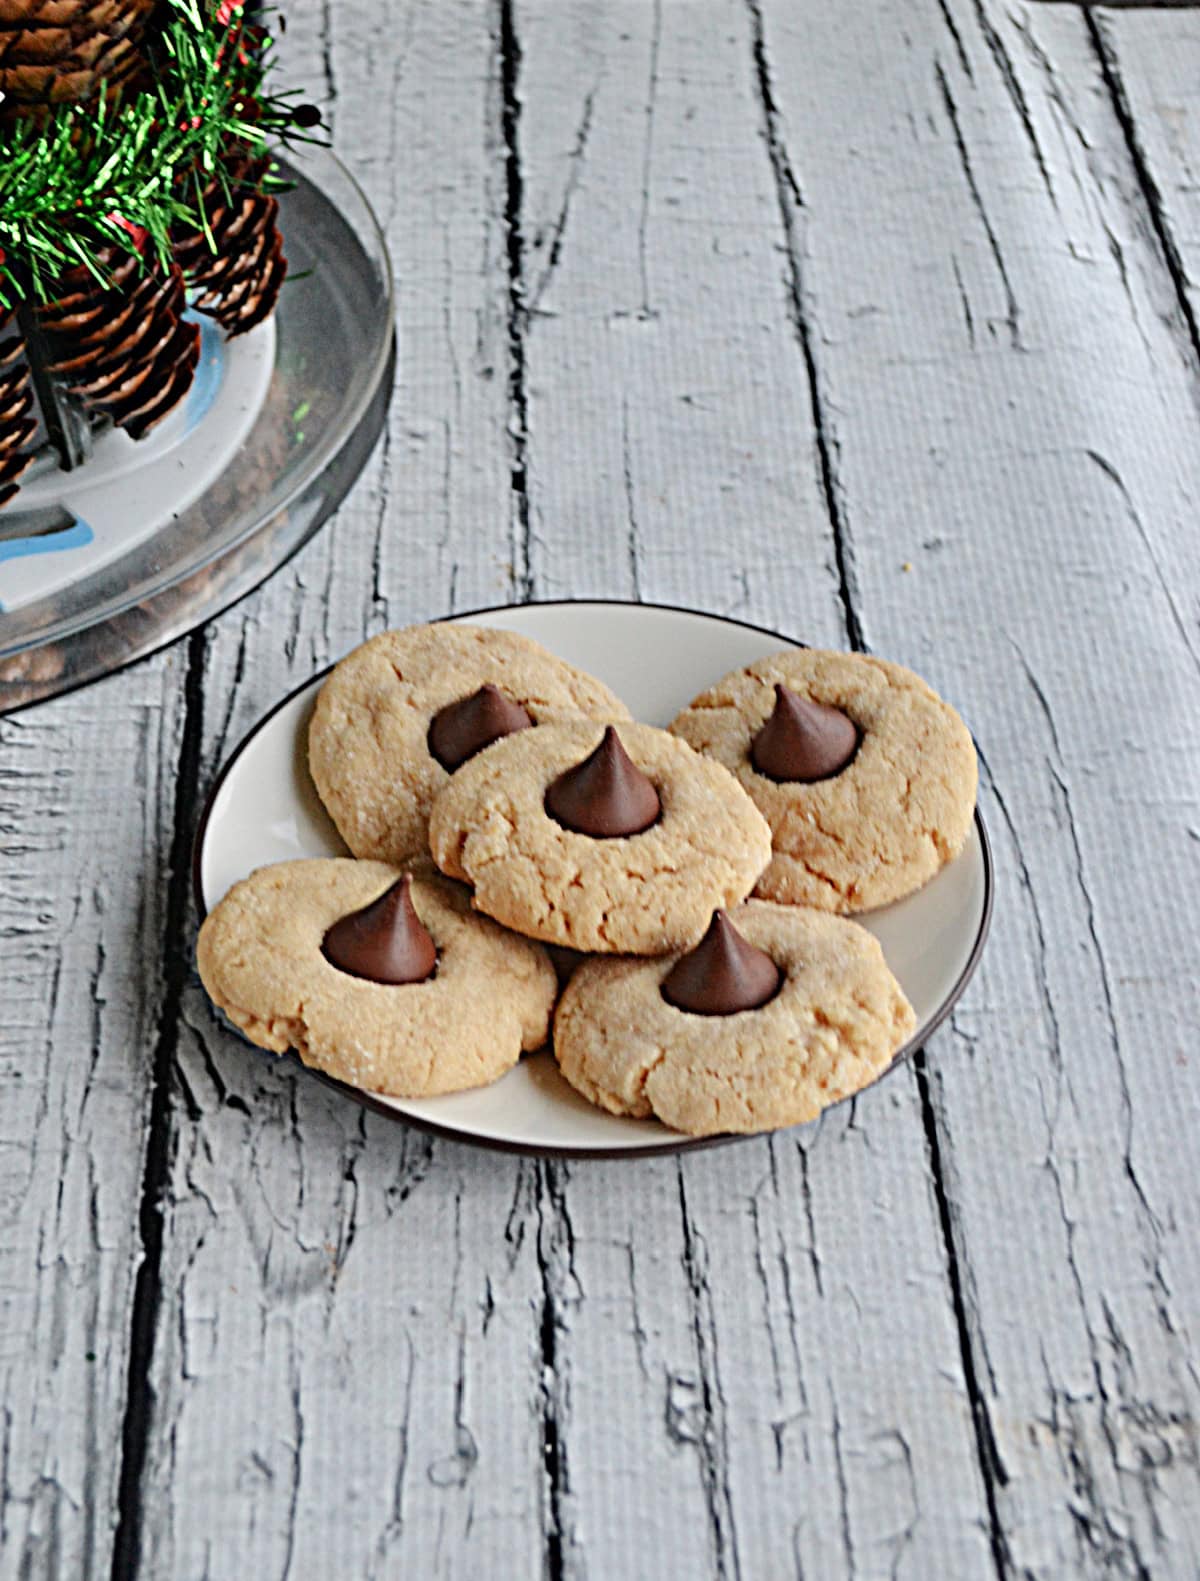
Peanut Butter Blossoms

As an Amazon Associate, I earn from qualifying purchases. Read the full disclosure here.
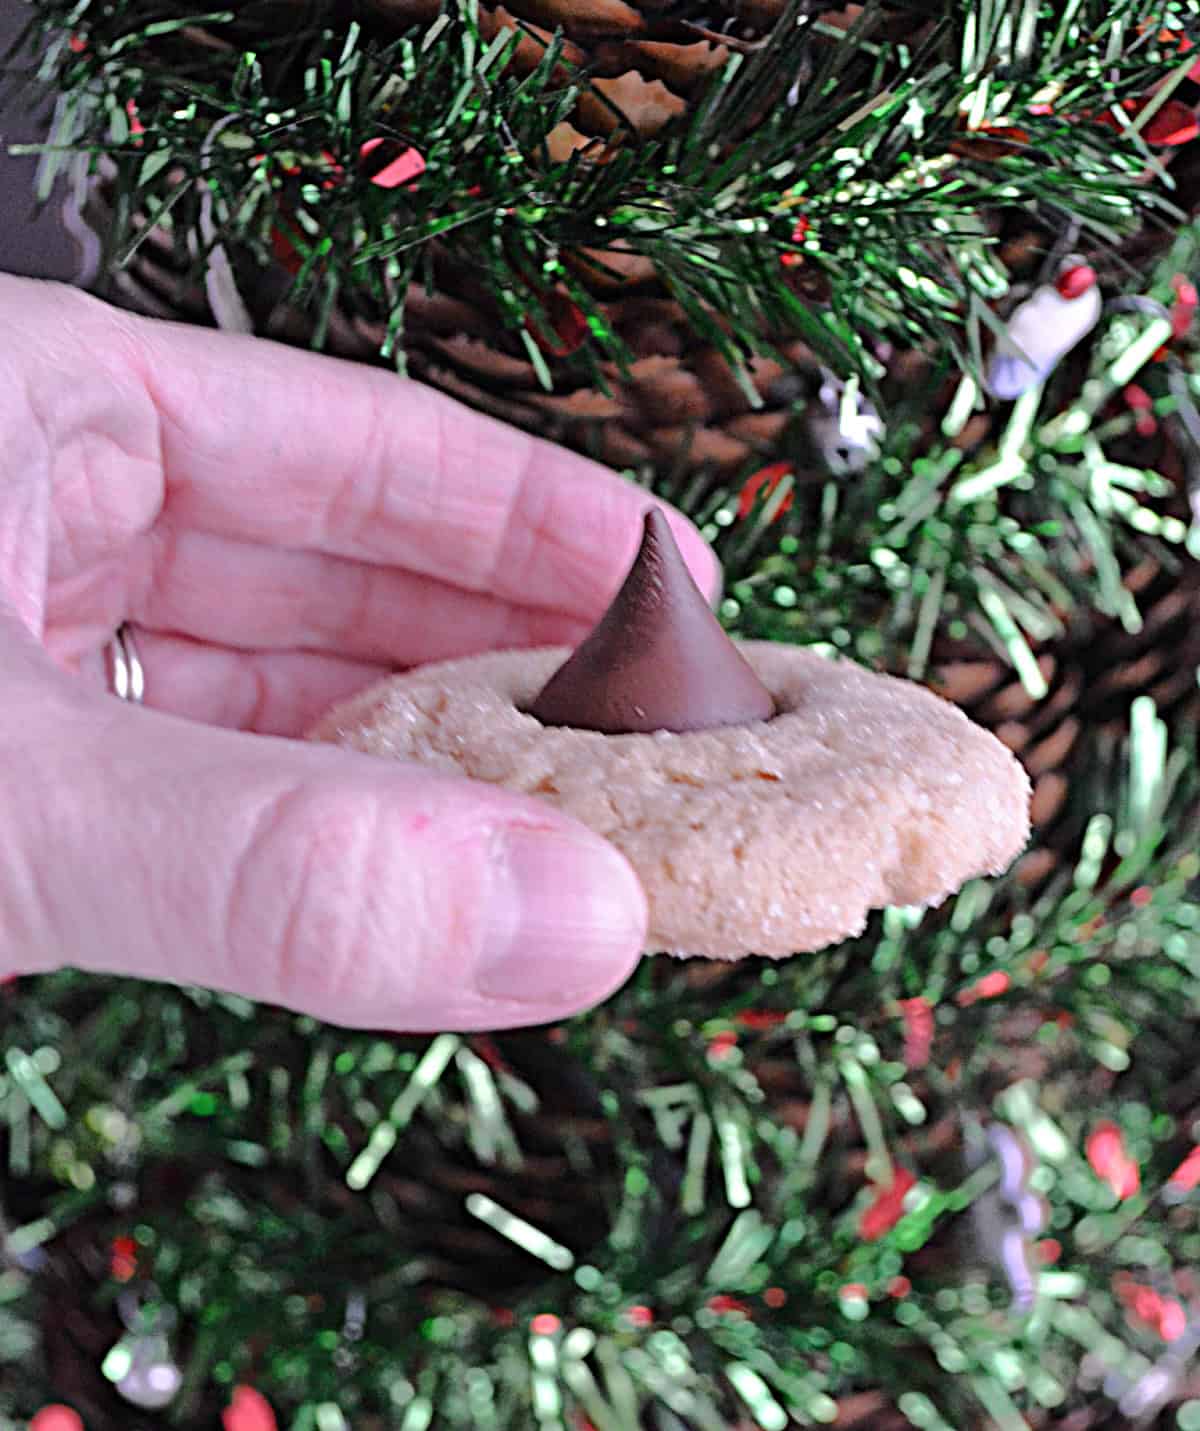
Crisp on the edges, chewy in the middle, these Peanut Butter Blossoms topped with Hershey Kisses are a classic cookie!

This recipe originally published in December 2010.
Nothing says Christmas like homemade cookies and sweets. Every year I make a plan of which cookies I’m going to make, which cookies freeze well, and when to make the cookies.
Having a plan in place allows us to have a wide variety of cookies in the weeks leading up to Christmas. It’s also nice to give cookies away as holiday gifts!
One of my favorite holiday cookies are Pittsburgh Thumbprint Cookies. I also really enjoy Eggnog Crackle Cookies. In the spirit of the holidays, Gingerbread Bars with Eggnog Frosting are a tasty treat as well. The one cookie I make every year are Cranberry Bliss Bars.
My husband loves peanut butter but since I don’t I rarely make desserts with peanut butter in them. However, I usually make one or two peanut butter cookies at the holidays. One of his favorites are Peanut Butter Blossoms.
What are Peanut Butter Blossoms?
Peanut Butter Blossoms are a popular type of cookie, often made at the holidays. They are soft, chewy peanut butter cookies topped with a Hershey’s Kiss chocolate candy.
I find that people are often intimidated by Peanut Butter Blossoms and I’m not sure why. They are a fairly easy cookie to make and there’s no need to refrigerate the dough before baking which is one of the reasons I like to make them.

What type of peanut butter should I use?
Make sure you use creamy peanut butter for the peanut butter cookies. Do not use natural peanut butter as the oil tends to separate in this type of peanut butter and it can make the cookies spread out.
Once the dough is made it’s rolled into 1 inch balls and then rolled in sugar before baking. In order to make the cookies all the same size I like to use a 1 inch cookie scoop to scoop the dough then I roll them into balls.
If you like bigger cookies feel free to use a 1 1/2 inch cookie scoop instead. They will still be a manageable size. I would not go any bigger than that though.
Ingredients:
- salted butter (you can also use unsalted if you prefer)
- light brown sugar (or dark brown sugar if you prefer)
- granulated sugar
- creamy peanut butter (do NOT use natural peanut butter or chunky peanut butter)
- eggs (large or extra large size)
- all purpose flour
- baking soda
- baking powder
- salt
- Hershey’s Kisses (or Hershey’s Hugs or any other flavor chocolate kiss)
To make these cookies preheat the oven to 350 degrees. In a large bowl cream together the butter, brown sugar, granulated sugar, and peanut butter. Mix well. Add in the egg and mix well.
In a medium bowl combine the flour, baking soda, baking powder, and salt. Mix and then add to the wet ingredients. Mix until a dough forms.
Scoop 1 inch balls of dough, roll into sugar, and then place on a cookie sheet 2 inches apart. Flatten each cookie slightly. Cook for 10-12 minutes. Remove from oven and immediately put a Hershey’s Kiss in the middle of each cookie.
These cookies come out perfect every time I’ve made them. One key to making them keep their shape is to use room temperature butter and not melted butter.
While I don’t eat these cookies my husband assured me that they are delicious. He says they have big peanut butter flavor which goes perfectly with the chocolate kiss on top.
how do you store these cookies?
Allow the cookies to cool on a baking rack for at least 4 hours so that the Hershey’s Kisses are completely hardened. Then you can keep the cookies in an air tight container for up to 1 week. While they aren’t the easiest cookie to stack you can place a sheet of parchment or waxed paper and stack them 2 cookies high.
These cookies are always one of the most popular on my cookie trays. I tend to wrap them separately when putting them on a tray because otherwise everything ends up tasting like peanut butter.
If you’ve tried my Peanut Butter Blossoms or any other recipe on Hezzi-D’s Recipe Box please take a minute to rate the recipe and leave a comment letting me know how you liked it. I love hearing from you! You can FOLLOW ME on:
Peanut Butter Blossoms
Equipment
Ingredients
- 1 c. granulated sugar divided
- ¾ c. packed brown sugar
- 1 c. salted butter softened
- 1 c. creamy peanut butter
- 2 eggs
- 3 c. all purpose flour
- 1 teaspoon baking soda
- 1 teaspoon baking powder
- ½ teaspoon salt
- About 50 Hershey’s Kisses
Instructions
- Preheat the oven to 350 degrees.
- In a large bowl cream the butter and peanut butter.
- Add in 3/4 cup granulated sugar and all of the brown sugar and mix well.
- Add the eggs and mix well.
- In a medium bowl mix the flour, baking soda, baking powder, and salt. Slowly add the flour mixture to the peanut butter mixture, stirring until a dough has formed.
- Pour the remaining sugar into a shallow dish. Use a cookie scoop and scoop 1 inch dough balls.
- Roll the dough in the sugar and place on an ungreased cookie sheet 2 inches apart. Flatten slightly.
- Bake for 10-12 minutes or until the edges and bottom begins to brown.
- Take the cookies out of the oven and immediately push a Hershey’s kiss into the center of the cookie.
- Remove cookies and set on a wire rack to cool.
Notes
- Raspberry Cream Cheese Crescent Cookies by Blogghetti
- Almond Cherry Snowballs by A Day in the Life on the Farm
- Pizzicati- Italian Pinch Cookies by Jolene’s Recipe Journal
- Reindeer Cocoa Iced Molasses Spice Cookies by Faith, Hope, Love, & Luck Survive Despite a Whiskered Accomplice
- Tutti Fruity Cookies by Magical Ingredients
- Lemon Ginger White Chocolate Chip Cookies by A Kitchen Hoor’s Adventures
- Norwegian Krumkake by Art of Natural Living
- Bûche de Noël Cookies by Karen’s Kitchen Stories
- Peanut Butter Blossoms by Hezzi-D’s Recipe Box
Such a classic and always requested here.
These are so tempting–there’s nothing like PB and chocolate!
Delicious cookie, a classic, that is my all time favorite!
I don’t think any Christmas collection of cookies is complete without peanut butter blossoms! Yours are so pretty!
It’s not Christmas unless there are peanut butter blossoms on the platter!!
There’s a reason why these are such a classic! They are one of the best cookies…and definitely a family favorite!
Can you believe I’ve never made or eaten one of these? I’ve got a stockpile of peanut butter (and luckily my kid outgrew his allergy) so I need to get them on the to-make list STAT. Thank you for joining me this week!
These are such a classic cookie and I feel like people are always asking for them.
Looks really good. I will have to give it a try. I found you on “cooking Thursday”
Thanks for your post!
Kathiey:-)
I never knew what these were called! My grannie used to make these every year for Christmas. I’m going to have to carry on the tradition now that I have the recipe 🙂 Thank you!
Hi,
I love you Peanut Butter Blossoms, they are so much fun to make. Thank you for sharing and you have a great day.