Sheet Pan Chicken Fajitas

As an Amazon Associate, I earn from qualifying purchases. Read the full disclosure here.
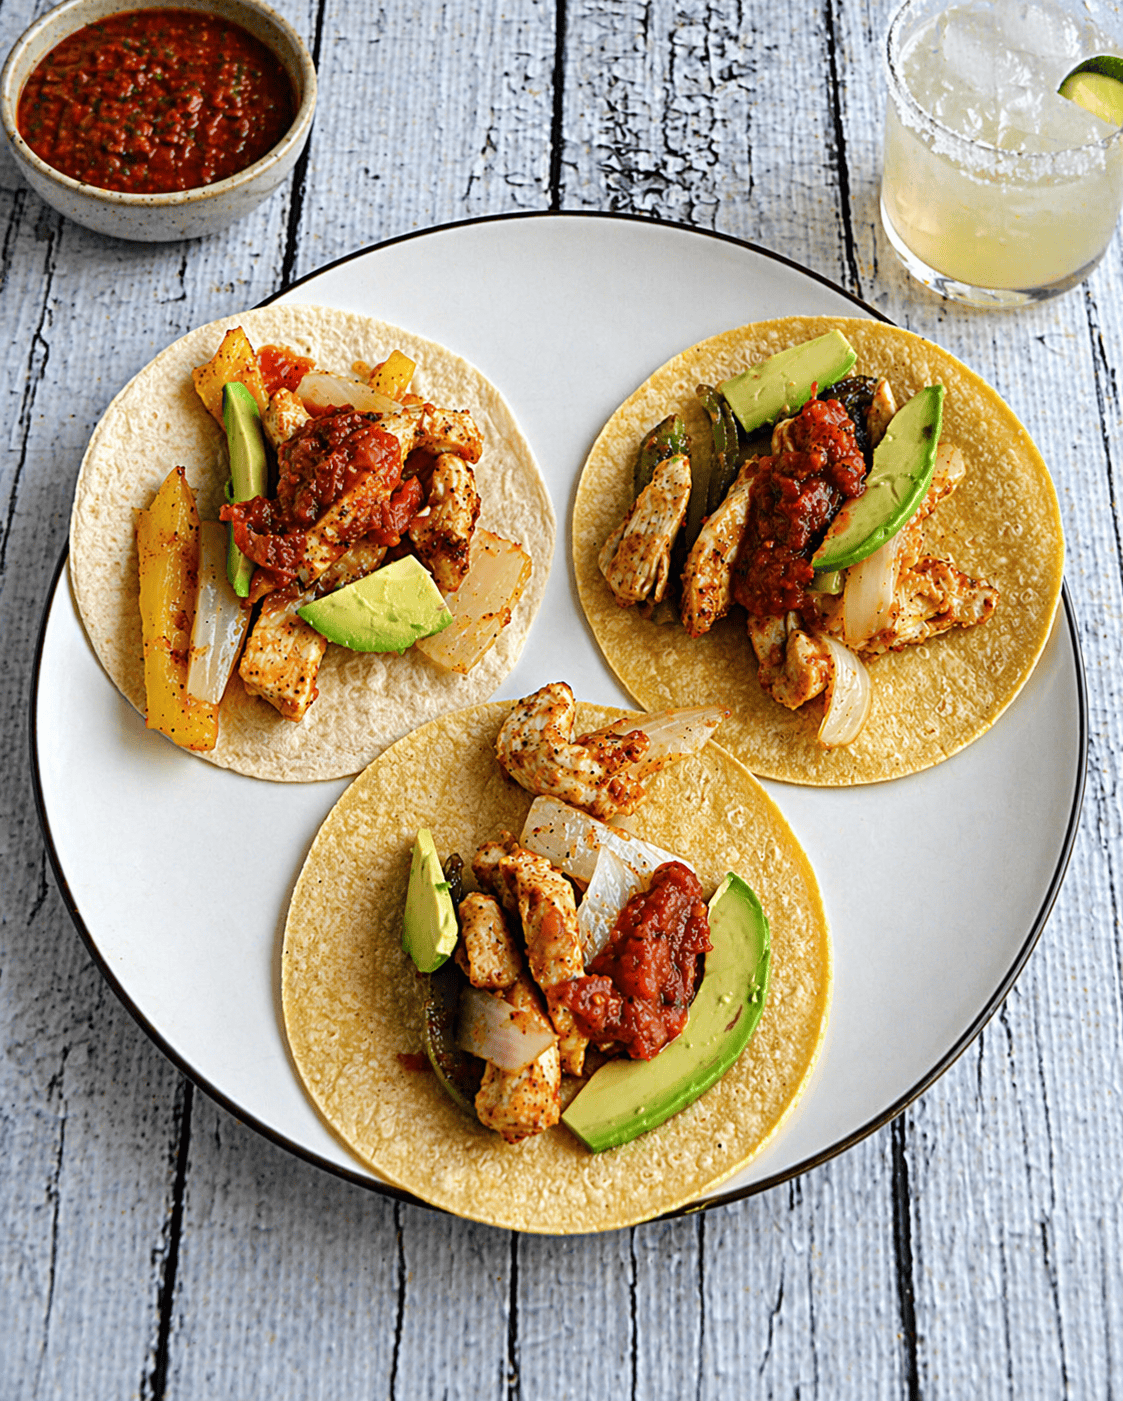
Sizzling, smoky, and bursting with flavor these roasted chicken fajitas are an easy weeknight winner! Juicy, seasoned chicken roasts alongside colorful peppers and onions, creating a bold filling that’s perfect for piling into warm tortillas with all your favorite toppings.
This post originally published in November 2014.
I don’t know about you but one of my favorite things to get at a Mexican restaurant are the fajitas. Whether I choose chicken, shrimp, or beef, I can always count on a sizzling plate of meat and veggies piled high and sizzling as they are brought out.
What are Fajitas?
Fajitas are a TexMex dish made of seasoned, grilled or roasted meat served with sautéed peppers and onions, usually served in warm tortillas. They’re known for that signature sizzling presentation and are often brought to the table on a hot skillet.
While I love getting them when I am out, I don’t often make them myself at home. However, I recently found a recipe for over roasted chicken fajitas that sounded both tasty and easy to make and decided to give them a try.
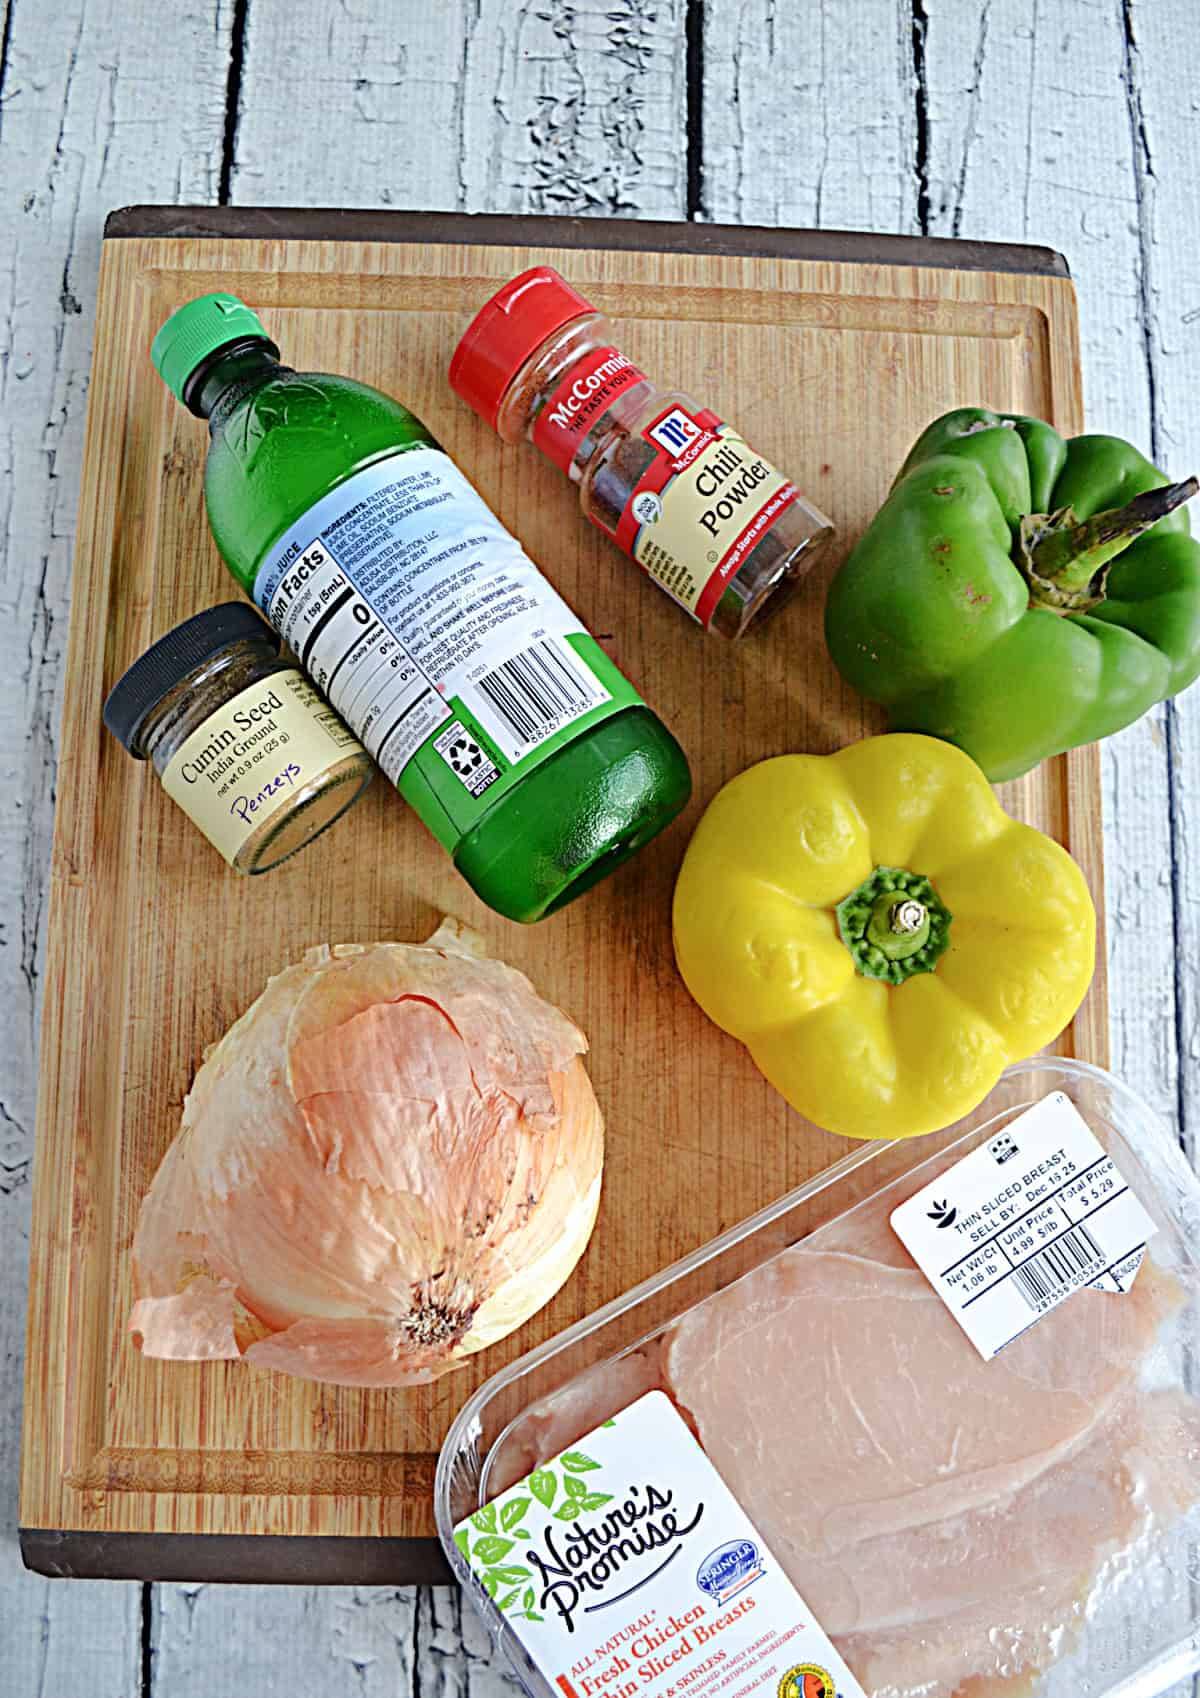
The main ingredients for fajitas are meat, bell peppers, and onions. I happened to have two different colors of peppers and an onions so I cut those into long strips and then did the same to my chicken.
I added some chili powder, cumin, and salt to the vegetables and then tossed the chicken with a packet of fajitas seasoning and a bit of water. I also added a bit of lime juice to both the veggies and the chicken.
How do you make Homemade fajita seasoning?
It’s easy to make your own fajita seasoning if you don’t want to buy it at the store. In a small bowl combine 1 tablespoon of chili powder, 2 teaspoons cumin, 1 teaspoon paprika, 1 teaspoon garlic powder, 1 teaspoon onion powder, 1/2 teaspoon oregano, 1/2 teaspoon salt, and 1/2 teaspoon black pepper. Mix well to combine.
The chicken, peppers, and onions are roasted in the oven for 20-25 minutes or until everything is soft and tender. Once they are finished they can be served with a variety of toppings.
What toppings can you put on fajitas?
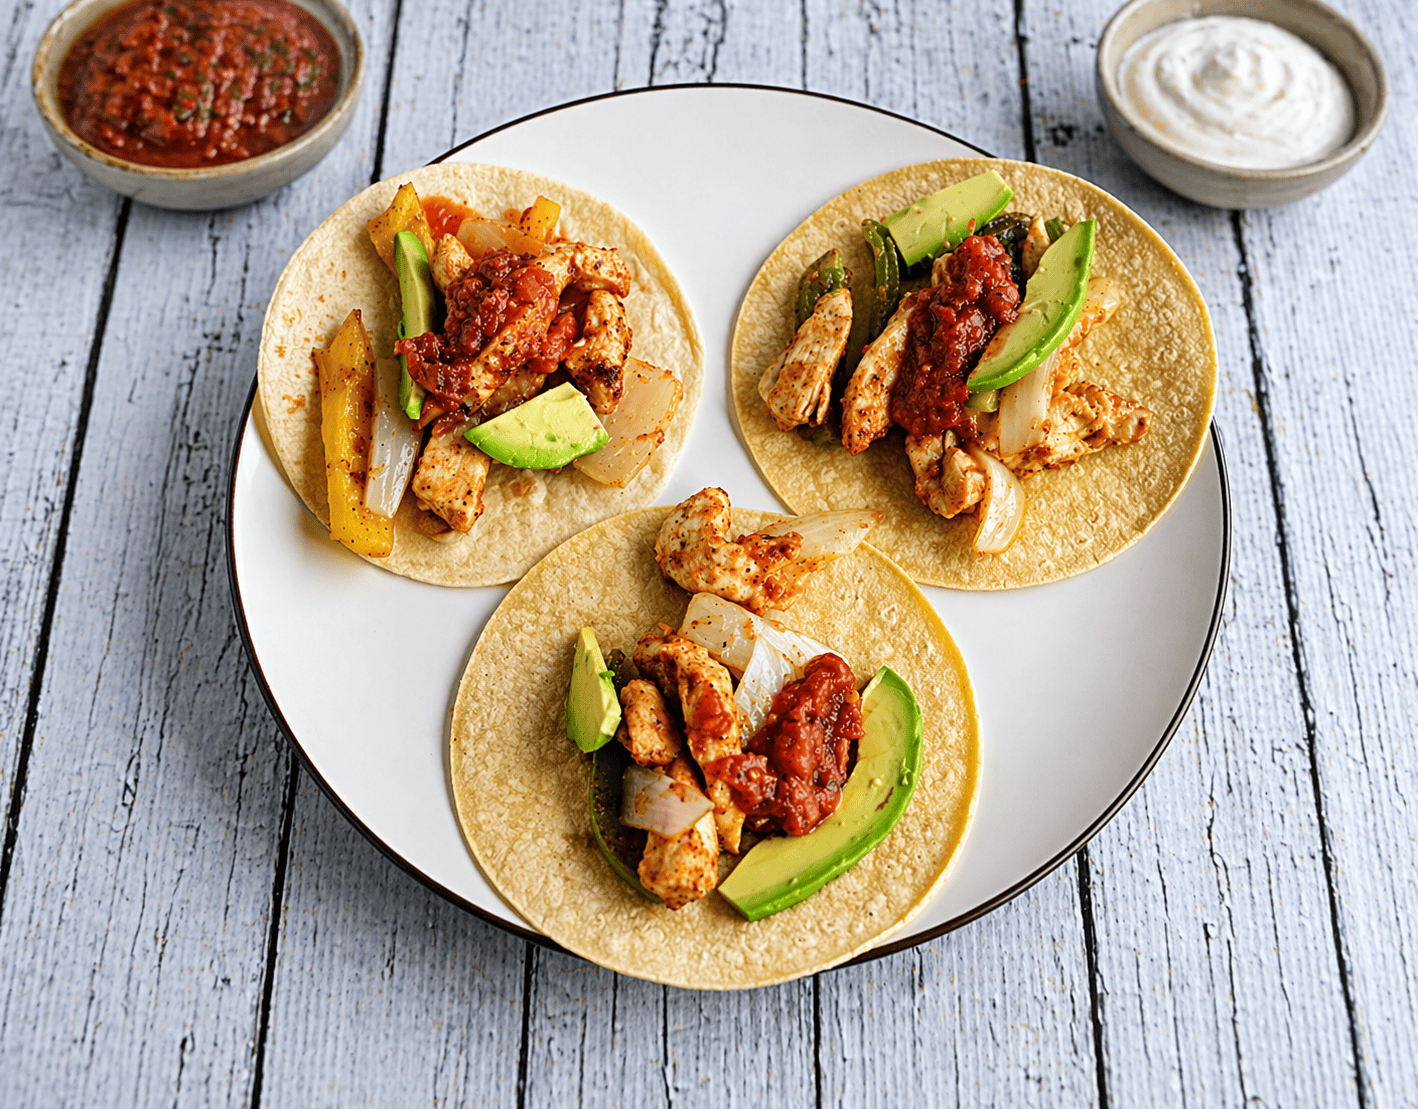
You can put just about anything you want on your fajitas! Some of the most popular toppings are sour cream, avocado, guacamole, salsa, cheese, or jalapenos. You can also serve them with either corn or flour tortillas depending on your preference.
Ingredients:
- Boneless, skinless chicken breasts
- bell peppers (choose your favorite color)
- onions (I like a sweet onion but use your favorite type)
- ground cumin
- chili powder
- salt and pepper
- fajita seasoning (packaged or homemade)
- lime juice
- flour or corn tortillas
- salsa
- sour cream
- avocado (or guacamole)
- shredded cheddar cheese
To make the sheet pan chicken fajitas preheat the oven to 400 degrees. Cut the peppers into strips and the onions into chunks and place on a baking pan. Sprinkle with chili powder, cumin, salt, and pepper. Cut the chicken into strips and toss with fajita seasoning and a bit of water then place on the sheet pan. Sprinkle everything with lime juice.

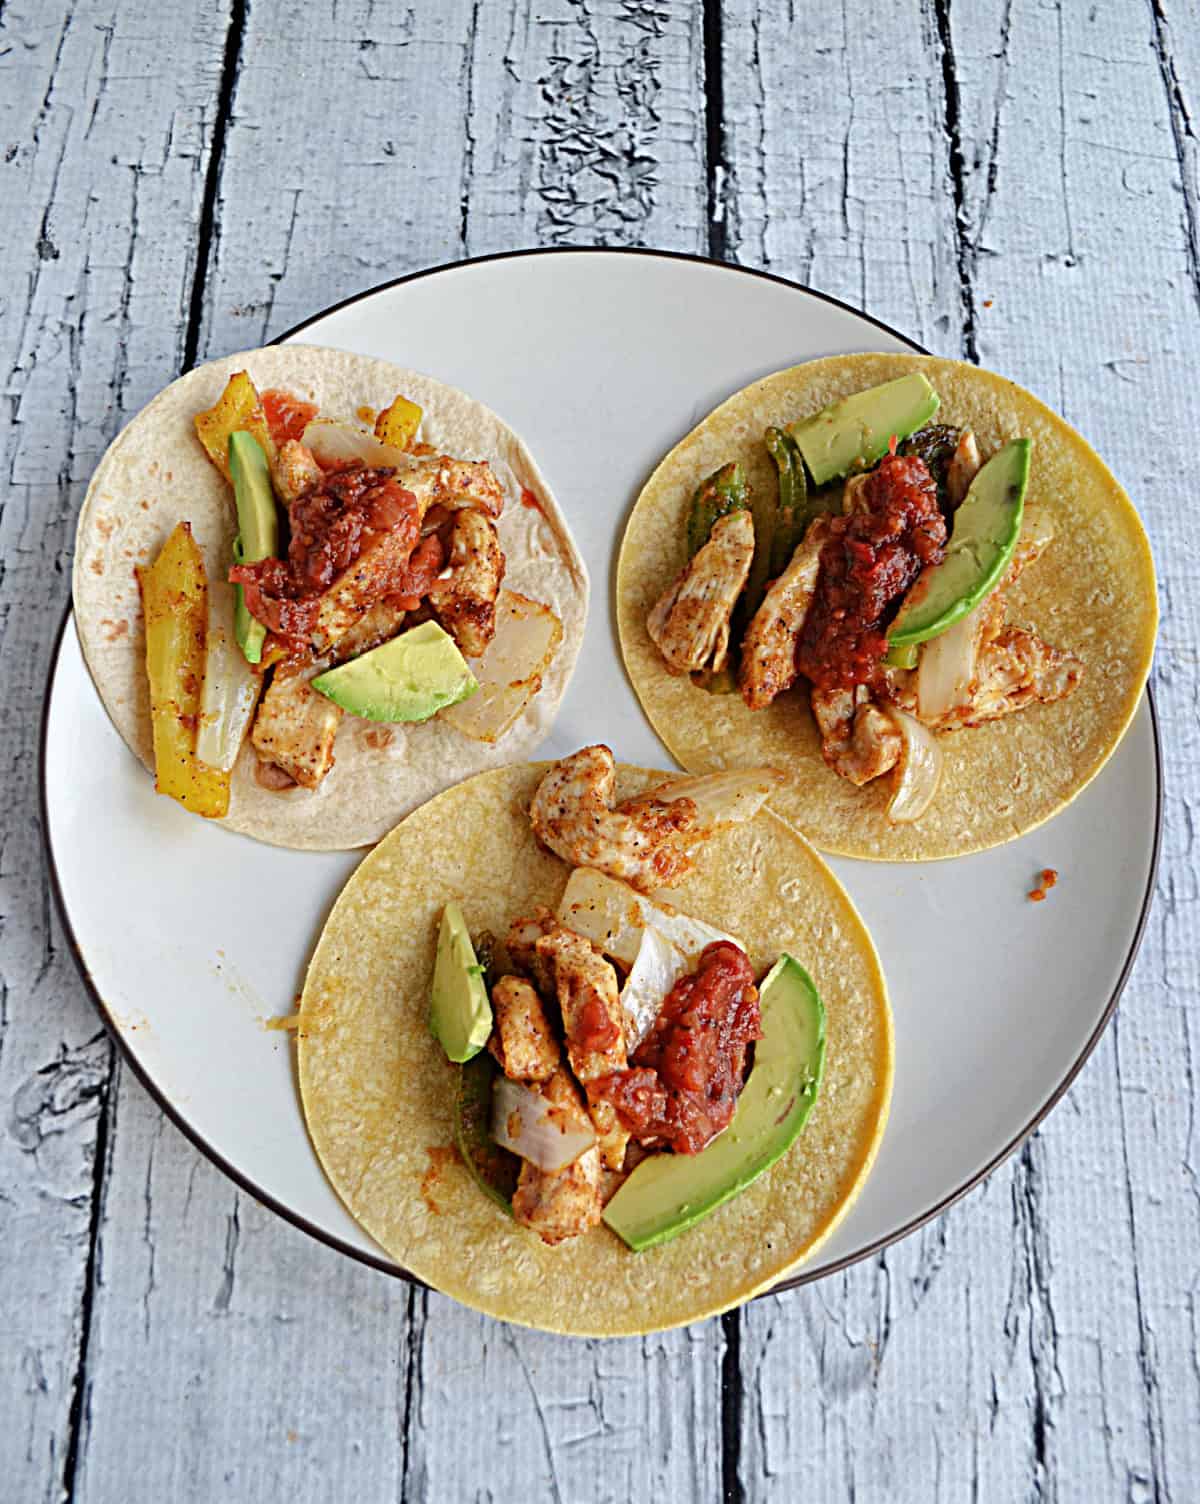
Bake for 20-25 minutes, stirring once, until the vegetables are soft and the chicken is cooked through. Serve on warm tortillas with cheese, sour cream, salsa, and avocados.
I loved how easy this chicken fajita recipe is to make! It’s great because I can make it, pop it in the oven, and then get some other things done while it’s cooking. Once it’s cooked through it’s just a matter of assembling the fajitas.
What can I serve with fajitas?
Fajitas are great served with a side of chips and salsa. You can also serve them with rice or refried beans. If you are watching your carbs you can serve the meat and veggies on a bed of rice or lettuce.
These fajitas were delicious! I loved that the veggies and chicken had a similar flavor but it wasn’t totally the same. They had a good bit of spice to them. The vegetables were soft but not mushy. The chicken was cooked perfectly.
I served them on both flour and corn tortillas and found that I liked the flour tortillas better but you can use whatever you like best.

How do you store fajitas?
Store the chicken and vegetables in an air tight container in the refrigerator for up to 4 days. To reheat you can put a bit of olive oil in a pan and saute for a few minutes until it’s warm. You can also heat in the microwave for 1 minute.
If you’ve tried my Roasted Chicken Fajitas or any other recipe on Hezzi-D’s Recipe Box please take a minute to rate the recipe and leave a comment letting me know how you liked it. I love hearing from you! You can FOLLOW ME on:
Roasted Chickn Fajitas
Equipment
- 1 sheet pan
Ingredients
- 1 pound skinless boneless chicken breasts
- 2 Tablespoons vegetable oil
- 1 Tablespoon fresh lime juice
- 2 teaspoons chili powder
- 1 teaspoon ground cumin
- 3 Tablespoons fajita seasoning
- 2 large onions in wedges
- 2 large red bell peppers cut into strips
- salt and peppers
- 8 large flour tortillas
- 1 cup shredded cheddar cheese
- 2 avocados peeled and slice
- salsa
- sour cream
Instructions
- Preheat the oven to 400 degrees. Spray a sheet pan with cooking spray and set aside.
- Cut chicken crosswise into 1 inch wide strips. Toss with half the oil and fajita seasoning. Place on one half of the sheet.
- Combine onions and peppers on the other half of the sheet pan. Drizzle with remaining oil; sprinkle with chili powder, cumin, salt and pepper.
- Sprinkle everything with lime juice.
- Roast in preheated oven, stirring once or twice, for 20 to 25 minutes or until chicken is no longer pink inside and vegetables are tender.
- Meanwhile, wrap tortillas tightly in foil and place in the oven for 5 minutes to heat.
- Transfer chicken and vegetables to a heated platter and serve with tortillas, cheddar, avocados, salsa, and sour cream. Have each diner spoon some chicken mixture into a tortilla, pile high with toppings, and roll up to eat.
Notes
Looks great and is a healthy meal too. Catherine