Bacon Pecan Sticky Buns + a review of 101 More Things to Do With Bacon
As an Amazon Associate, I earn from qualifying purchases. Read the full disclosure here.
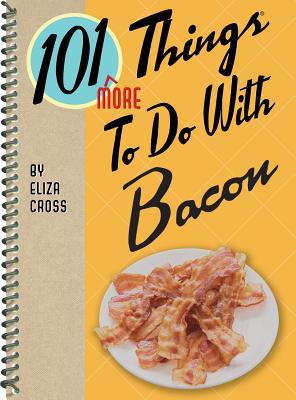
101 More Things to Do With Bacon by Eliza Cross
Bacon’s BACK! With 101 more reasons to make bacon your star performer, you’ll have everything covered from appetizers, soups, salads, desserts, and sweets. Friends and family will squeal with delight when you serve up a plate of Bacon Pecan Sticky Buns, Bacon Potato Bombs, Grilled Bacon Peanut Butter Sandwiches, and Bacon Caramel Cookie Brittle.
As part of the insanely popular 101 Things to Do with… series, home cooks can depend on 101 More Things to Do with Bacon to add a little extra sizzle to every meal. (-synopsis)

If you like Bacon then this might be the cookbook for you! With 101 bacon recipes there is certainly something for everyone in this book.
Now let’s talk about the book. The first thing I noticed is that there is not a single photo in this book. I don’t know about you but I eat with my eyes. When reviewing a cookbook it gets an automatic 1 star off for not having photos since that is often how I decided what to make. The next thing I noticed is that it’s a small book and it’s wire bound.
The book starts with a section of helpful hints and then goes into the recipes. The book is divided into Breakfasts, Appetizers, Soups, Salads, Sandwiches, Side Dishes, Dinners, and Desserts and Sweets. Each section has a variety of recipes. I did like that most of these recipes use common ingredients that can be found in most grocery stores. The ingredients list also tends to be around 10 ingredients or less which is also a plus.
As with all cookbooks I immediately started tagging recipes that I wanted to make. My top 5 were Bacon Pecan Sticky Buns, Bacon Buffalo Chicken Wraps, Bacon Chicken Jalapeno Popper Casserole, Bacon Bread Pudding with Vanilla Sauce, and Bacon Tomato Bisque.
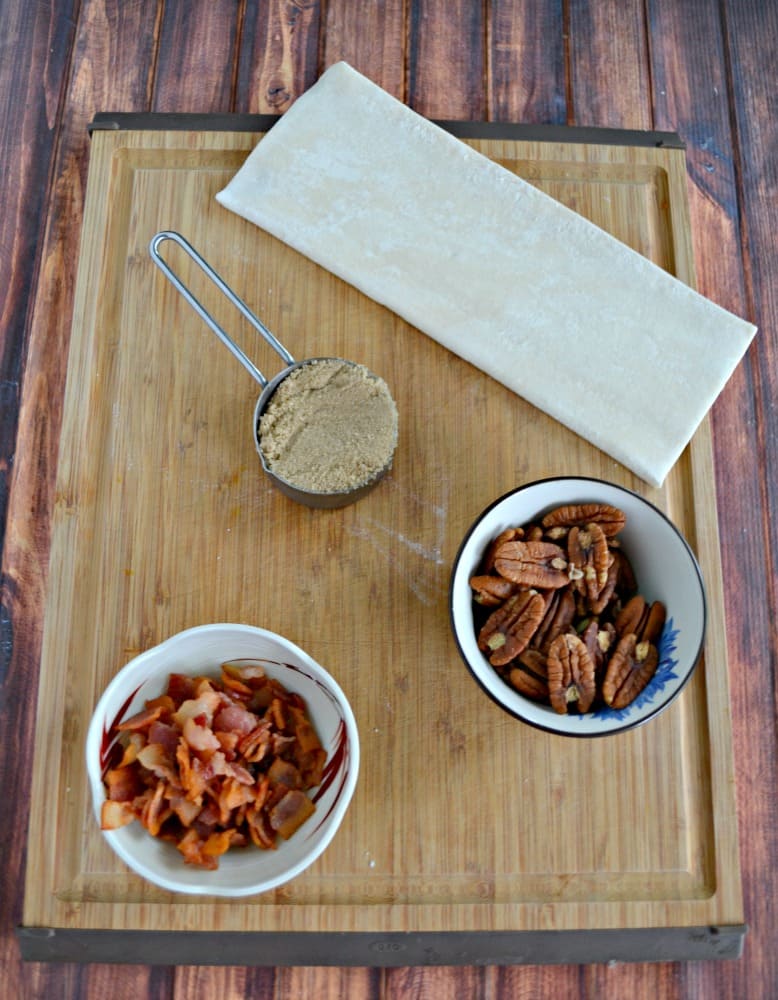
My first try at a recipe was the very first recipe in the book. It is for the Bacon Pecan Sticky Buns. There are only 6 ingredients in this recipe and it’s super simple. It uses puff pastry to make the sticky buns which I’ve never done before but I knew they would taste great.
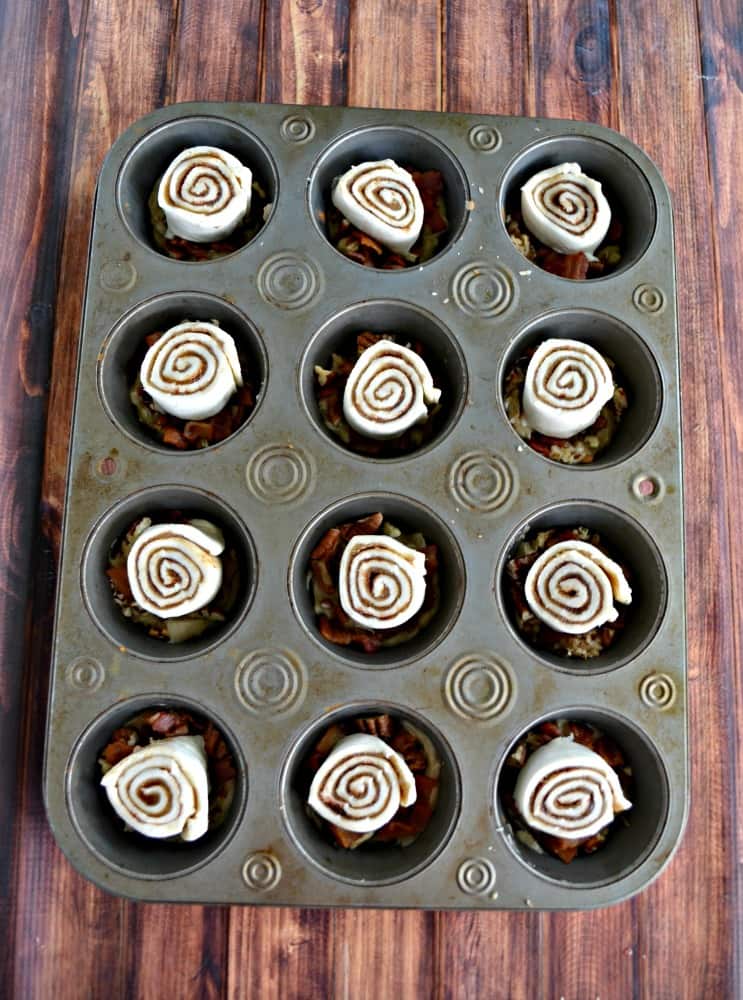
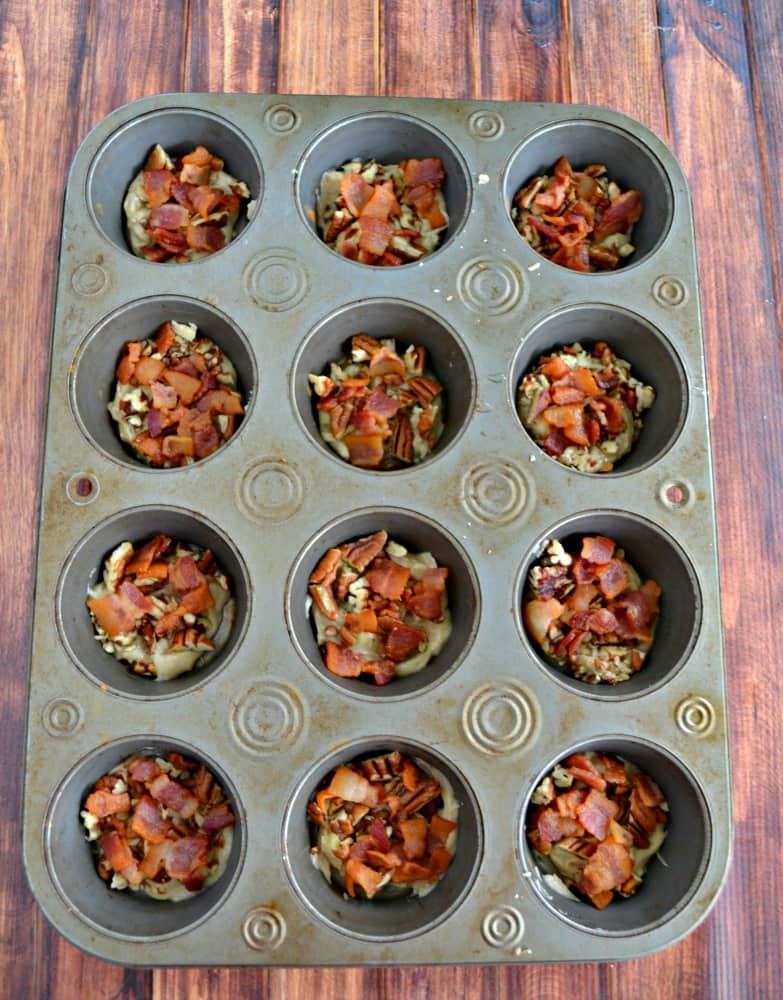
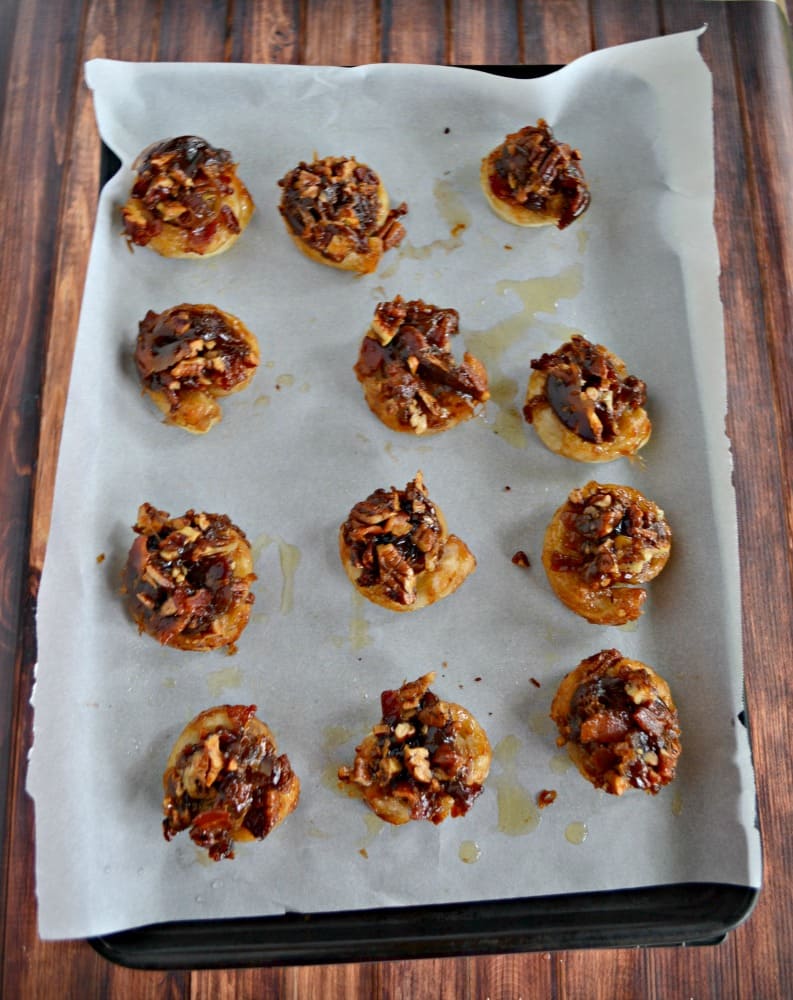
These buns are made in a muffin tin. Butter, sugar, bacon, and pecans are placed in the bottom of the muffin tins and then the puff pastry is rolled up with butter and sugar and stuck in the pans. The mixture in the pan becomes sticky and delicious and really sticks to the buns. When the pan is flipped over the goodness drips down over top of the buns.

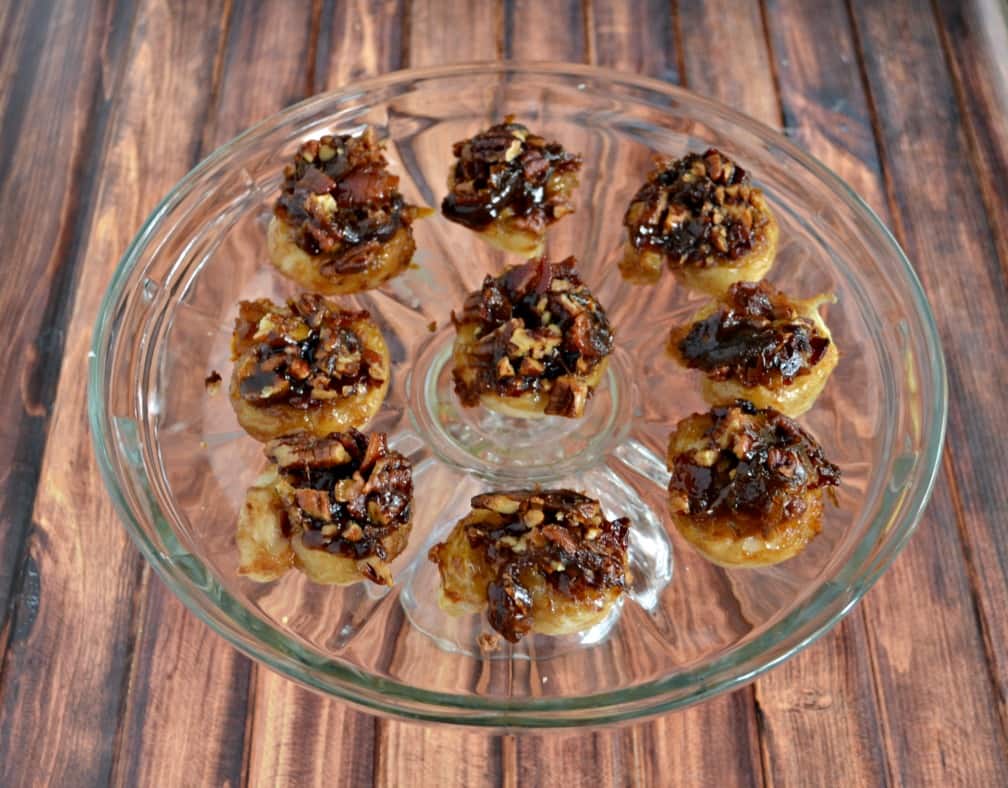
One thing I really liked about these buns is that they are mini sized so when I immediately ate two of them I didn’t feel that bad about it. The texture of the sticky buns is a little different from classic buns but I liked it. They are light and fluffy and filled with brown sugar. The gooey topping is amazing. Salty and crunchy bacon slathered in a caramel sauce and sprinkled with crunchy pecans. They were awesome!
These buns are perfect with a cup of coffee for breakfast or later on for dessert. No matter when you eat them you can be assured that sweet and salty lovers are going to love these sticky buns!
Bacon Pecan Sticky Buns
Ingredients
- 6 strips bacon cut in 1/4 inch pieces
- 1/2 c. butter softened, divided
- 2/3 c. packed dark brown sugar divided
- 1/2 c. chopped pecans
- 1 sheet packaged frozen puff pastry thawed
- 1 1/2 teaspoon cinnamon
Instructions
- Preheat oven to 400 degrees. Line a baking sheet with parchment paper. Cook the bacon in a large frying pan over medium heat until most of the fat has rendered. Transfer bacon to paper towels and drain; reserve.
- In a medium bowl, cream together 7 tablespoons butter with 1/3 cup brown sugar until light and fluffy, about 2 minutes. Divide the mixture between the cups of a 12-cup nonstick muffin pan. Divide the chopped pecans and cooked bacon between the cups.
- Melt the remaining 1 tablespoon butter. Unfold the sheet of puff pastry onto a lightly floured work surface with the folds opening left to right. Brush with the melted butter and sprinkle evenly with remaining 1/3 cup brown sugar and the cinnamon. Starting at the bottom edge, tightly roll up the pastry and pinch the seam to seal. Cut the roll into 12 equal pieces. Arrange pieces with spiral facing up in the muffin cups.
- Bake for 15-20 minutes, or until golden brown and firm to the touch. Remove from the oven and cool in the pan for 4 minutes; immediately invert pan on prepared baking sheet, scraping any remaining sauce from the cups and spreading it on top of the buns. Let the buns cool slightly before serving. Makes 12 buns.
Notes