Fall Leaf Cookies
As an Amazon Associate, I earn from qualifying purchases. Read the full disclosure here.
Two years ago I found some fun leaf cookie cutters and was excited to make them in the fall. Unfortunately September through December is my crazy cookie time and I have orders to fill almost every weekend. These orders are mostly for homecoming, Halloween, and Christmas. This means there isn’t much time for making other cookies for myself.
When I tell people that making decorated sugar cookies takes a lot of time I think they think I’m crazy. However, to make sugar cookies I have to prepare the dough, refrigerate it for at least 1 hour, roll out the dough, and bake the cookies. Then the cookies have to cool before I can do anything else.
After cooling I can make the royal icing and then decorate the cookies. Decorating the cookies is a painstaking task that takes a lot of time and a lot of effort. A few weeks ago I had some extra dough so instead of putting it back in the refrigerator I grabbed my leaf cookie cutters and cut a dozen out. I baked them, cooled them, and put them away to decorate the next day.
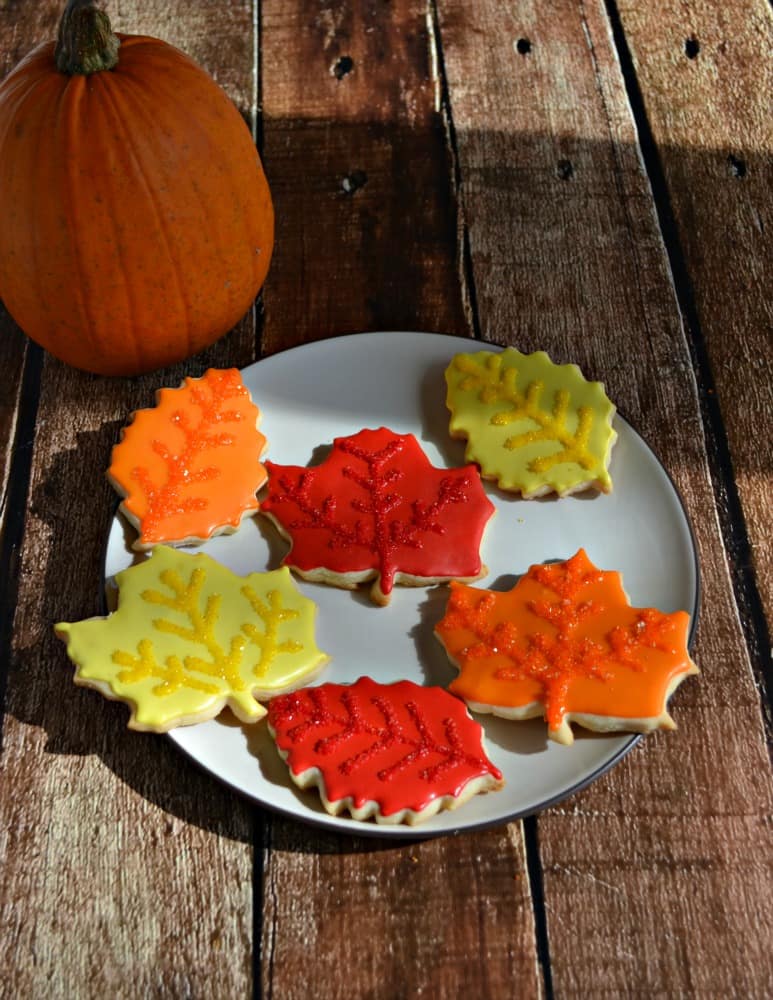
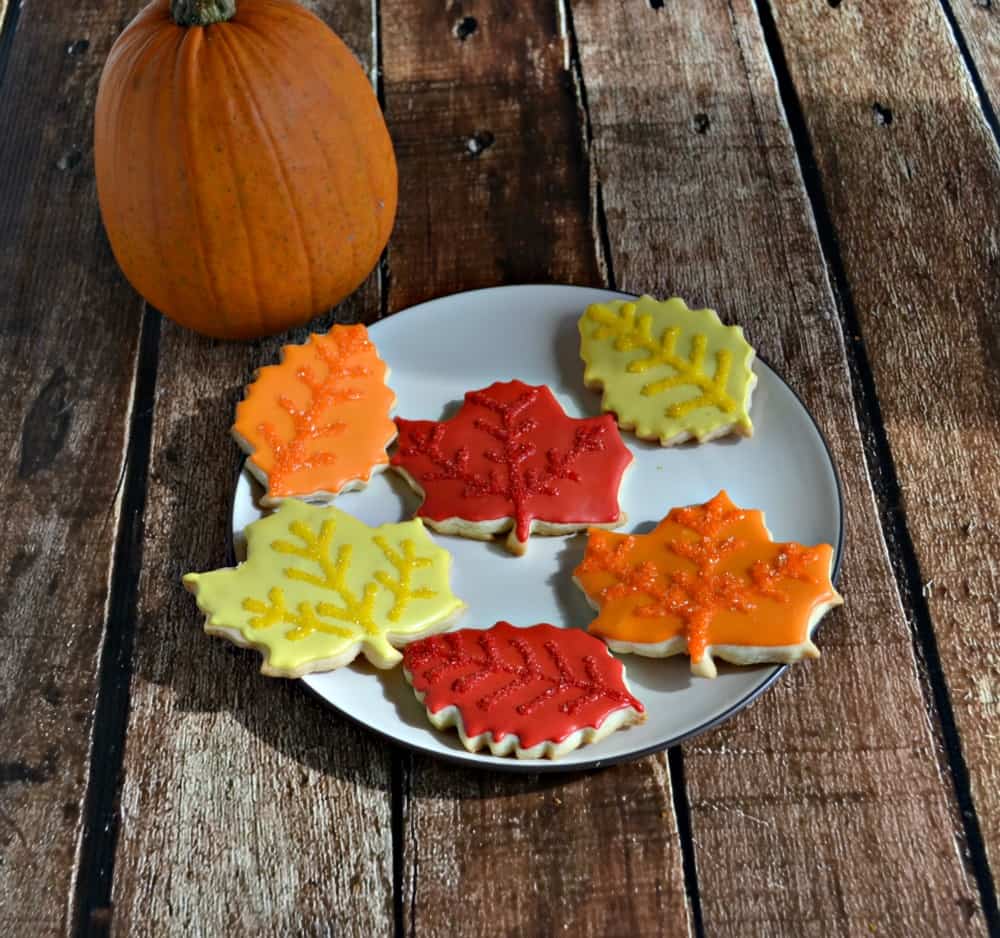
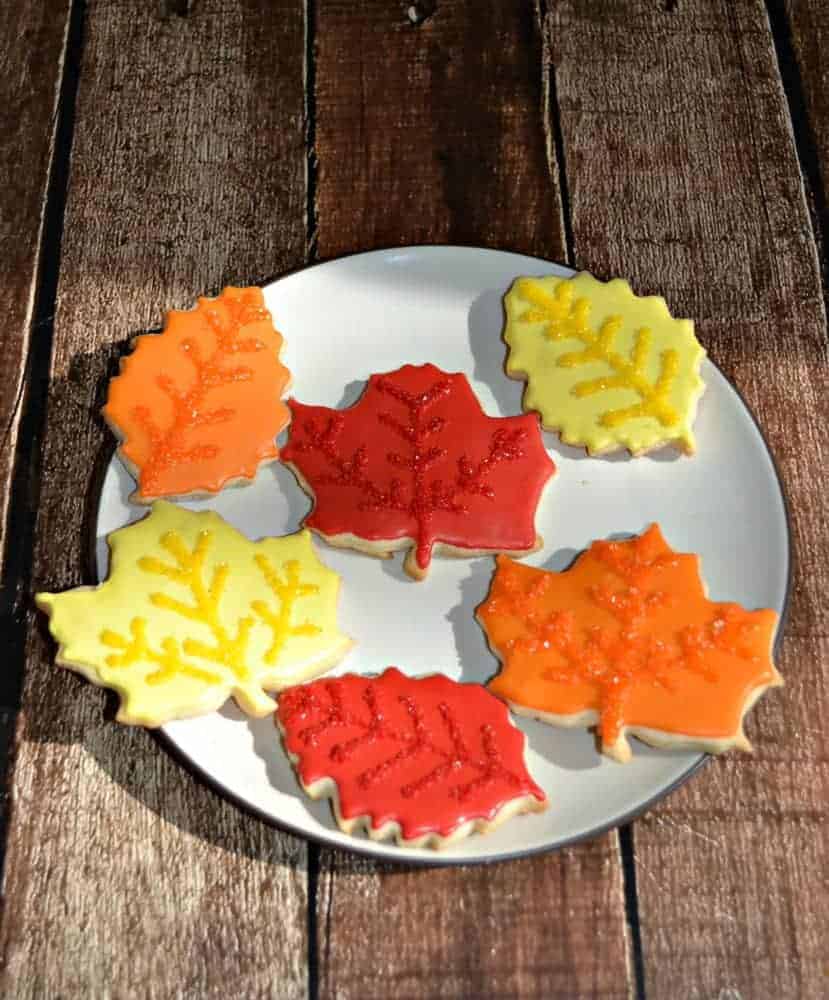
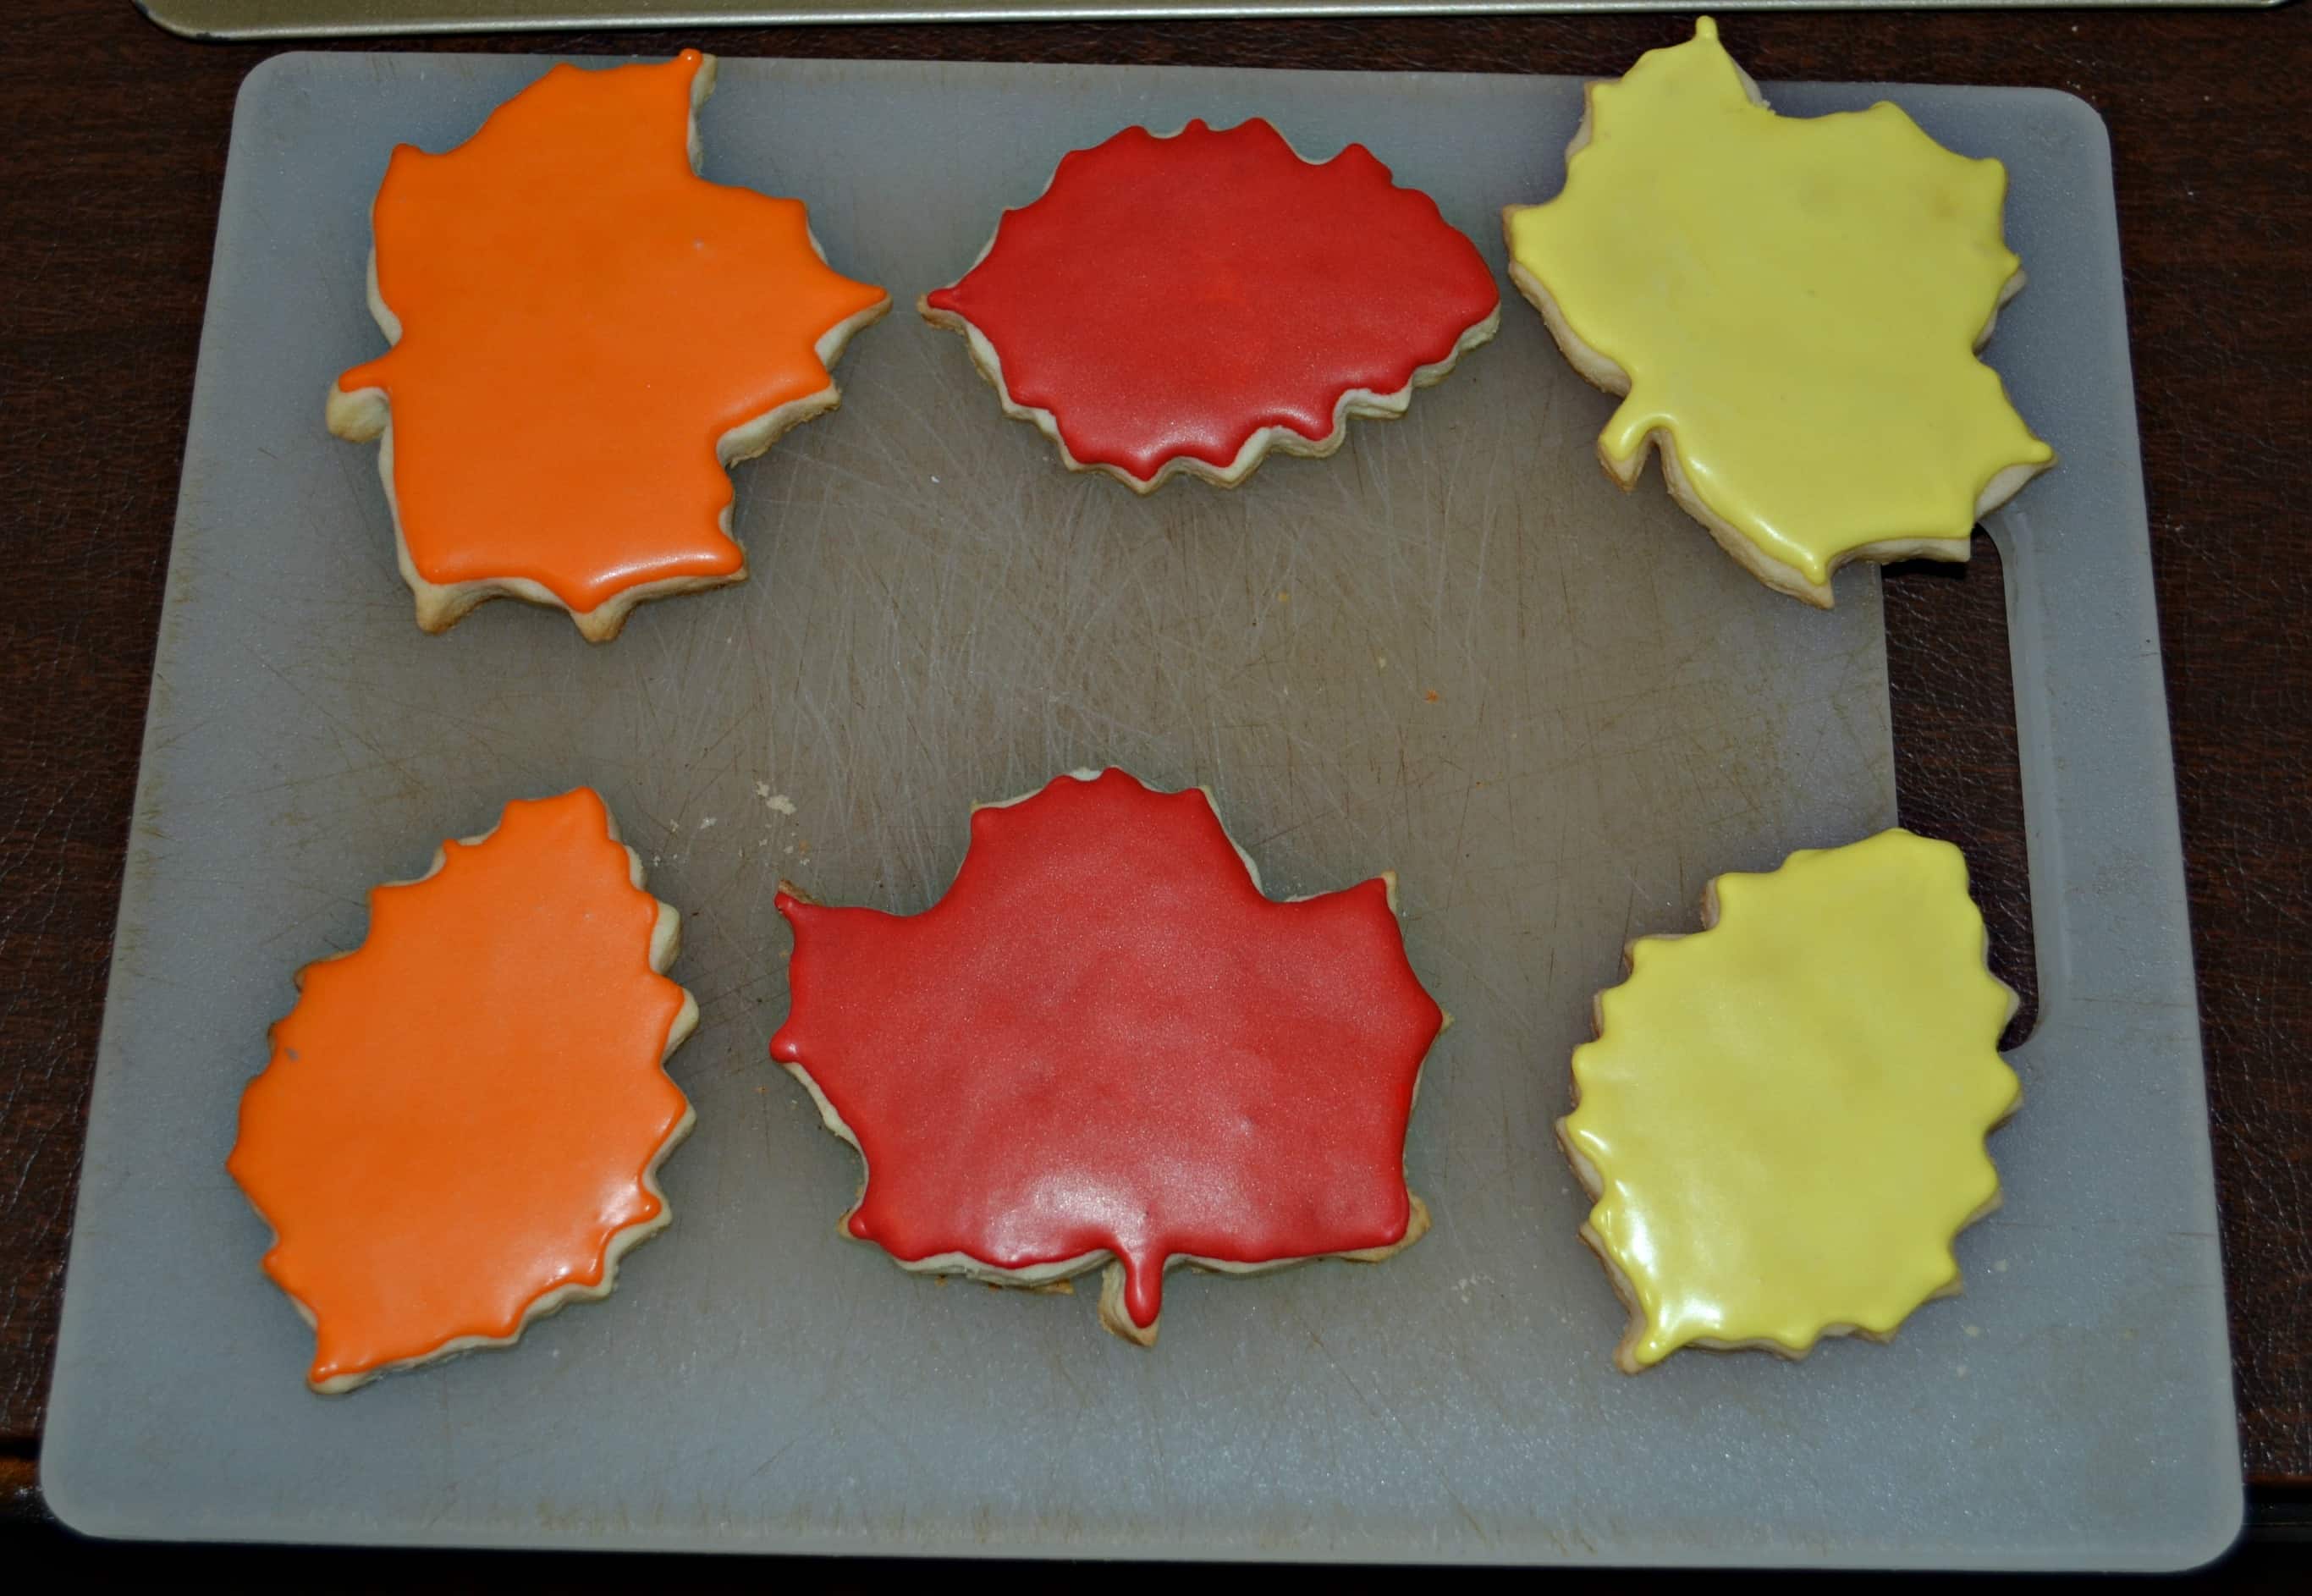
The great thing about these cookies is that they only have 1 color on them per cookie. Most of my cookies have between 2-4 colors per cookie which is why they take forever. When using 1 color it makes it really easy. I simply outlines and filled all the cookies using red, orange, or yellow and let them dry for 30 minutes. Then I drew the “veins” on the inside of the cookie in the same color and sprinkled it with the same colored sprinkles. That’s it! They were super easy to make and I love the shimmering sprinkles on them. I wish I had made them sooner because they don’t take much effort at all!
Fall Leaf Cookies
Sugar cookies decorated with royal icing and sprinkles!
Ingredients
For the cookies:
- 2 sticks of butter, softened
- 1 c. sugar
- 1 egg
- 1 teaspoon vanilla
- 2 1/4 c. flour
- 1 teaspoon baking powder
- 1 teaspoon salt
For the royal icing:
- 3 c. powdered sugar
- 1 Tablespoon meringue powder
- 3-4 Tablespoons water
- red, orange, yellow food coloring
- red, orange, and yellow sanding sugar
Instructions
- In a large bowl combine the butter and sugar. Mix until well combined.
- Stir in the egg and mix well. Stir in the vanilla.
- Add the flour, baking powder, and salt to the bowl. Mix for 2 minutes or until well combined.
- Place the dough in plastic wrap, cover completely, and refrigerate for at least 1 hour or up to 3 days.
- When ready to bake preheat the oven to 375 degrees.
- Sprinkle an area with flour and roll out the dough to 1/4 inch thickness. Cut out leaf shapes. Place on a cookie sheet, 2 inches apart, and bake for 7-8 minutes.
- Keep a careful eye out on the cookies as you do not want them to brown.
- Cool on the cookie sheet for 2 minutes then remove to a wire rack to cool completely.
- To make the icing combine the powdered sugar and meringue powder in a bowl. Add water 1 tablespoon at a time until desired consistency is reached.
- Divide into 3 bowls. Color 1 bowl red, 1 orange, and 1 yellow.
- Put half the icing into zip top baggies. Snip off a corner of the baggie and pipe an outline onto each leaf. Fill in the leaf with remaining icing. Allow icing to harden for 30 minutes.
- Using the icing still in the baggies, pipe on "veins" inside the cookies, doing 1 at a time, and quickly sprinkle with sanding sugar. Continue until they are completed.
Notes
A Hezzi-D original recipe