Toddler Tuesdays: Little Blue Truck Birthday Party!
As an Amazon Associate, I earn from qualifying purchases. Read the full disclosure here.
How is my baby boy 1 already? Last month Baby J turned 1 year old and is officially a toddler. The last year has totally blown past and I just can’t get over the fact that I have a toddler now! The last few months he has learned and grown so much. He babbles a ton, crawls like a mad man all over the house, stands by himself, cruises all over the furniture, blows by us on his push walker, says mama, baba, and da, and is just a ton of fun!
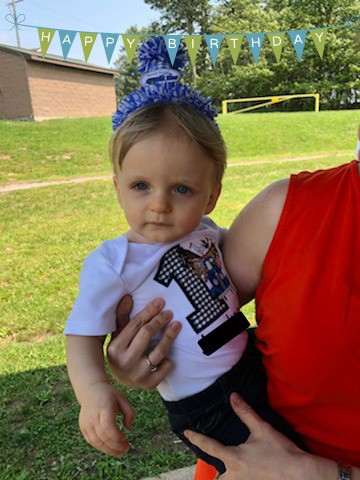
I wanted to make his birthday special but when people started asking me what we were doing I was clueless. I didn’t want anything too big but I wanted it to be special and I wanted a theme that he would enjoy. Since his absolute favorite book is Little Blue Truck that became our theme.
His actual birthday was a Saturday which was great because I went back to work his birthday week. We spent time just the three of us on the actual day. We took a walk, had Chick-Fil-A which is his favorite lunch, then enjoyed his first chocolate cupcake. Then his birthday party was on Sunday.
In addition to having his birthday party we also got him baptized that day. I wanted to have him baptized by his first birthday but I missed it by a day. It was hard finding a church that we wanted to go to and getting everything to jive so that our friends and family could be there but it turned out really nice.
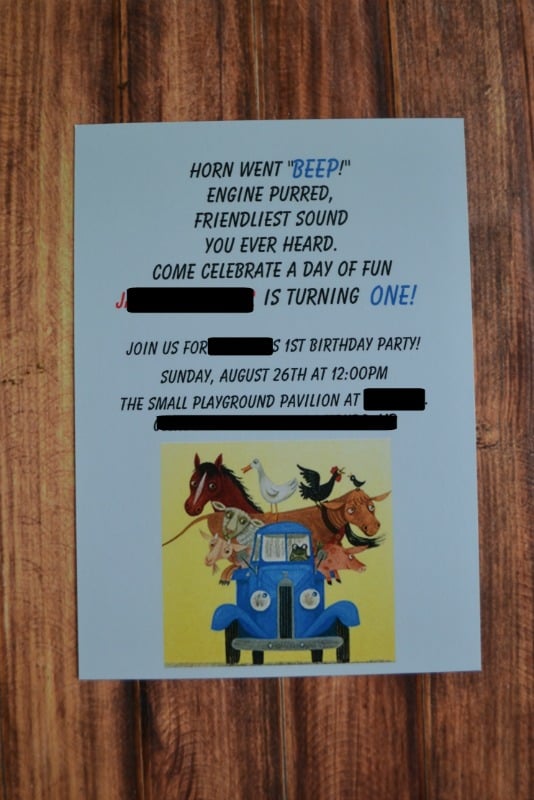
Now about his party. I didn’t want to make a big production but you know how I am. A month before the party I designed these adorable invitations for him. I uploaded them and had them printed so they looked pretty good. I think they turned out pretty good! I’m no designer and I did them myself so anyone can do it.
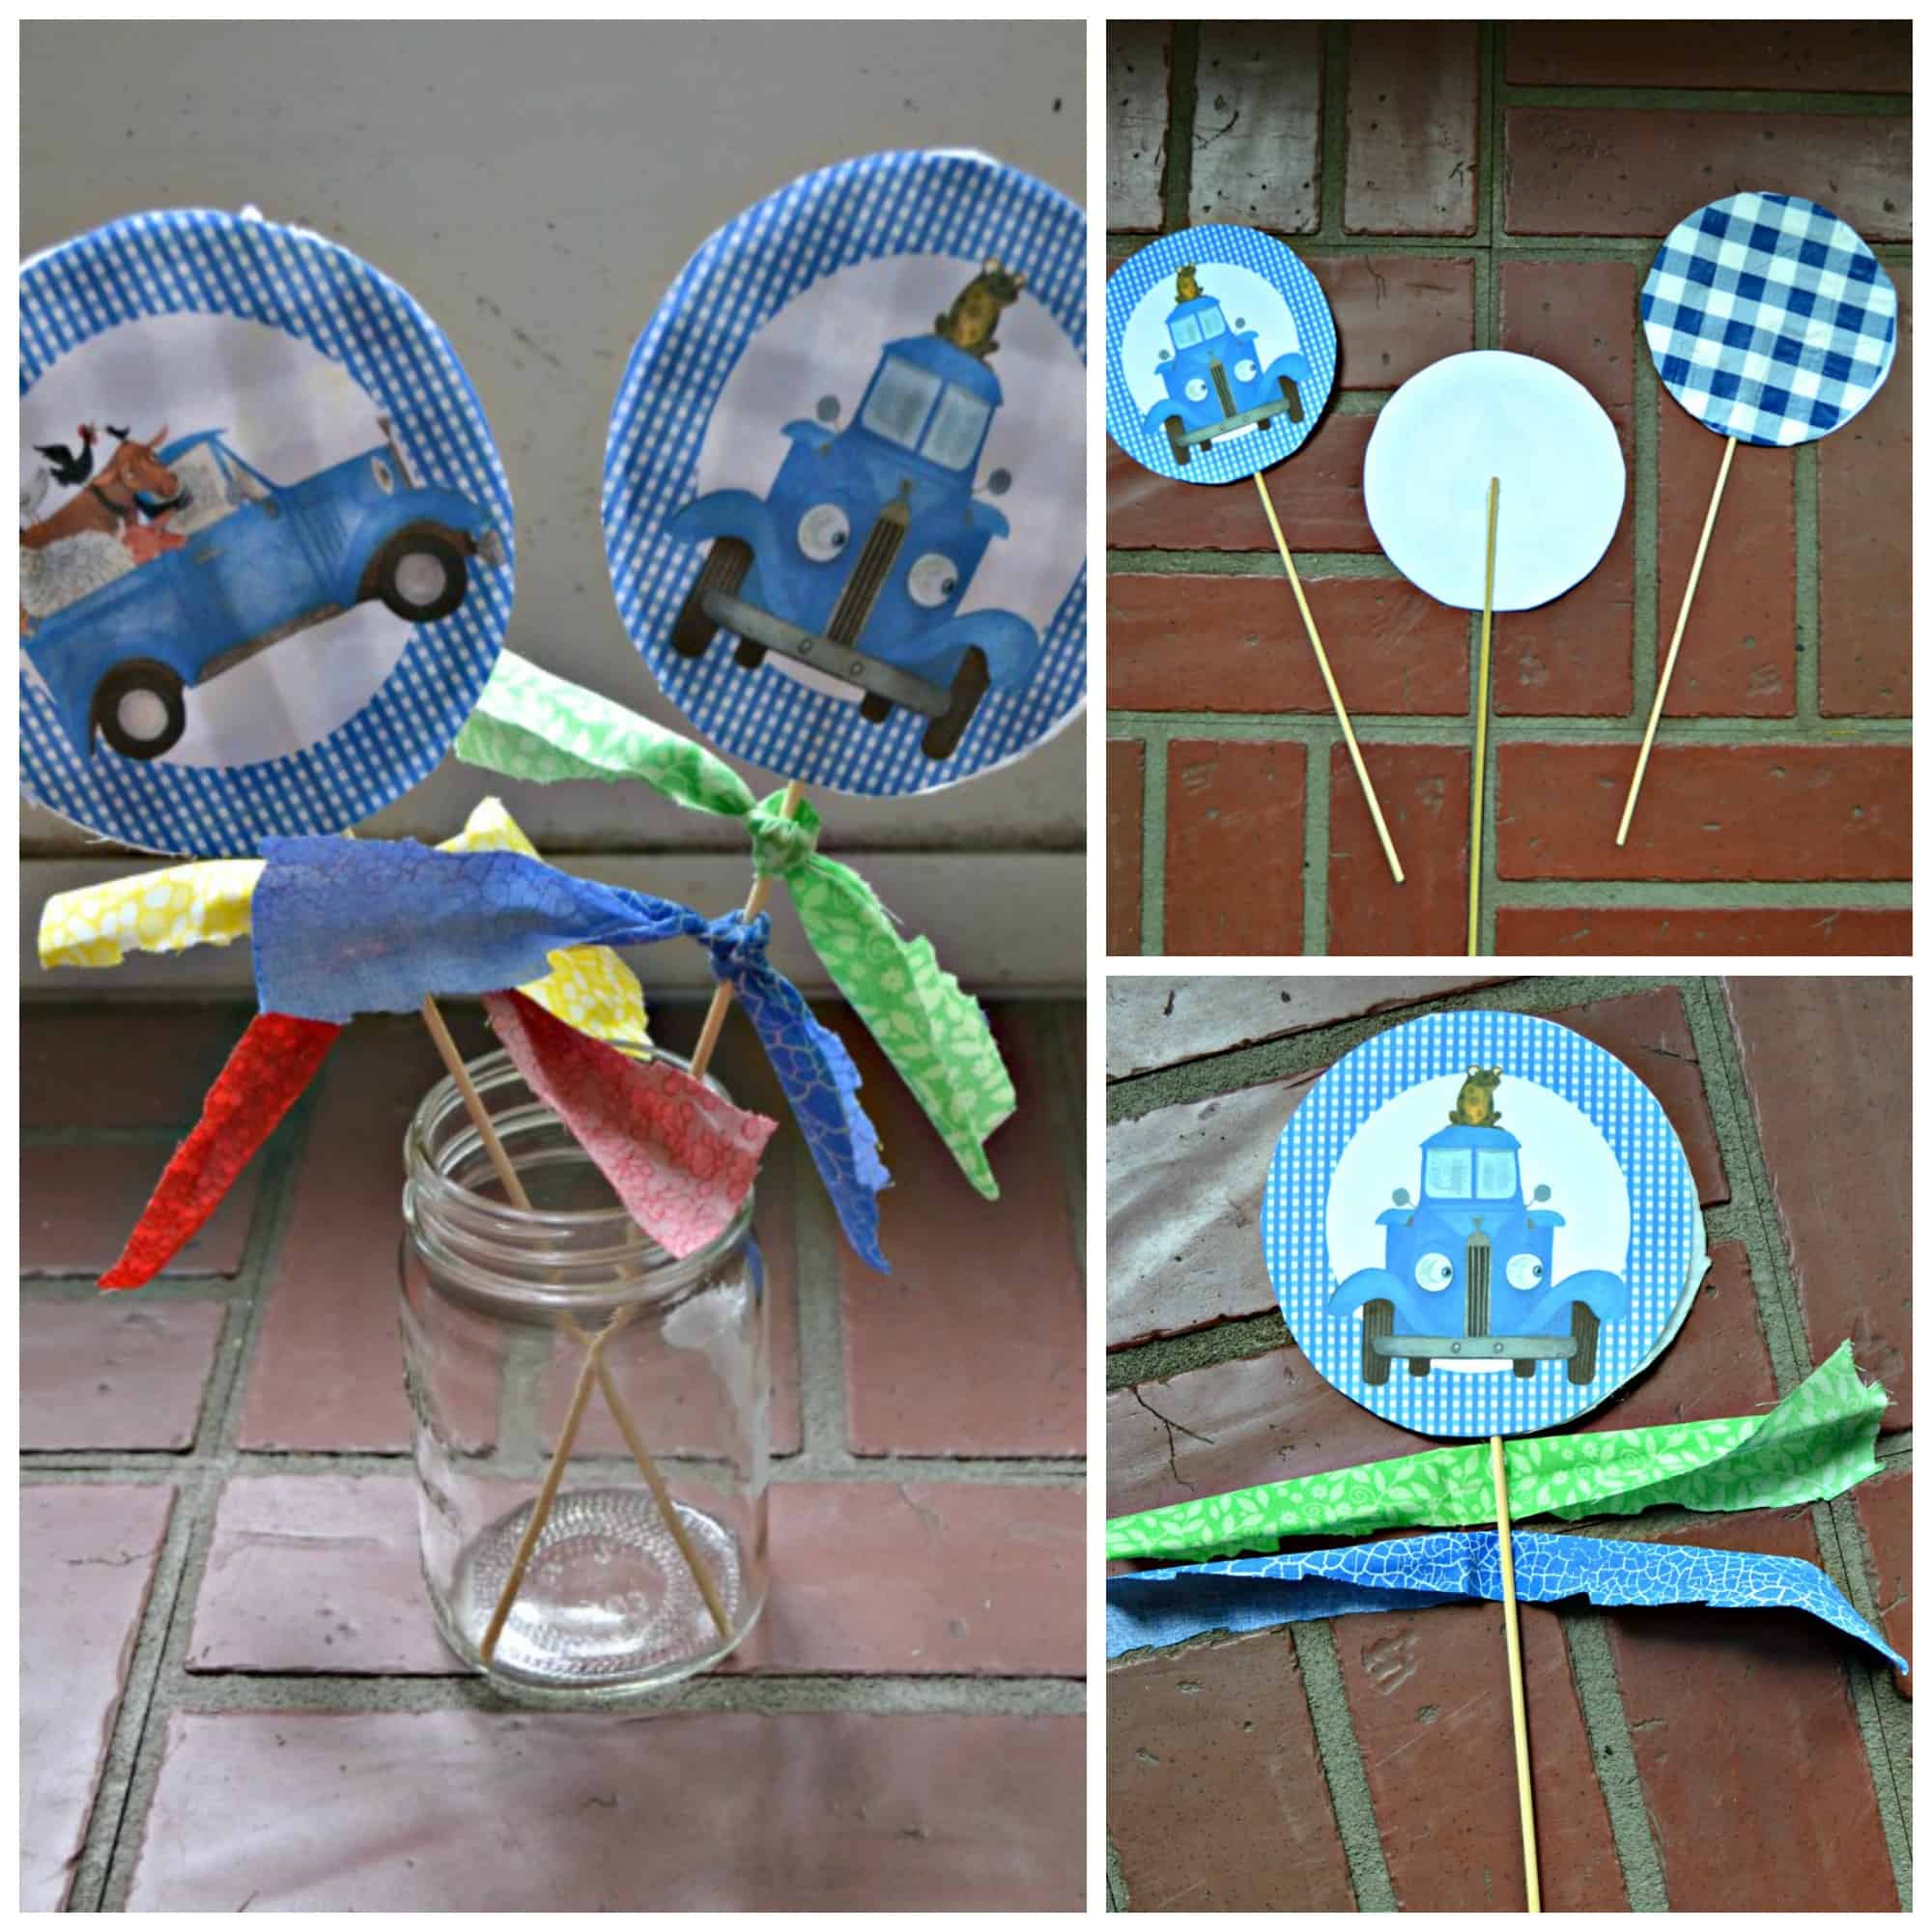
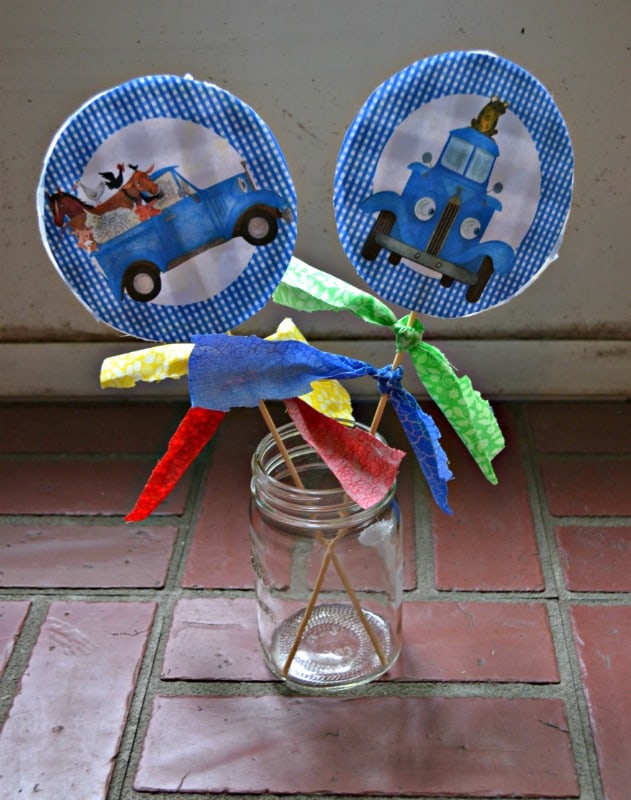
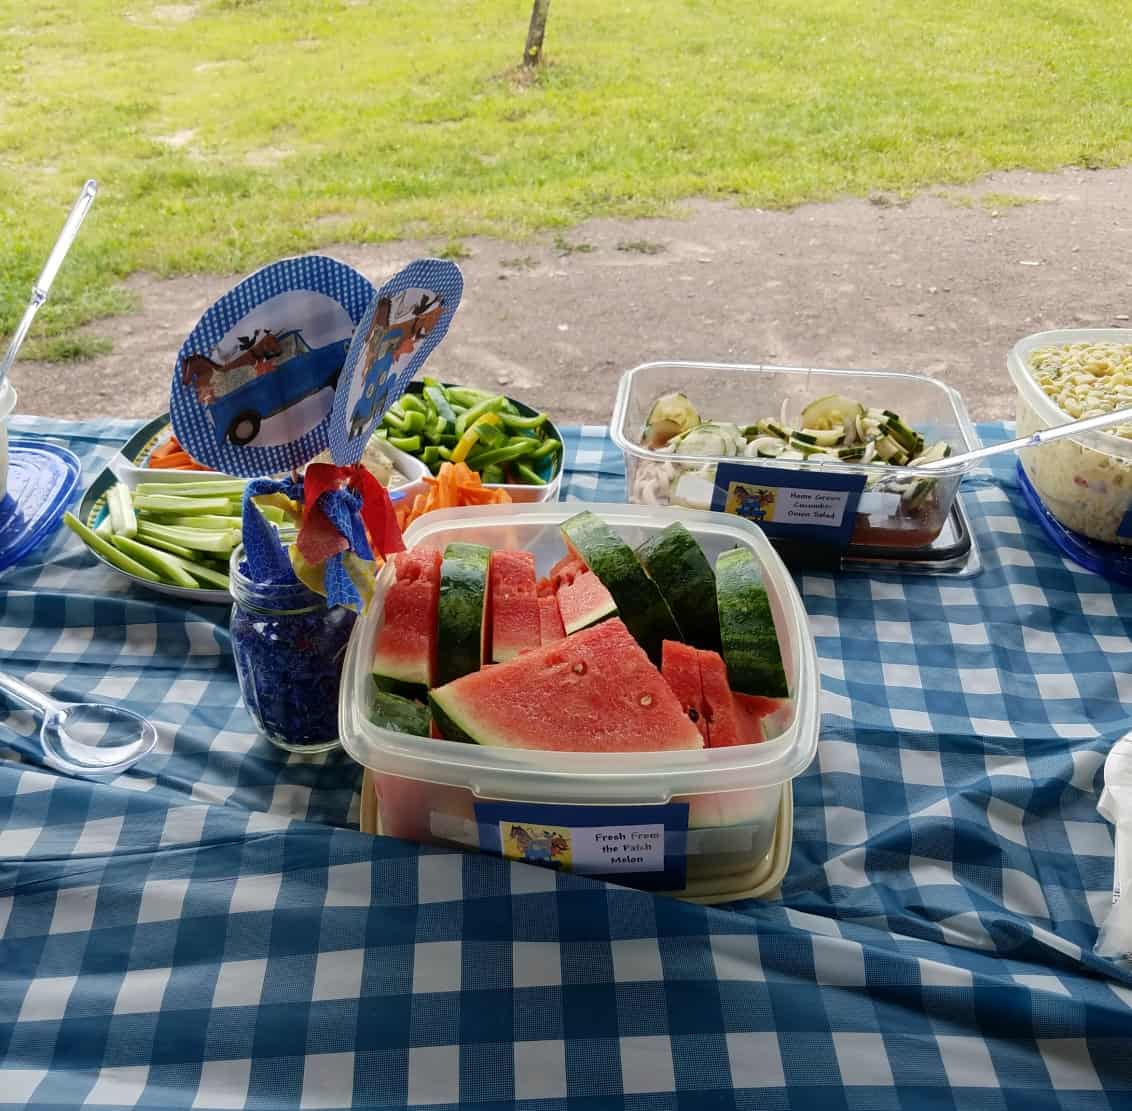
Then I had to start thinking about decorations. We had the party at a park pavilion so I didn’t need too much. I purchased a pdf file with some Little Blue Truck characters and I turned them in to these fun centerpieces. I’ve included directions for making the centerpieces below. I think they turned out great and they cost me less than $10 because I already had the mason jars and I printed them myself. Unfortunately it was super windy on the day of his party so they kept blowing over but I still think they were fun and looked good.
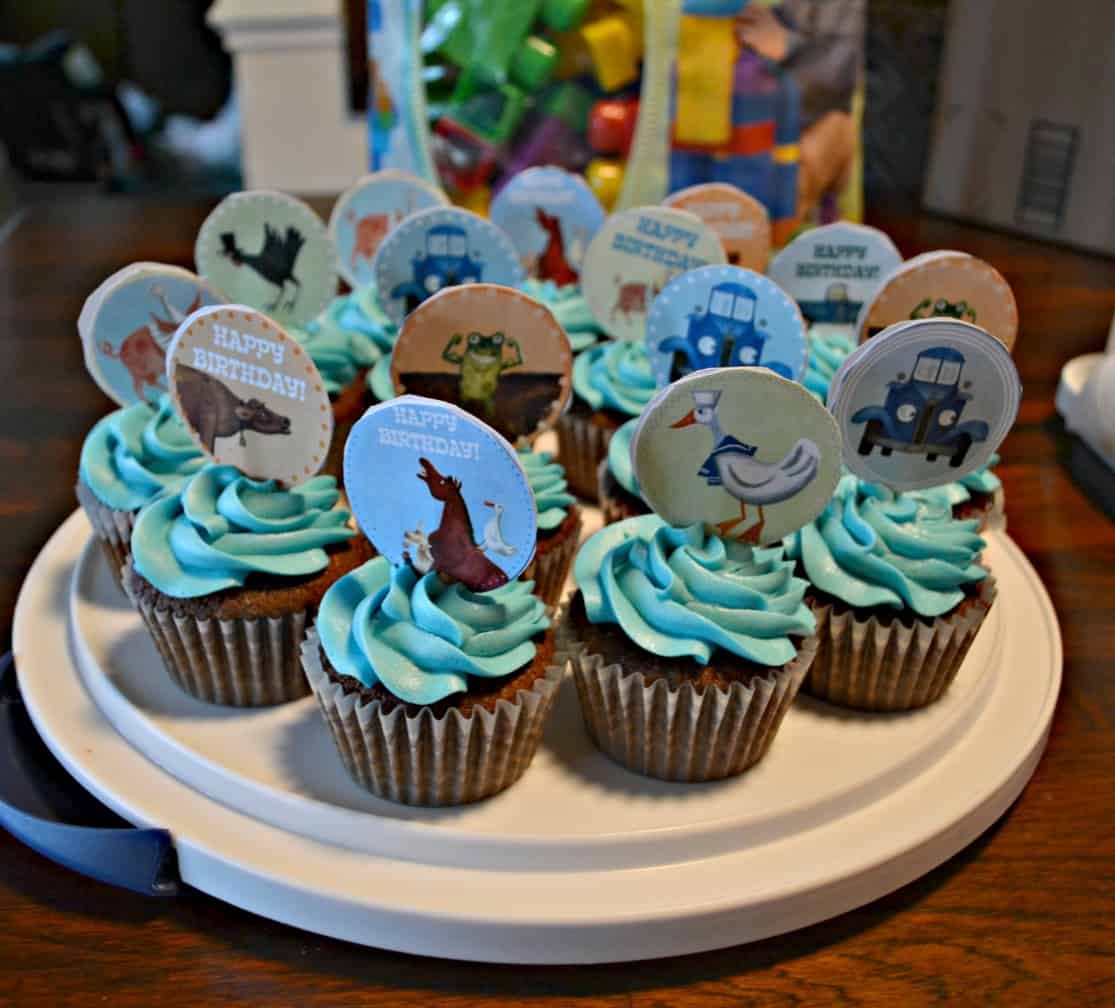
Next I went to the Little Blue Truck party kit. It’s online and it’s through the company that published Little Blue Truck so it’s authorized. I went to a local store and had the banner, cupcake toppers, and party hats printed on card stock there. I used my hot glue gun to make the cupcake toppers. I took two of the same ones, put a toothpick in the middle, and glued them together. Simple, easy, and a cute decoration.
The only thing I did with the party hats was to cut them out and glue them together and then I used them as table decorations. I thought they would look cute and they were such an easy decoration. The last thing I made was a Happy Birthday banner. I used this for J’s first birthday shoot and for his party so it was worth the effort. The pattern is in the online party kit so check it out!
The biggest pain was cutting everything out. Once I did that I simply lay all the pieces down and then wrote Happy Birthday in a Sharpie marker. Then I took a heavy piece of blue cord and taped the banner down on it following the directions. It turned out so cute! I’m so glad I made it. It added to both the party and the photos.
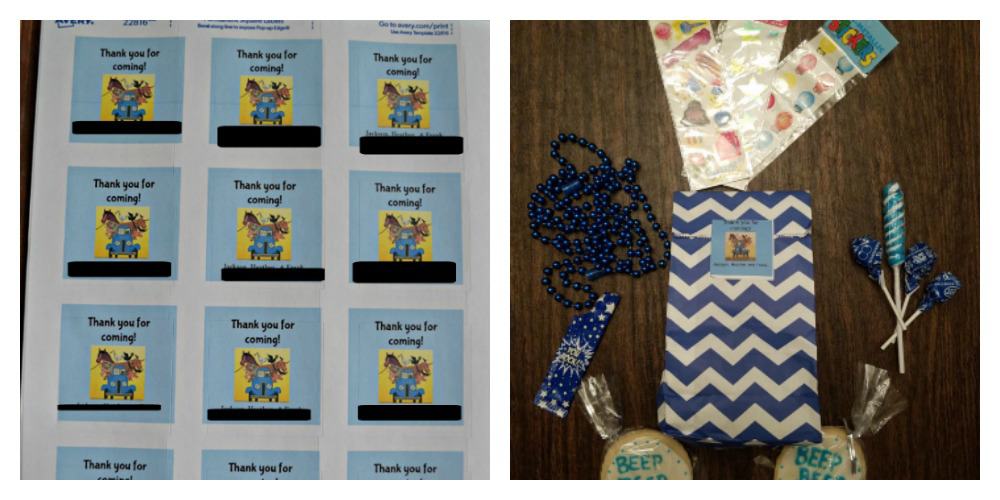
I know I didn’t have to make favor bags but I thought it would be nice especially since some people were traveling. I didn’t put too much in them, but I made everything follow the blue theme. Blue lollipops, blue candy, blue stickers, etc. We had two other kids under the age of 2 so instead of all that candy I put in a pouch of blueberry applesauce and 2 little board books for them. I thought they would enjoy those more.
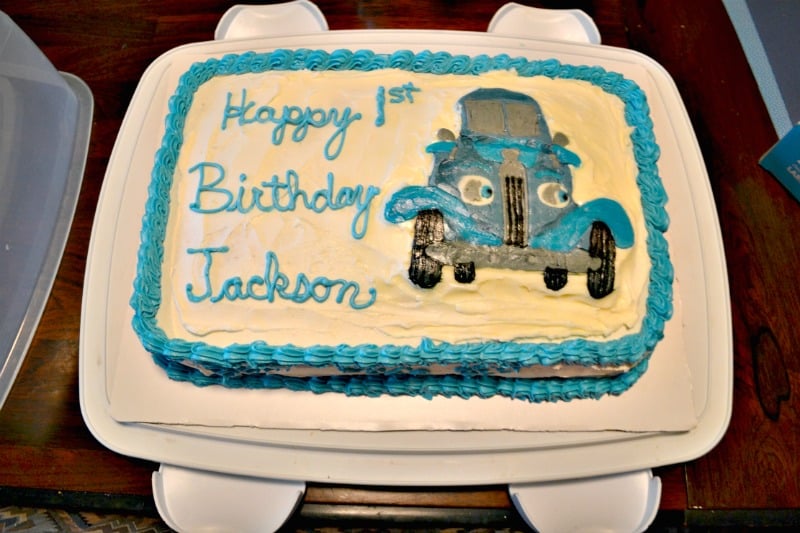
The last thing I did was the cake and cupcakes. I made the cupcake toppers but then made chocolate cupcakes to go with them. Then I made the vanilla cake. I was nervous about doing the picture on top but I found a great tutorial on how to do it. You can find it HERE. It wasn’t too hard at all and I think it turned out really great!
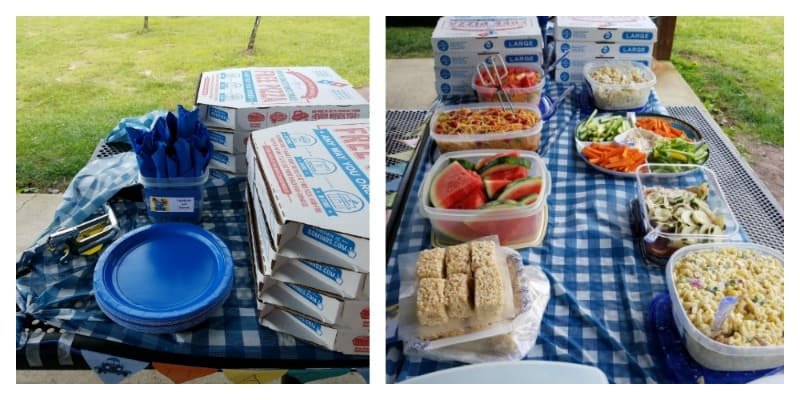
At the end of the day it went really well. We had 25 people at the church for the baptism and 23 people at the park for his party. He sat for the entire service which was over an hour and barely made a peep. Then we went to the park and he let everyone hold him and did great even though we left an hour after nap time. He did fall asleep on the way home but I think he really enjoyed himself!
DIY Little Blue Truck Centerpieces
Ingredients
- 12 Little Blue Truck photos, cut in a circle
- 1/2 yard blue gingham fabric
- 12 skewers
- 4 pieces of different colored fabric (We used blue, green, yellow, and red)
- 6 pint mason jars
- shredded blue paper (I found this at the dollar store)
- Hot glue gun
Instructions
- Place each Little Blue Truck photo on top of the blue gingham fabric and cut out a circle the same size. Keep both the paper and fabric together.
- Heat the hot glue gun. Put an inch long line of hot glue running vertically down the back of the paper circle towards the bottom and place the skewer on it.
- Then glue the top of the paper circle and lay the blue gingham on top of it. You should be able to see the picture and the blue gingham fabric. Repeat with the sides and the bottom until the entire thing is sealed and the skewer is running out of the bottom of the centerpiece. Repeat with remaining 11 pictures.
- Take the colored fabric pieces and cut them into 1 inch wide strips that run 6 inches in length. You will need to make 2 for each skewer so you will need 24 strips.
- Once you have the strips put a small dot of hot glue in the middle of the strip and place the skewer on top of it, towards the top where the paper circle is. Tie a knot in the fabric. Repeat with a second fabric strip a half inch below the first.
- Do this for all of the paper circles.
- Once we have the circles done fill each of your jars with shredded paper. Place two of the skewers in each jar. You will probably need to add additional paper.
- Arrange as you would like an enjoy your centerpieces!
Notes
These directions are Hezzi-D original