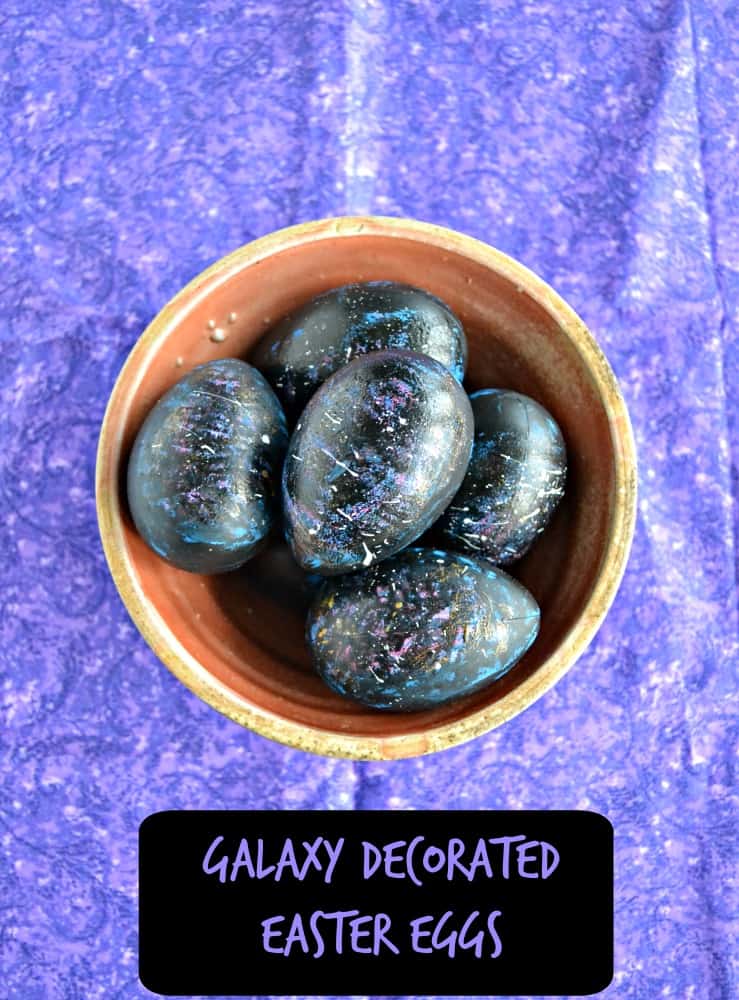
Galaxy Easter Egg Tutorial
Make these fun and creative DIY Galaxy Easter Eggs by using dye-able black eggs and paint!
Print
Pin
Servings: 12 eggs
Ingredients
- 1 dozen black dye-able eggs
- 1 paper plate
- Acrylic paint white, black, purple, pink, blue, gold
- sponge paint brushes
- 1 soft paintbrush
- 1 paintbrush with firm bristles
Instructions
- Start by pouring a spot of blue paint and a spot of black paint on a a paper plate. To make the swirled background, take a paintbrush with soft bristles and smooth on your blue in a swirl pattern. While the blue is still wet, dip the brush into the black paint and swirl the colors around. Don't put on too much as you don't want to have a solid colored egg.
- Pour spots of pink, purple, and gold on the paper plate. Grab a sponge brush and start with the purple paint. Daub the purple paint on top of the blue but make sure you can still see the blue. Allow to dry.
- Take another sponge brush and daub the pink paint on top of the purple paint and allow to dry.
- Take a different sponge brush and just dip the edge in the black paint. Lightly daub it on the egg to make black speckles on top of the other colors. Don't put too much black on!
- Next, lightly dip another sponge brush into the gold. Lightly daub the gold in a random pattern on the egg. Allow the egg to dry.
- Pour a small spot of white paint in the middle of the paper plate and add and few drops of water to thin it out. Mix well. Take a paintbrush with stiff bristles and dip it into the white paint. Gently pull the bristles back with your thumb and allow the white paint to splatter on the egg. (You may want to practice this before trying on the egg!)
- Allow the eggs to dry and enjoy your galaxy eggs!
- Allow the eggs to dry and enjoy your galaxy eggs!
Notes
Tutorial from Dream A Little Bigger