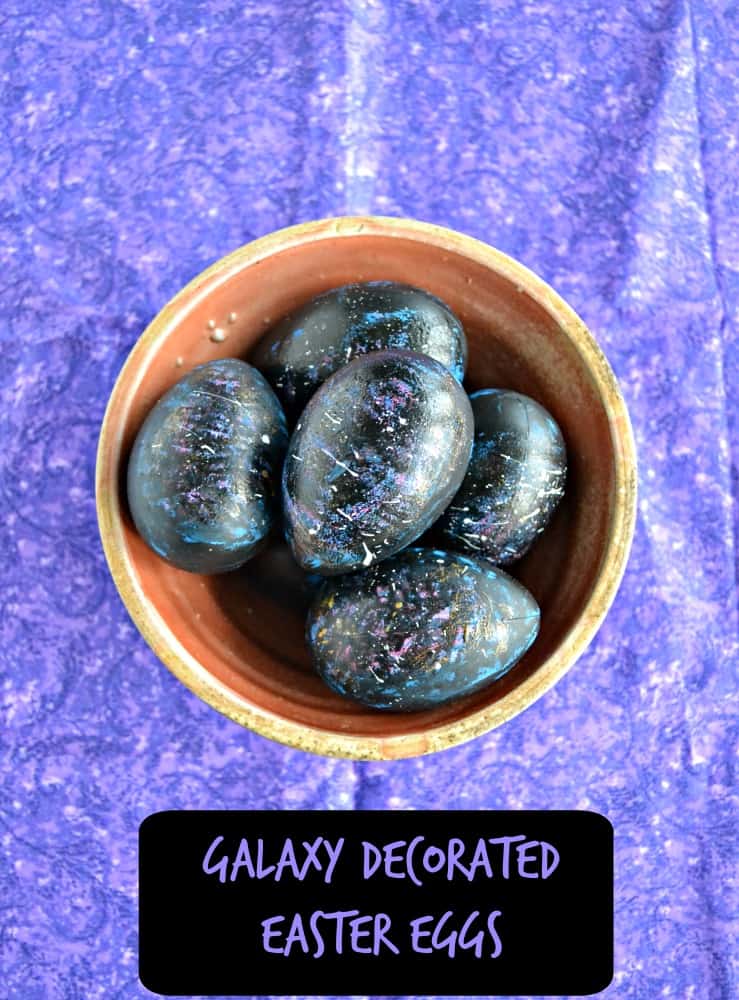
Galaxy Easter Egg Tutorial
As an Amazon Associate, I earn from qualifying purchases. Read the full disclosure here.
I really like to color Easter eggs but I hate the mess it makes. Often times my hands are stained for days after I’ve finished coloring the eggs or my counter tops are stained from the dye running over the edges. I’ve been on the look out for an easier way to make some cool looking Easter eggs and these Galaxy eggs were perfect!
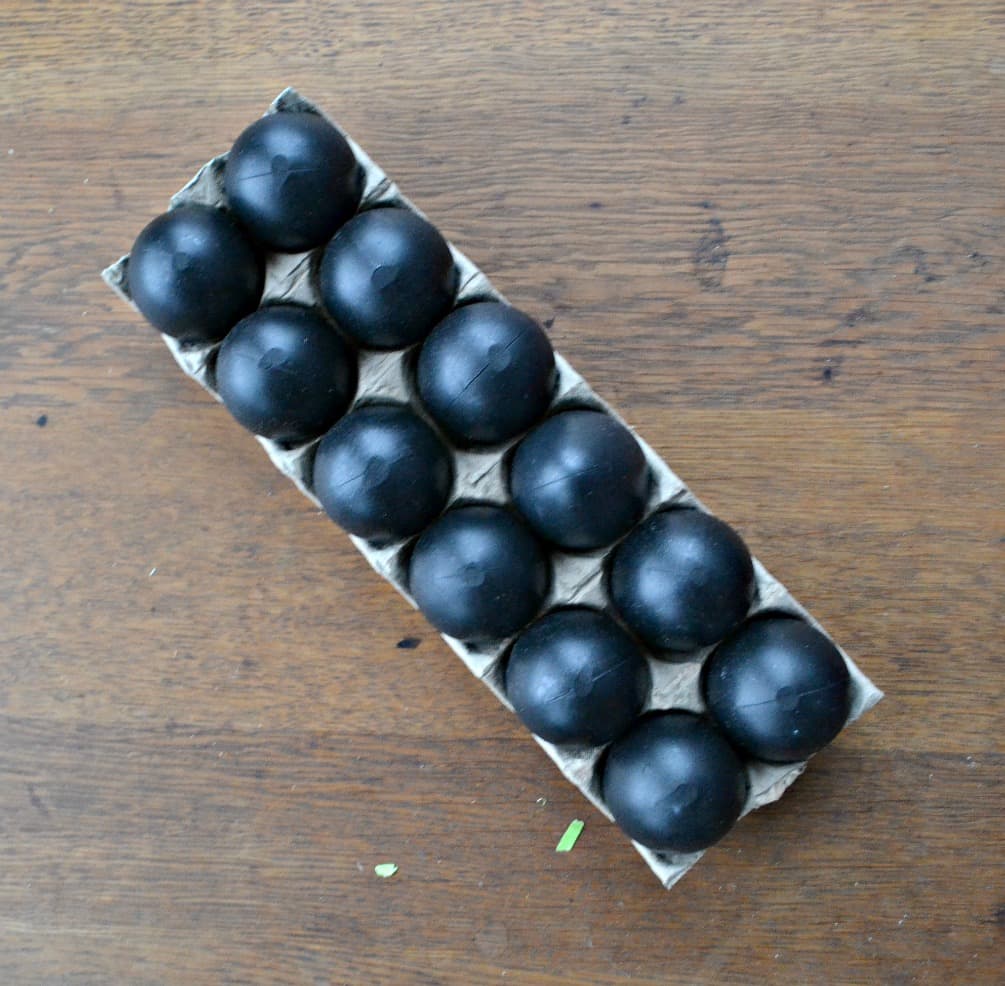
For starters these are not real eggs. I know what you are thinking, not real eggs? What are they? Get ready for a revolution in how you color or decorate Easter eggs. I recently found that stores sell plastic, dye-able Easter eggs! Have you heard of these? I hadn’t but I was super interested because let’s be honest, how many people eat the eggs they dye? After they sit out for hours on end no one wants to eat them and they are just wasted. These eggs can either be used all year round to decorate or saved and used again the next year. Walmart sells both the white and the black eggs which was super helpful in this project.
These eggs are not too hard to make. They do take a little time but I think the end product is pretty cool looking. I put them in a large vase and they look really neat. I also think people would appreciate a different type of Easter egg and one they can take home and not worry keeping it cool.
I want to point out that if you want to make these eggs with real eggs you can absolutely do that but you are going to have to dye them black and wait for them to dry before moving on to any of the other steps which could take a while. I found the plastic eggs easy to work with and use. Plus they’ve been sitting out for 7 days and I don’t have to worry about making room in the refrigerator.
To make the eggs you basically layer on different colors of paint, put more black paint on top, then sprinkle it with white paint “stars”. They really do look like little galaxies which is really neat. So go ahead and give them a try and let me know how they turn out!

Galaxy Easter Egg Tutorial
Ingredients
- 1 dozen black dye-able eggs
- 1 paper plate
- Acrylic paint white, black, purple, pink, blue, gold
- sponge paint brushes
- 1 soft paintbrush
- 1 paintbrush with firm bristles
Instructions
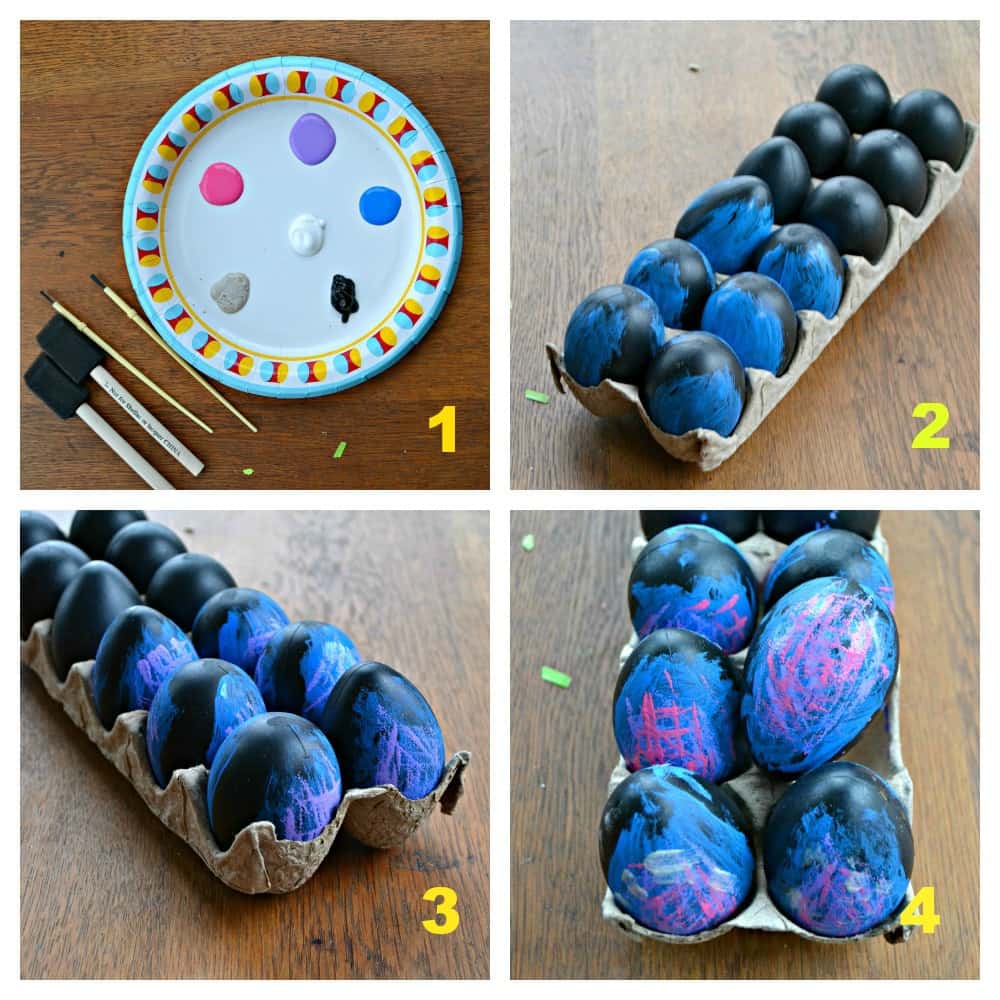
- Start by pouring a spot of blue paint and a spot of black paint on a a paper plate. To make the swirled background, take a paintbrush with soft bristles and smooth on your blue in a swirl pattern. While the blue is still wet, dip the brush into the black paint and swirl the colors around. Don't put on too much as you don't want to have a solid colored egg.
- Pour spots of pink, purple, and gold on the paper plate. Grab a sponge brush and start with the purple paint. Daub the purple paint on top of the blue but make sure you can still see the blue. Allow to dry.
- Take another sponge brush and daub the pink paint on top of the purple paint and allow to dry.
- Take a different sponge brush and just dip the edge in the black paint. Lightly daub it on the egg to make black speckles on top of the other colors. Don't put too much black on!
- Next, lightly dip another sponge brush into the gold. Lightly daub the gold in a random pattern on the egg. Allow the egg to dry.
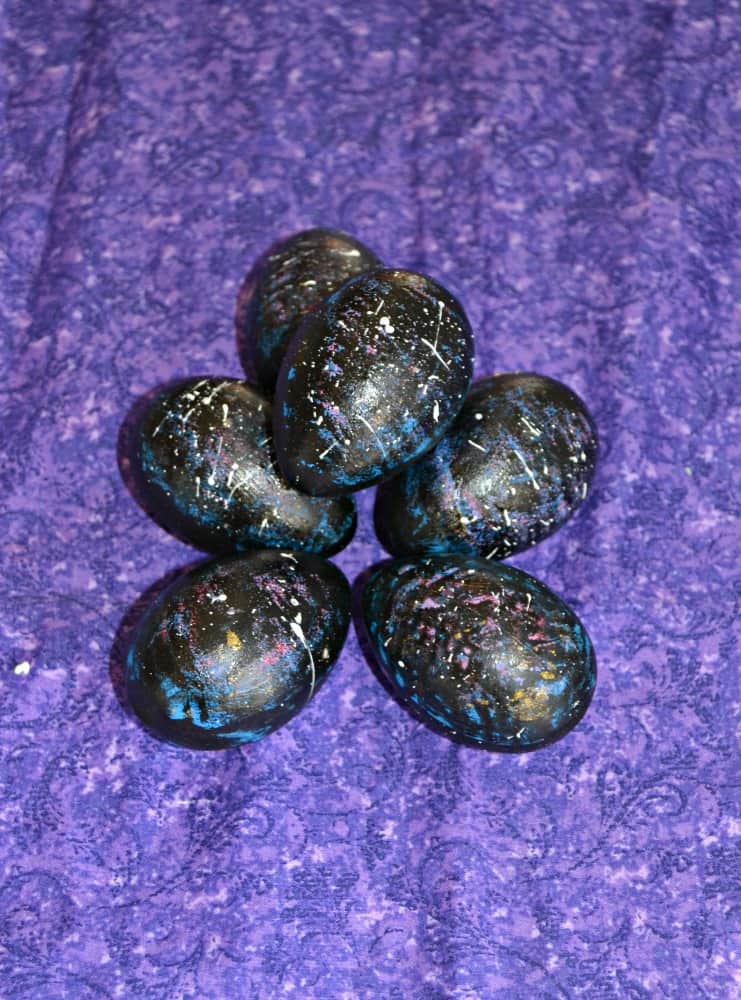
- Pour a small spot of white paint in the middle of the paper plate and add and few drops of water to thin it out. Mix well. Take a paintbrush with stiff bristles and dip it into the white paint. Gently pull the bristles back with your thumb and allow the white paint to splatter on the egg. (You may want to practice this before trying on the egg!)
- Allow the eggs to dry and enjoy your galaxy eggs!
- Allow the eggs to dry and enjoy your galaxy eggs!
Notes


