Angel Biscuits

As an Amazon Associate, I earn from qualifying purchases. Read the full disclosure here.
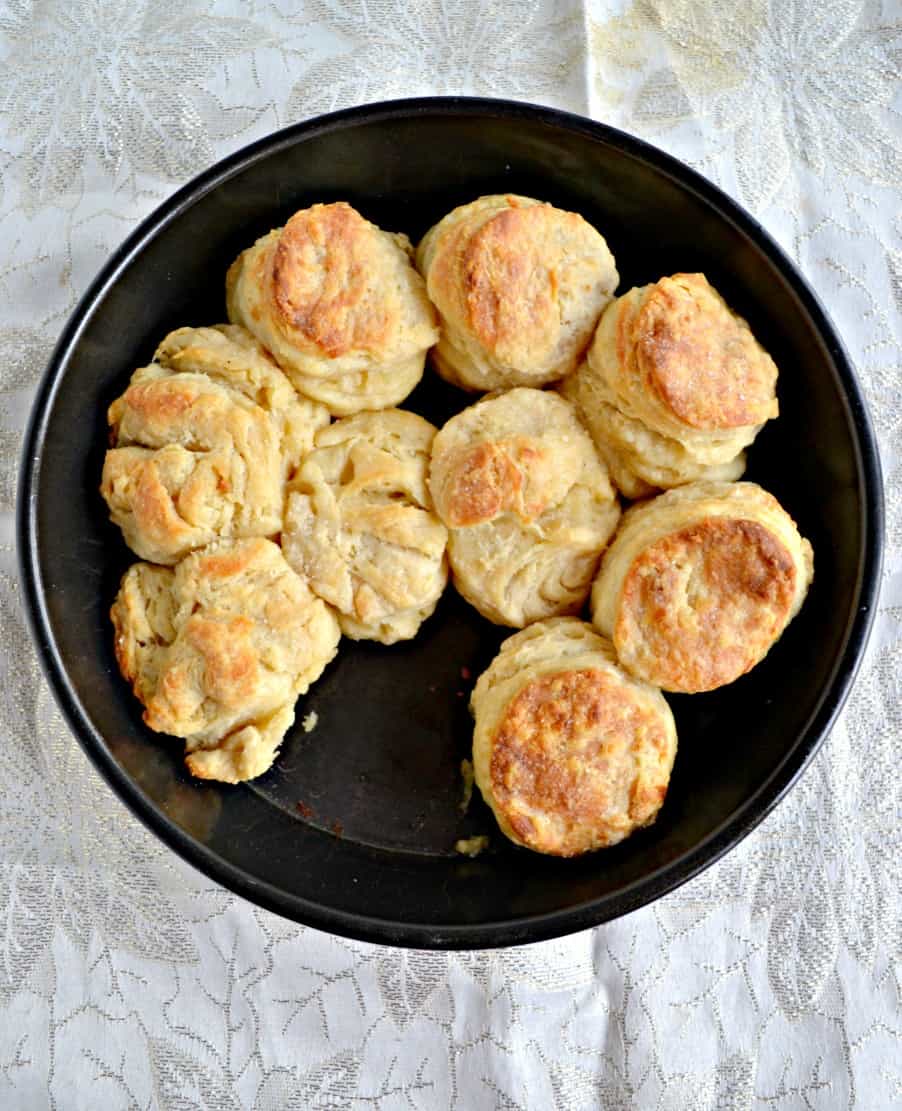
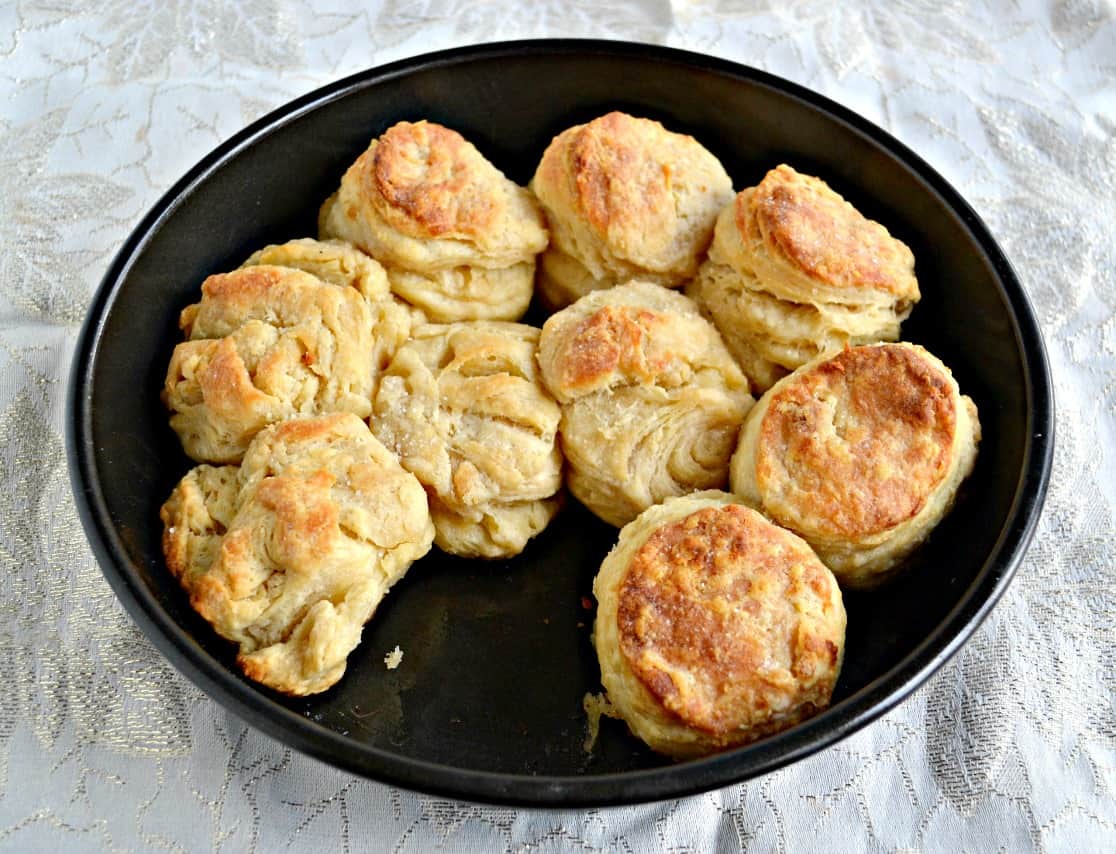
Angel Biscuits are the perfect combination of biscuits and rolls with a buttery, crisp top and a fluffy soft inside that almost melts in the mouth.
While I love to cook I’ve never made a full Thanksgiving dinner myself until this year. Everything was made from scratch and I made all of our favorites. The one thing I hadn’t decided on was the bread.
At first I thought of making my favorite Sourdough Biscuits. They are my go to whenever I need bread. However, since it was a holiday I wanted to make something a little more special. I was going to make my favorite dinner roll when I was paging through a cooking magazine and saw the recipe for Angel Biscuits.
I don’t know if you’ve heard of Angel Biscuits but they’ve been all the rage lately. I’ve seen them on TV, on blogs, and in magazines. The photo looked mouthwatering and I knew I had to make them!

Ingredients:
- water
- honey
- yeast
- flour
- baking powder
- baking soda
- salt
- butter
- milk
The thing to notice about this recipe is that it has yeast and baking powder in it giving it double rising power. I wasn’t quite sure how that would work but I was here for it.
All of the ingredients are combined and then the dough is left to rise for a few hours. I had a hard time knowing when the dough was doubled in size so I probably let it rise longer then it should have but it didn’t affect it at all.
After the rising the dough is turned out onto a floured surface and pressed into a rectangle. Then it is folded and turned several times before it’s cut out with a biscuit cutter. The biscuits are placed in a pie pan, baking dish, or cast iron skillet and refrigerated overnight.
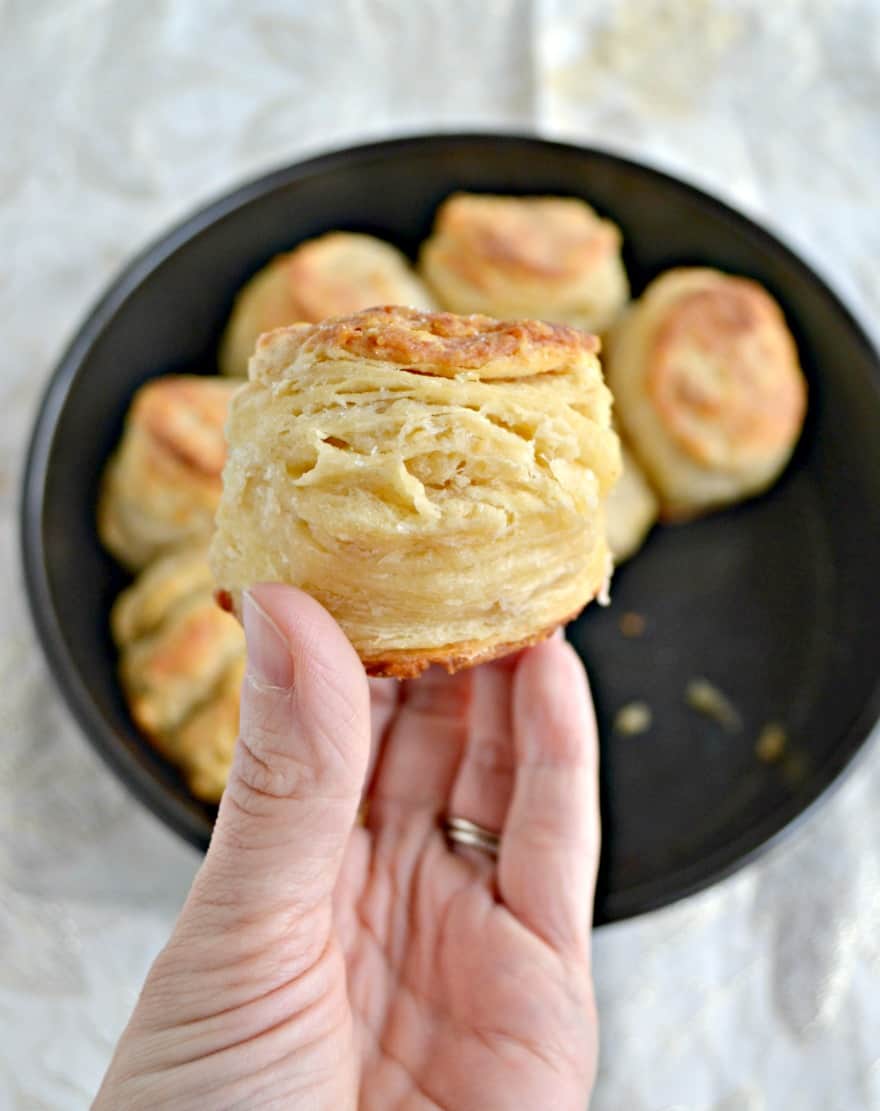
I baked these biscuits in the morning. I brushed them with butter before they went into the over and after they came out. The biscuits got huge in the oven! I could see all of the layers and they smelled so good.
I ate one as soon as it came out and it was awesome! It’s like eating a combination of a biscuit and a roll. The top is crisp, golden brown, and buttery while the inside is pillowy soft and delicious.
These biscuits were a big hit and we will certainly make them again. I like that they don’t need to be kneaded so while they do need rising time, the hands on time is very short so they are perfect for holidays.
More Biscuit Recipes:
- Easiest Ever Biscuits
- Green Chile and Cheddar Biscuits
- Old Bay Cheddar Biscuits
- Chicken Pot Pie with Homemade Biscuits
- Sourdough Biscuits
If you’ve tried my Angel Biscuits or any other recipe on Hezzi-D’s Books and Cooks please take a minute to rate the recipe and leave a comment letting me know how you liked it. I love hearing from you! You can FOLLOW ME on:
Angel Biscuits
Ingredients
- 1/4 c. warm water 100-110 degrees
- 1 Tablespoon honey
- 1 1/4 oz package active dry yeast
- 2 2/3 c. flour
- 1 teaspoon baking powder
- 1/2 teaspoon baking soda
- 1 teaspoon salt
- 1 stick cold butter cut into pieces
- 3/4 c. milk
Instructions
- In a small bowl combine the warm wateer and honey and stir until dissolved. Add in the yeast. Let sit for 5 minutes.
- Meanwhile, whisk the flour, baking powder, baking soda, and salt in a large bowl.
- Cut up the butter into small pieces and add to the flour. Use your fingers to work the butter into the flour until it resembles coarse breadcrumbs.
- Make a hole in the center and add the yeast mixture and milk. Stir until the flour is completely wet and the dough looks like a shagyy ball. Cover the bowl with plastic wrap and let rise for 2 hours or until doubnled in size.
- Spray a pie pan or baking dish with cooking spray.
- Turn the dough onto a lightly floured surface and knead three or four times. Pat into a 1 inch thick rectangle. Fold it in half like a book and pat to 1 inch thickness again. Rotate 90 degrees and repeat two more times.
- Using a 2 inch biscuit cutter, cut out rounds of dough and place in the prepared pan. Gently press the scraps together once to cut out more biscuits. You should have about 10 biscuits.
- Cover and refrigerate 3 hours or overnight.
- Preheat the oven to 425 degrees. Brush the tops of the biscuits with butter. Bake for 20-25 minutes.
- Remove the biscuits from the oven and brush with more butter. Let cool for 20 minnutes.
Notes
Nutrition
I followed the recipe to the T and it never rose. When I made into biscuit shapes, they came out crumbly and flaky. What did I do wrong? I’m baking them in 1hr 15min. I used fresh yeast. Thanks for your help!
Make sure your yeast is bubbly and active after putting it in the warm water for 5 minutes. This helps activate it. Also, make sure your butter isn’t melted. It needs to be cold and cut into pieces. Don’t over knead the dough.. It should be rough and shaggy not smooth like other doughs. Are you letting it rise 2 times? You need to do the first rise of the dough in a bowl and another rise in the refrigerator once they are in biscuit shapes. I hope this helps! I’ve made these multiple times and I love the rise they get on them!