DIY Christmas Cookie Plates
As an Amazon Associate, I earn from qualifying purchases. Read the full disclosure here.
Last year I didn’t know what to make for Christmas gifts. I usually make something homemade, usually something to eat, for everyone in my family. There were almost 5 weeks in between Thanksgiving and Christmas last year and I thought I had a ton of time. Somehow time got away from me and it was the week before Christmas and I still needed some homemade gifts.
I didn’t end up making something for everyone which is the first time I haven’t done that in about 5 years but with a toddler it’s hard to get things done. I had already painted champagne glasses for my brother and his wife and wine glasses for my cousin so I had plenty of stencils and paint leftover. I started thinking of things I could make and I came up with DIY Christmas Cookie Plates!

I thought a DIY cookie plate would be fun because almost everyone has cookies at Christmas. I usually just throw them on a plate and call it a day but it would be nice to have a fancy plate so that I could serve my cookies on it whenever we have company over the holidays. I ran out to Walmart, bought a few large, white plates, and brought them home.

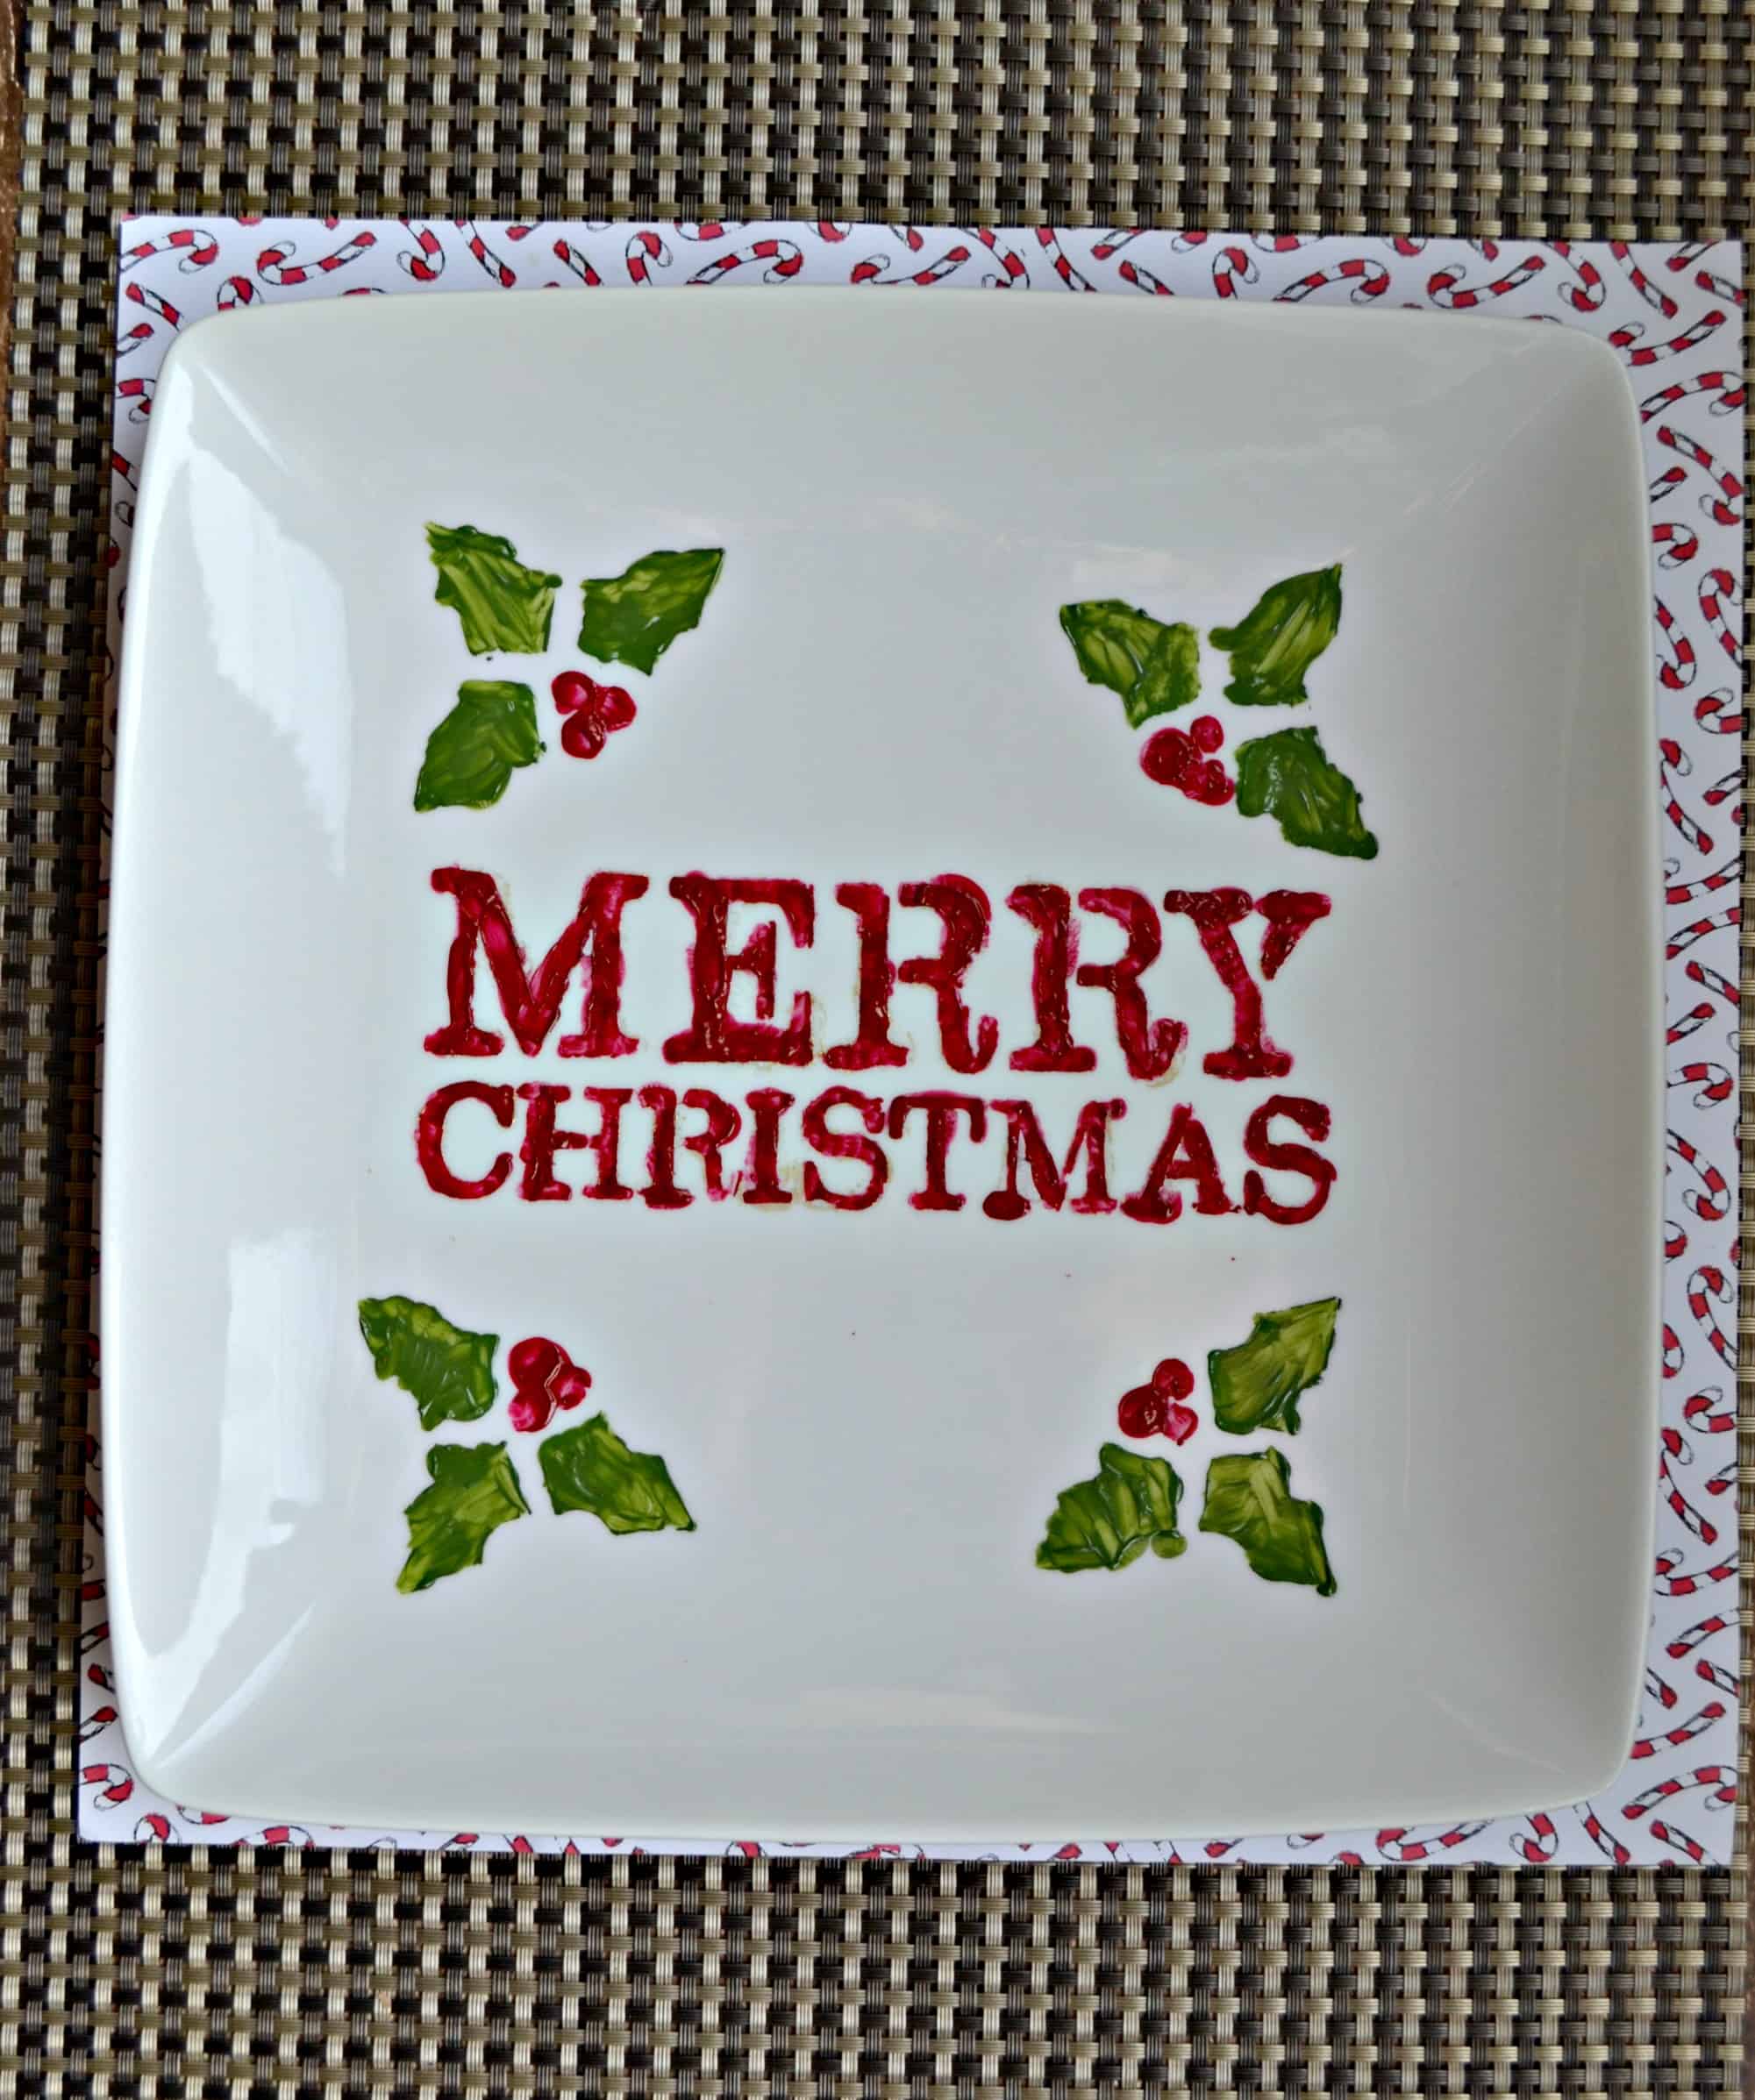
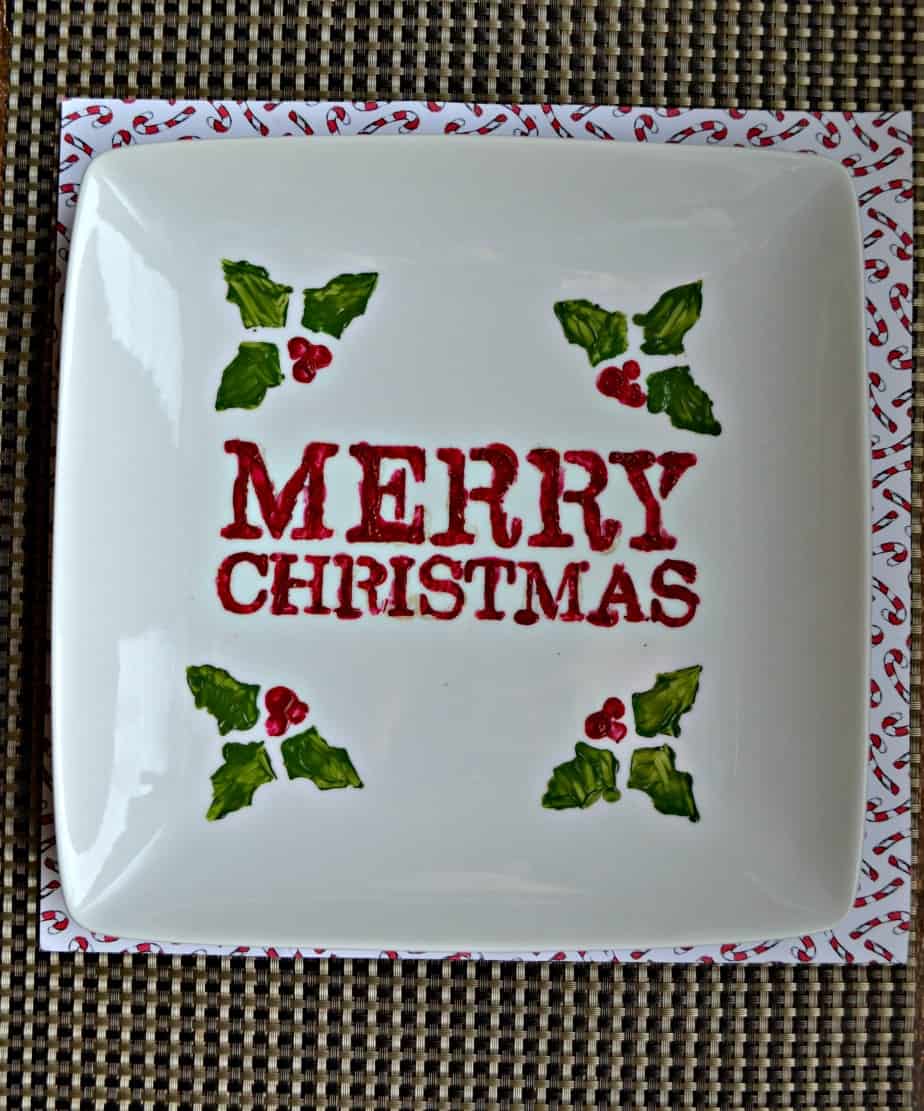
I chose a very simple stencil that said Merry Christmas and a few holly leaves. I made two different colors. One had the Merry Christmas in red and the other had it in gold. I used a silver glitter Mod Podge to seal it in because I thought it gave it a snowy look which was perfect for this.

It took me about 30 minutes to paint 3 plates. I had to let them dry over night and then coated them with the Mod Podge. All in it took about 45 minutes of active time and I had three beautiful plates. I ended up giving one to my mom, one to my cousin, and I kept one for myself. I really liked them and I think they are the perfect DIY Christmas gift!
DIY Christmas Cookie Plates
Ingredients
- 3 large white plates
- Christmas stencils
- Folk Art Enamel & Glass Paint in red green, and gold
- paint brushes
- Silver Glitter Mod Podge
Instructions
- Tape the stencils to the plates. Using a paintbrush paint the Merry Christmas first. I did two of these in red and one in gold.
- Then carefully paint the holly berries red and the leaves green.
- Remove the stencils and allow the paint to dry for at least 2 hours.
- Once the paint has dried apply Silver Glitter Mod Podge over top of the paint.
- Allow to dry for 24 hours.
Notes
Thank you for the creative tutorial Heather! Love the idea of using the glitter Mod Podge – didn’t even know that existed!
Cheers,
Jasmine
Can you hand wash the plate?
Yes! That is what I do with it. It’s lasted several years with only one minor area that started to come off so I resealed it with Mod Podge and it’s held up!