Red, White, and Blue Thumbprint Cookies

As an Amazon Associate, I earn from qualifying purchases. Read the full disclosure here.
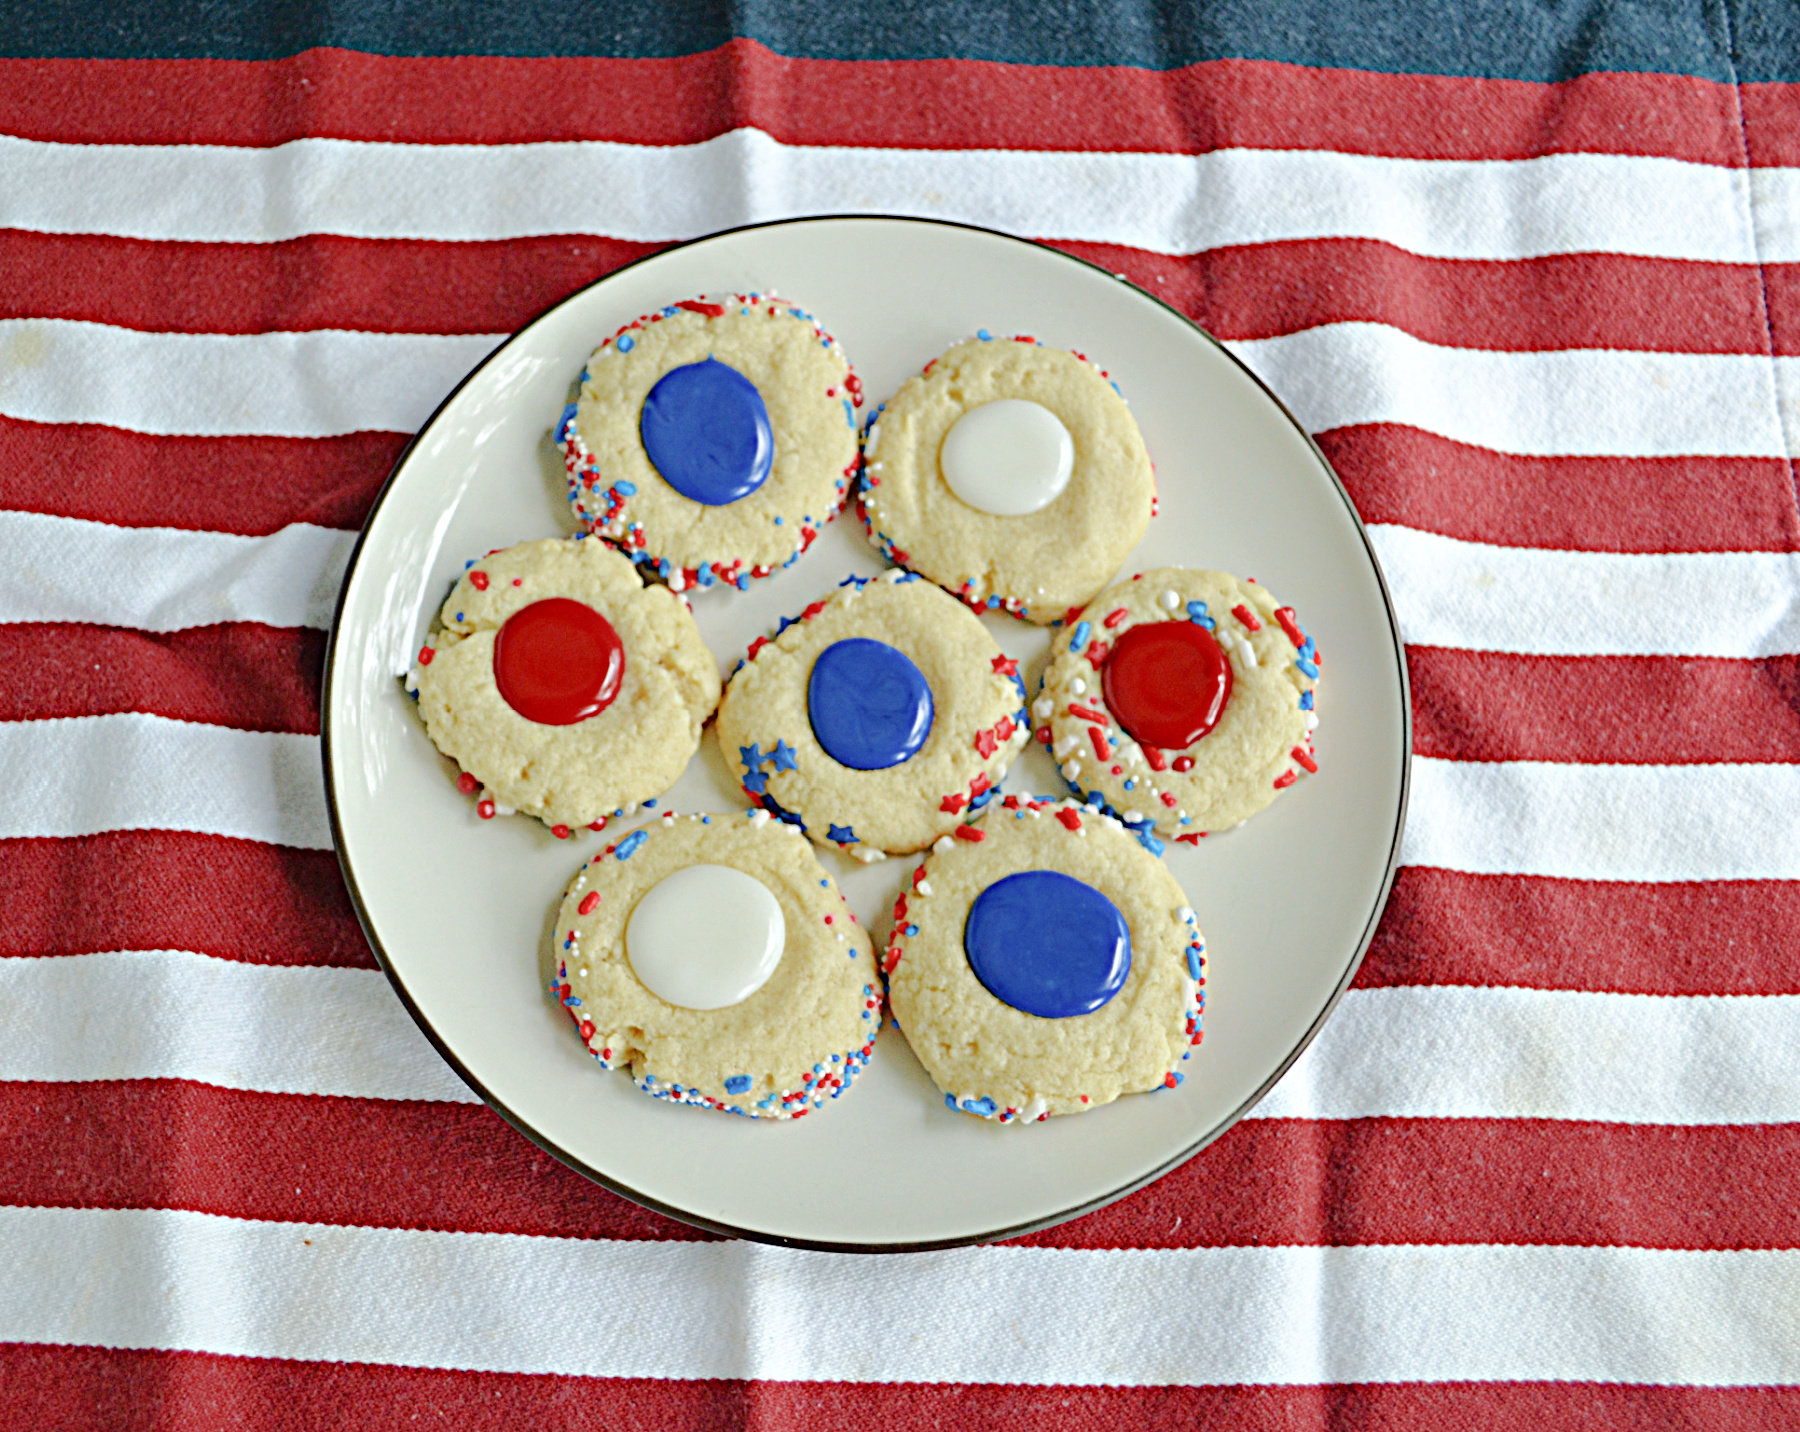
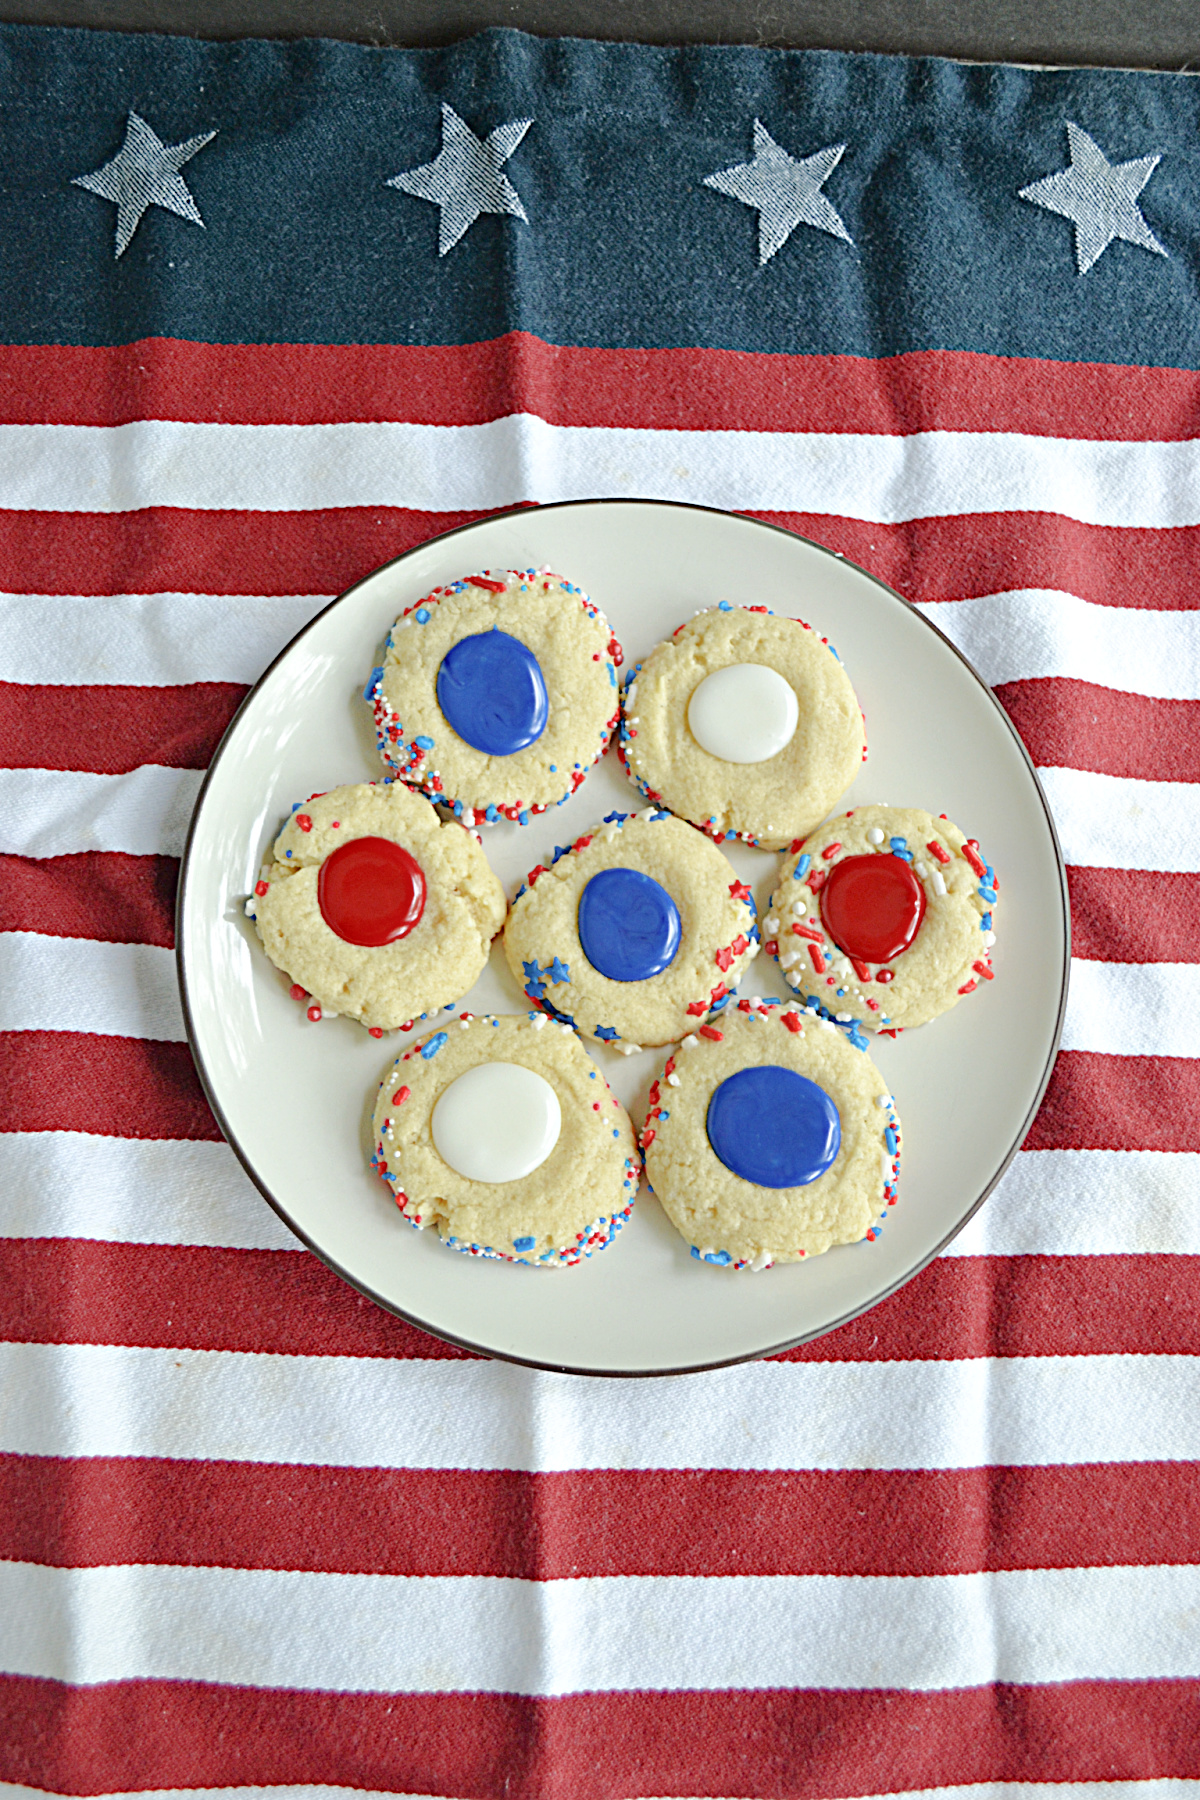
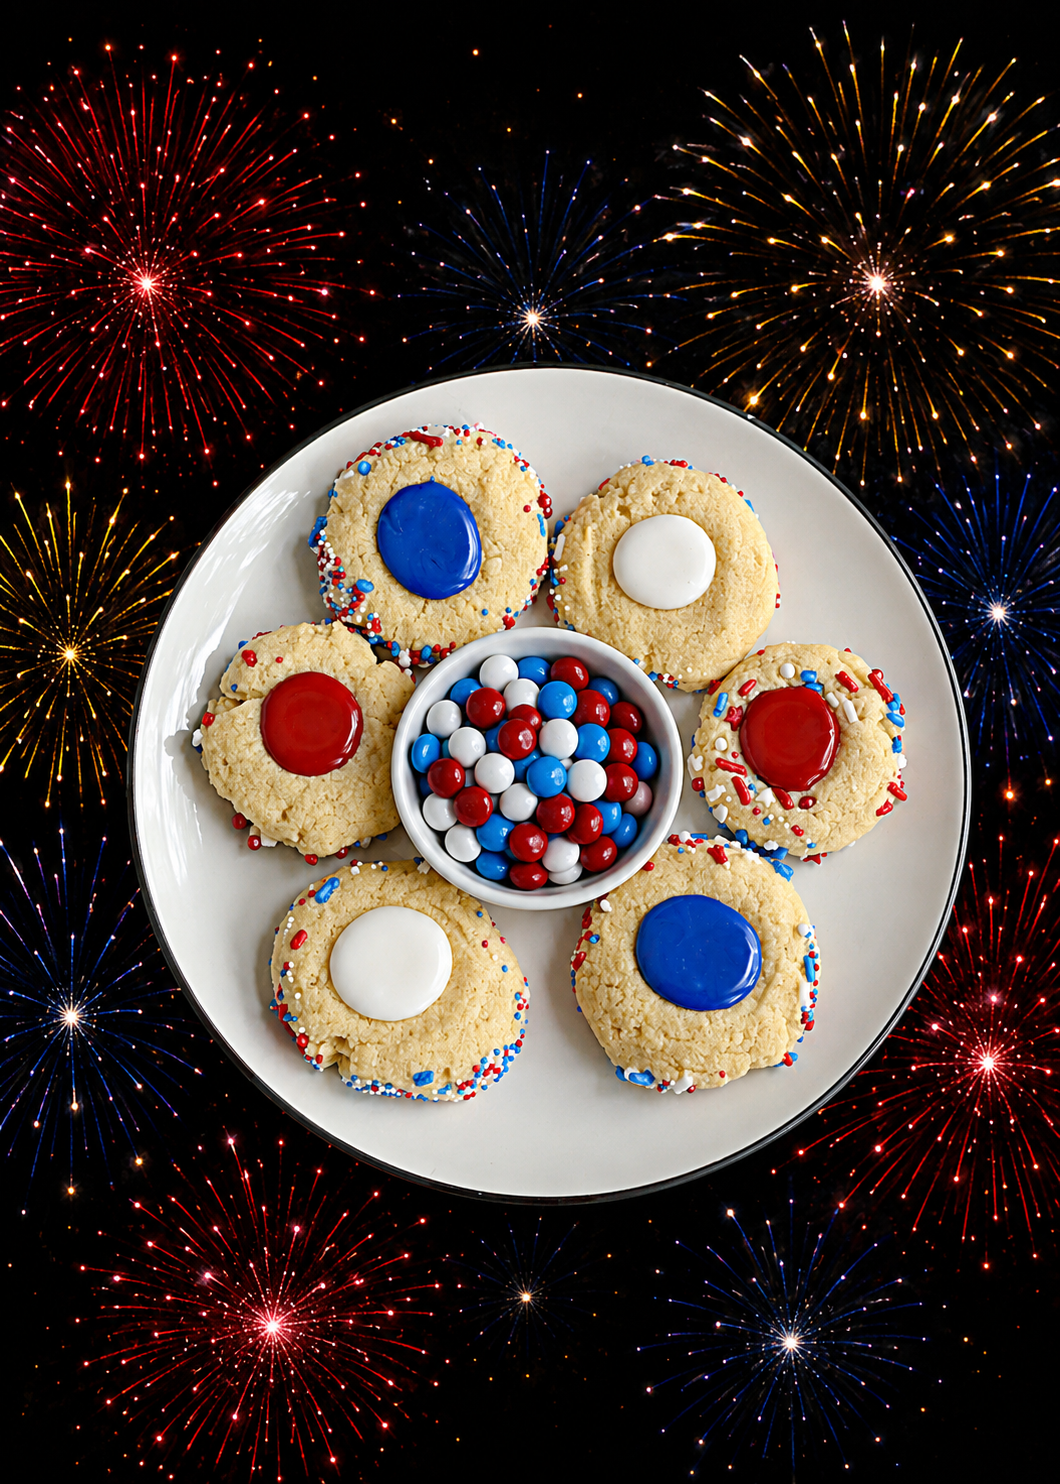
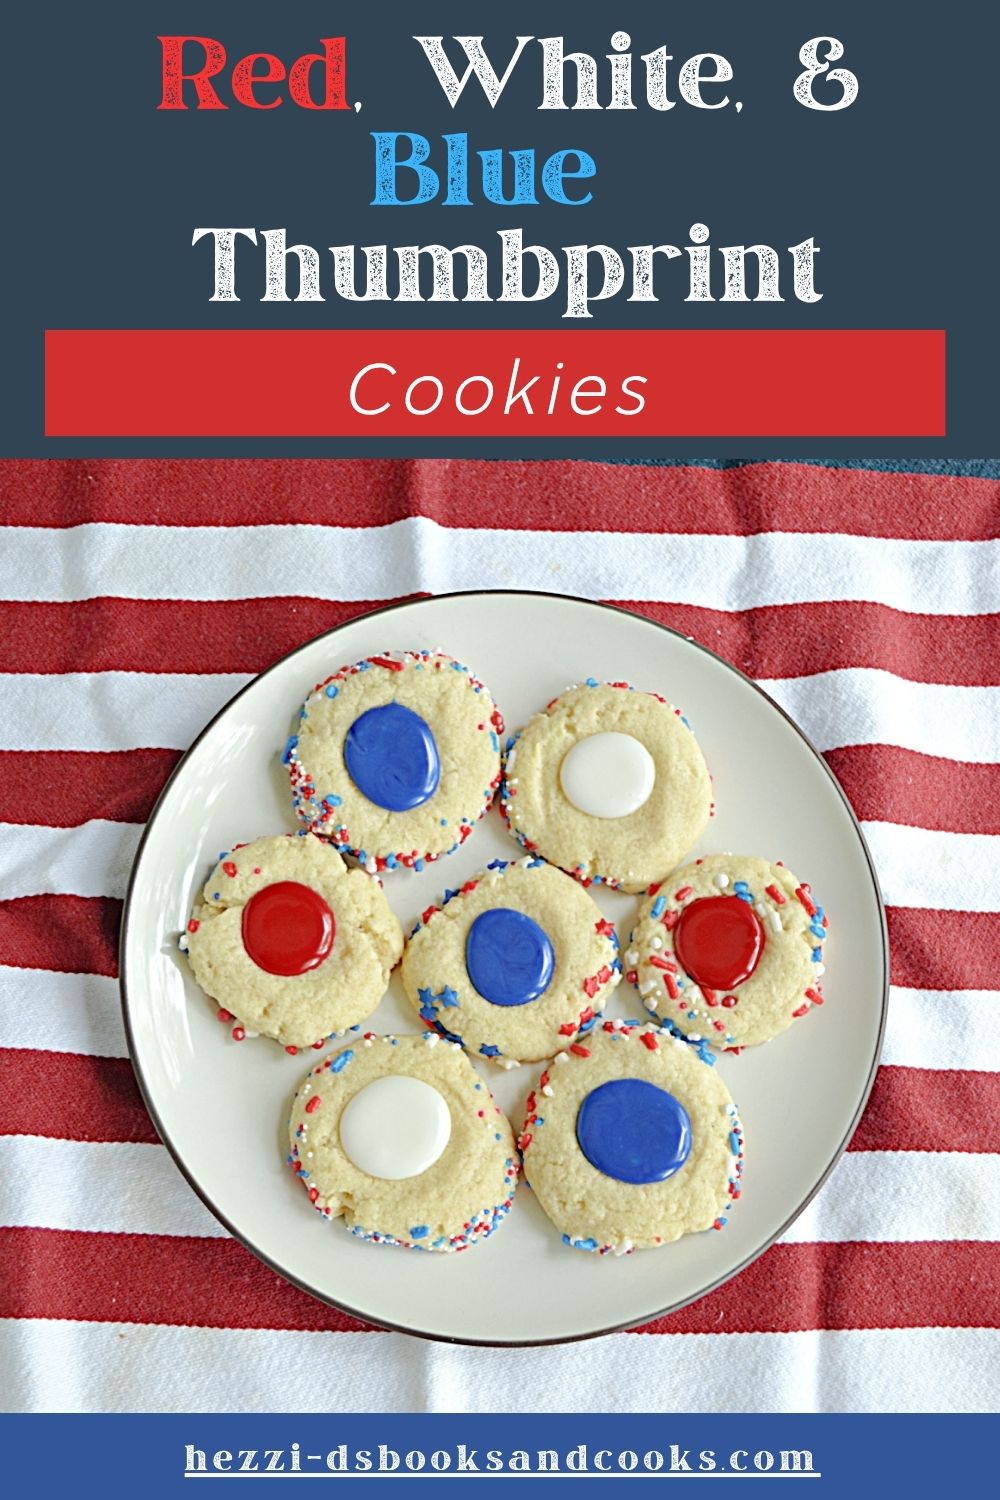
These red, white, and blue thumbprint cookies are bursting with patriotic fun! Buttery cookies filled with colorful frosting make the perfect sweet treat for summer parties or cook outs!
I’ve recently been on the hunt for a new cookie. I feel like I’ve been making a lot of chocolate chip and oatmeal cookie varieties. I wanted to make something new and different.
Now I know I have a million cookie recipes at my disposal. I have an awesome Cookie Butter Cookie with Cinnamon Frosting that is amazing. Then I have a tasty Lemon Blueberry Cookie with White Chocolate that’s perfect for the summer. I also make these Key Lime Thumbprints whenever I can find key limes but that isn’t very often.
Since it’s summer time I keep coming back to a red, white, and blue cookie. I don’t really have any that I’ve made so I went in search of a good one.
I found red, white, and blue thumbprint cookies that have frosting in the center. I love how bold the colors were and decided to make it for myself.
What are thumbprint cookies?
Thumbprint cookie are soft, buttery cookies that are rolled into balls and pressed with a thumbprint (or teaspoon) to make a small indentation in the center before baking. That thumbprint is then filled with something sweet like jam, chocolate, caramel, lemon curd, or frosting.
The basic dough for a thumbprint cookie is very simple to make. It’s usually butter or shortening, sugar, an egg, all purpose flour, and flavoring like vanilla.
The cookies are usually rolled into balls and then rolled into some type of nuts or sprinkle. I tolled mine into red, white, and blue jimmies and sprinkles which I thought made them look really festive. However, you do not have to roll them in anything.

You can use your thumb or a measuring teaspoon to put the indentation in the center of the cookie. I tend to do this before baking and then again once I pull the cookies out of the oven. Be careful you do not go all the way through the cookie as you need a cookie base to hold your filling.
I made a simple powdered sugar frosting to go in the center of the cookies. I used bold food coloring to color the frosting and it ended up looking awesome.
What type of food coloring do you use for the frosting?
This is very important. Do not use the little set that you can buy at the grocery store as it’ll turn out more pink and light blue. Use a cool gel food coloring. I use AmeriColor Gel Food Coloring for real, bold colors. The Red Red only requires a few drops for a true red color which is awesome.

Ingredients:
- salted butter, softened (or unsalted if you prefer)
- granulated sugar
- egg
- vanilla extract (or almond extract if you prefer)
- all purpose flour
- red, white, and blue sprinkles or jimmies

These cookies are fairly easy to make and there’s no need to chill the dough which makes them quick as well. The cookie ingredients are mixed together to form a dough and then each is portioned out and rolled into jimmies.
You can then use your thumb or a teaspoon to make an indentation in the middle of the cookie before baking. I find that I often make the indentation again after the cookies come out of the oven to insure it’s deep enough for the frosting.

Once the cookies have cooled you can make the frosting and fill them. As I said I made a simple powdered sugar frosting or icing to go into the middle of the cookies.
Can I use a different filling?
Yes you can! You can make a buttercream frosting and pipe it into the center of the cookies using a star tip. You could use strawberry or blueberry jam in the center since these are red, white, and blue cookies. You could even make a white chocolate ganache for the center if you’d like.
These cookies are so good! They are buttery and delicate and melt in your mouth. The icing in the middle is sweet and pairs well with the cookie.
The sprinkles give the cookies a festive feel while the deep colors of the frosting in the middle really add a pop of color. These would be a gorgeous dessert table centerpiece or could even be given out as party favors.
How do you store Thumbprint Cookies?
Store the cookies in a single layer in an air tight container at room temperature for up to one week. You can also freeze in a single layer for up to 6 months. If you need to stack them let the icing in the middle harden for 24 hours before stacking the cookies with layers of parchment paper in between the layers.
If you’ve tried my Red, White, and Blue Thumbprint Cookies or any other recipe on Hezzi-D’s Recipe Box please take a minute to rate the recipe and leave a comment letting me know how you liked it. I love hearing from you! You can FOLLOW ME on:
Red, White, and Blue Thumbprint Cookies
Equipment
Ingredients
For the Cookies:
- 1/2 cup butter softened
- 1/4 cup granulated sugar
- 1 egg yolk
- 1 teaspoon vanilla extract
- 1 cup all purpose flour
- 1/2 teaspoon salt
- 1/2 cup sprinkles red, white, and blue
For the Icing:
- 2 cups powdered sugar
- 2 Tablespoons milk
- 1 Tablespoon corn syrup
- 2 teaspoons vanilla
- red white, and blue food coloring
Instructions
- Preheat the oven to 350 degrees.
- In a large bowl cream together the butter and sugar. Add in the egg yolk and vanilla and mix until creamy and smooth.
- Add in the flour and salt until a dough forms.
- Pour the sprinkles into a shallow bowl.
- Using a small cookie scoop, scoop the dough into 1 Tablespoon balls. Roll into the sprinkles and place on the baking sheet 2 inches apart.
- Use your thumb or a teaspoon and make an indent in the center of each cookie.
- Bake for 10 minutes then remove from oven and cool completely on a wire cooling rack.
- To make the icing place the powdered sugar, milk, corn syrup, and vanilla in a bowl and whisk until thick and smooth.
- Divide into 3 bowls. Tint one red, one white, and one blue. Carefully use a spoon to pour icing into the center of each cookie. Allow it to harden for 1-2 hours before placing in a container.
Notes