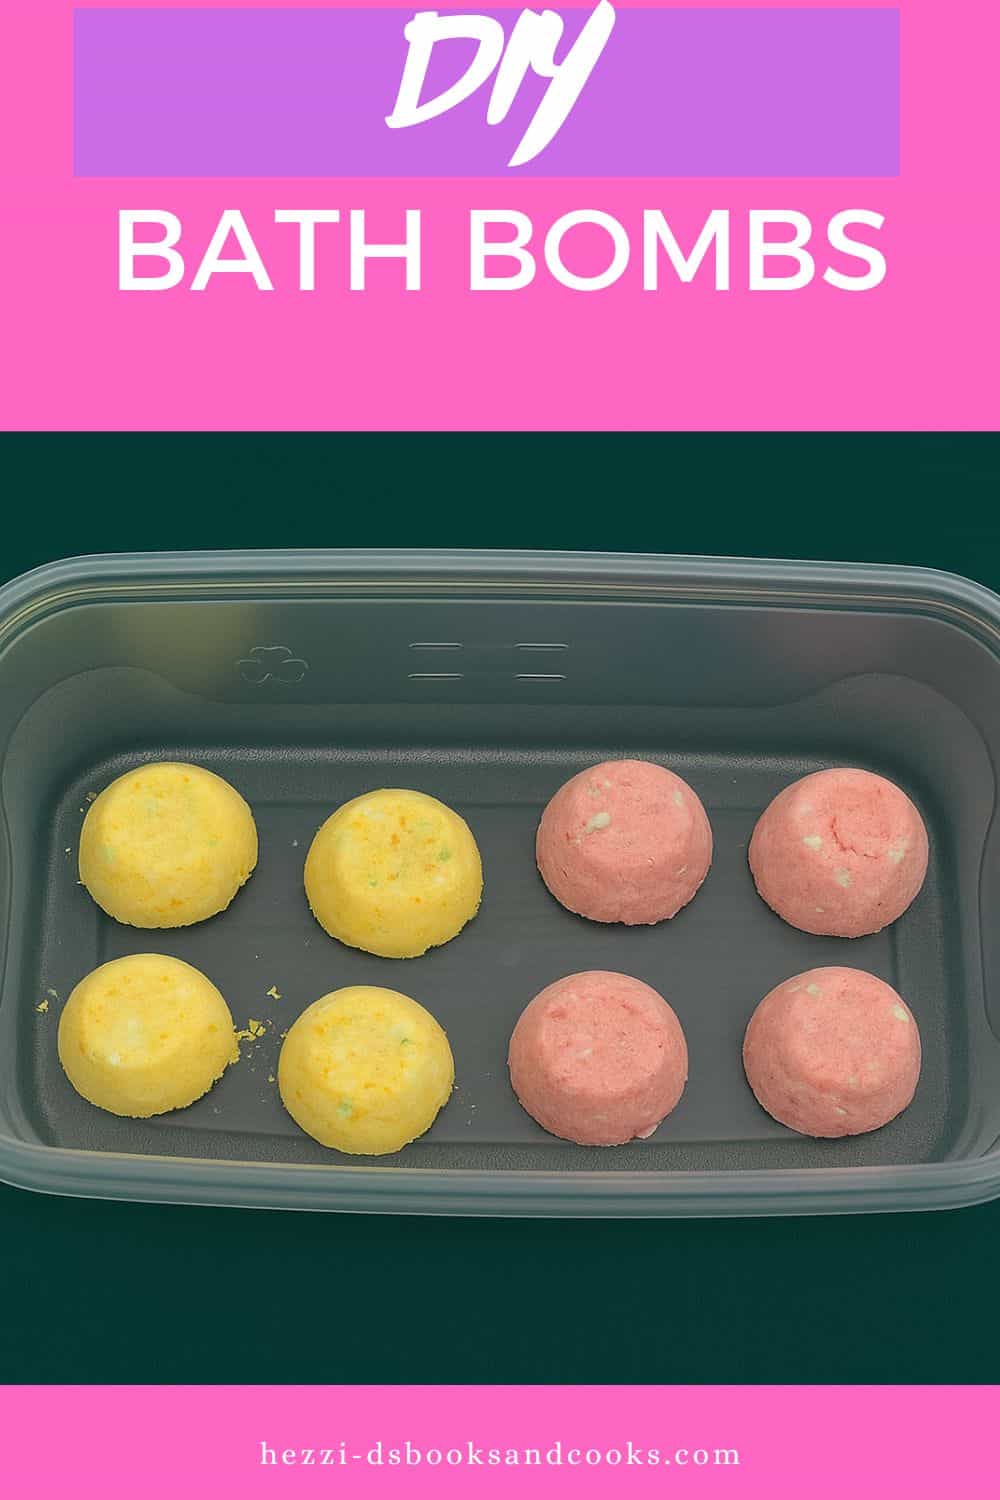
DIY Bath Bombs
As an Amazon Associate, I earn from qualifying purchases. Read the full disclosure here.
DIY Bath Bombs are fizzy, fragrant, and so easy to make. You’ll feel instantly pampered the second they hit the water. They are perfect for gifting or keeping all for yourself.
Do you ever find yourself looking for a way to relax and pamper yourself? Are you tired of spending way too much for lotions, bath bombs, and foot creams?
Bath Bombs have been on the top of my list (and many others) the last few years. I just have a hard time paying 5 or 10 dollars for a single one.
In the past I’ve made this fun DIY Peppermint Sugar Scrub to help make my skin smooth in the winter. I also make this gorgeous for gifting Winter Holiday Sugar Scrub. I’ve even tried my hand at DIY Lip Balm!
I recently came across a recipe for DIY bath bombs. It looked simple and had just a handful of ingredients. Plus I can make a bunch of them for the same price I pay for one at the store.
What are Bath Bombs?
Bath Bombs are awesome is you take baths. They are small balls or other shapes that you toss in the water when taking a bath and they fizz up in the water. They soften the water and leave a lovely smell in the water.
I love using them whenever I take baths but I hate the price of them! So when I saw that I could make them myself I couldn’t wait.
There are a few main ingredients in all bath bombs. The two key ingredients are baking soda and citric acid. The combination of these two ingredients hitting the water is what makes them fizz.
Without these ingredients, a bath bomb just isn’t a bath bomb. Most bath bombs also have Epsom salts in them to help soften the water. Then there are scents and food coloring to color the bath fizzies.
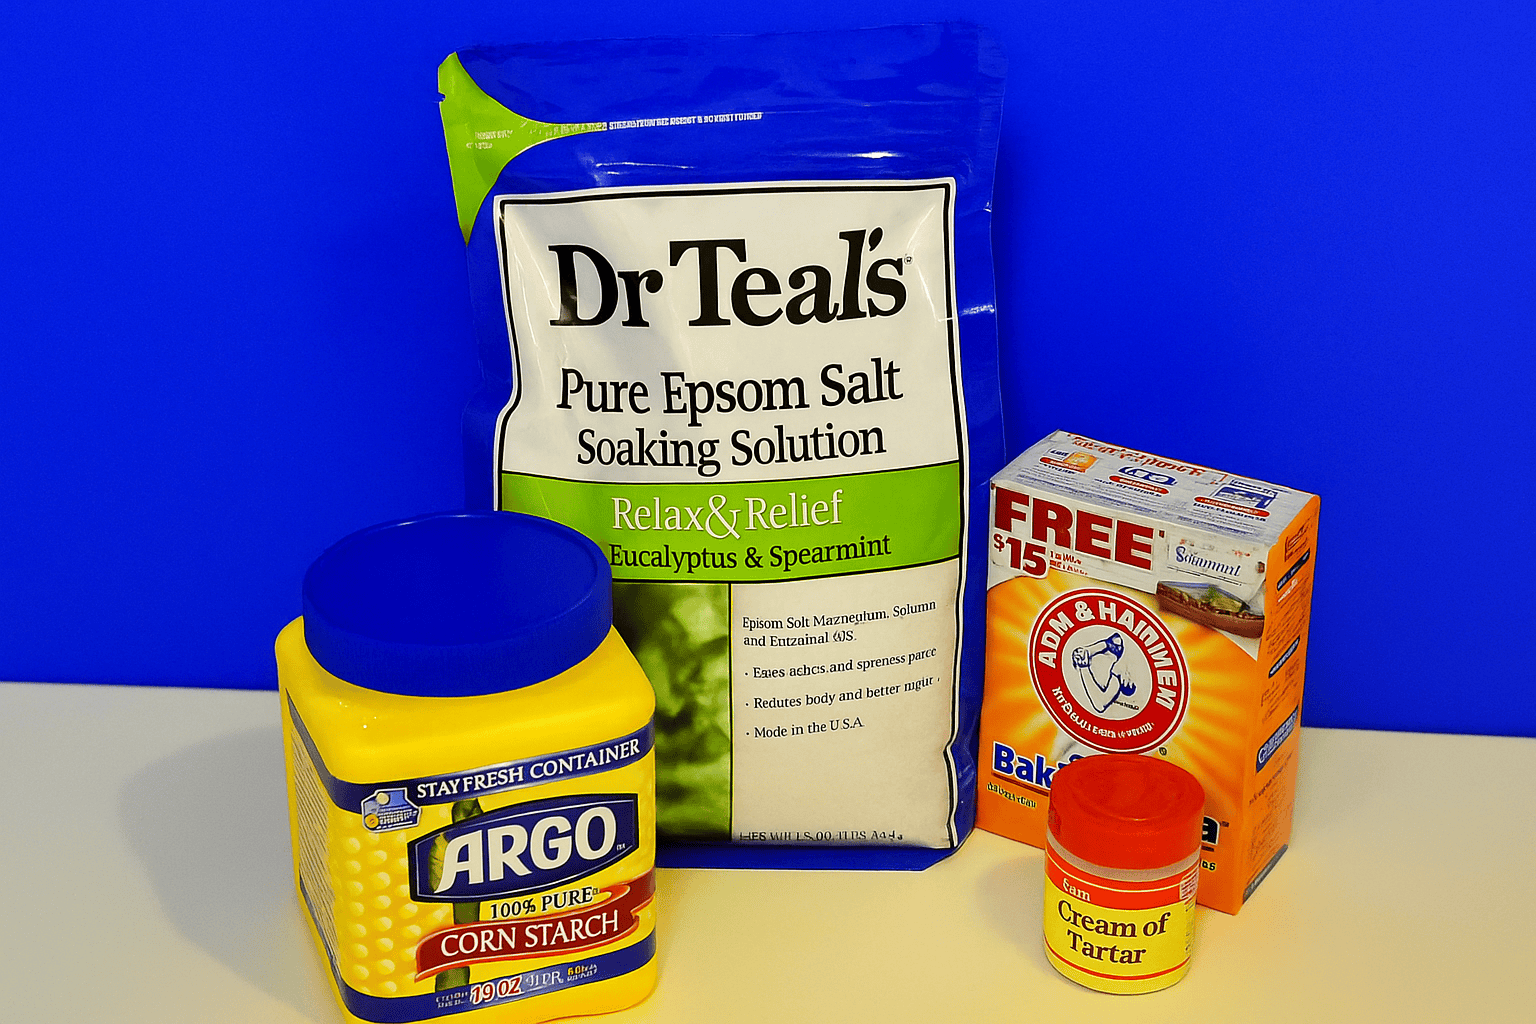
Most recipes recommend using essential oils when scenting the bath bombs. I find essential oils to be pretty expensive so I took the cheap route and used extracts that I already had in my cupboard. I used lemon, vanilla, and peppermint.
I recommend that you do not use spicy scents/flavors like cinnamon because they could actually burn your skin. I also picked up Epsom salts that were scented like mint which helped with the flavor.
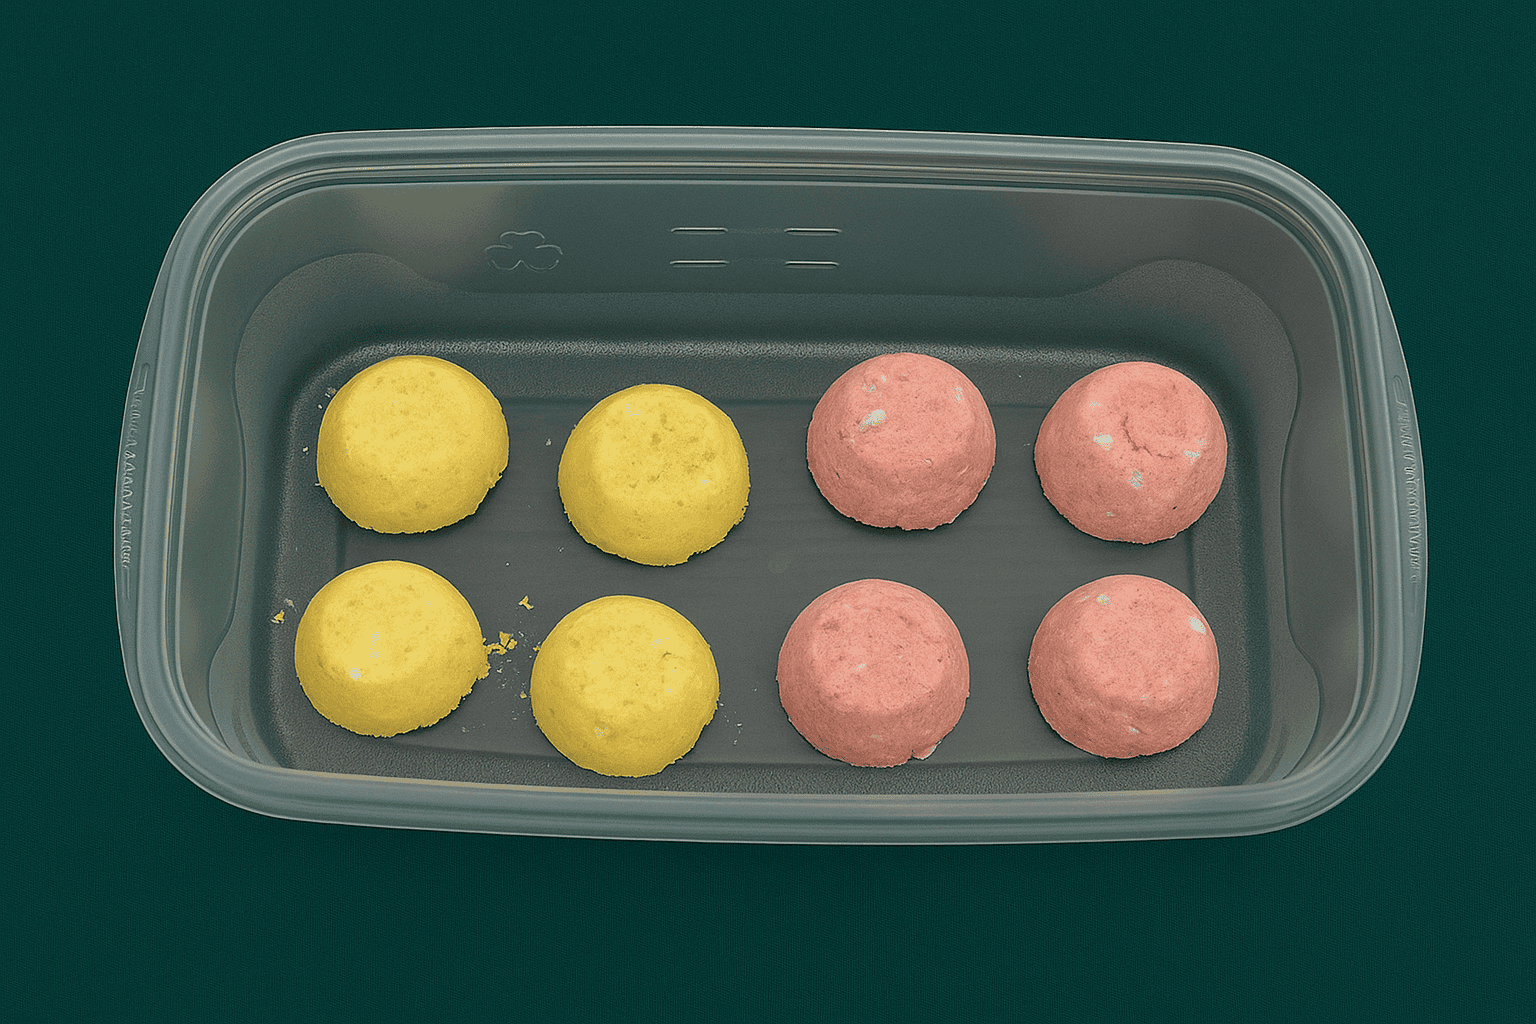
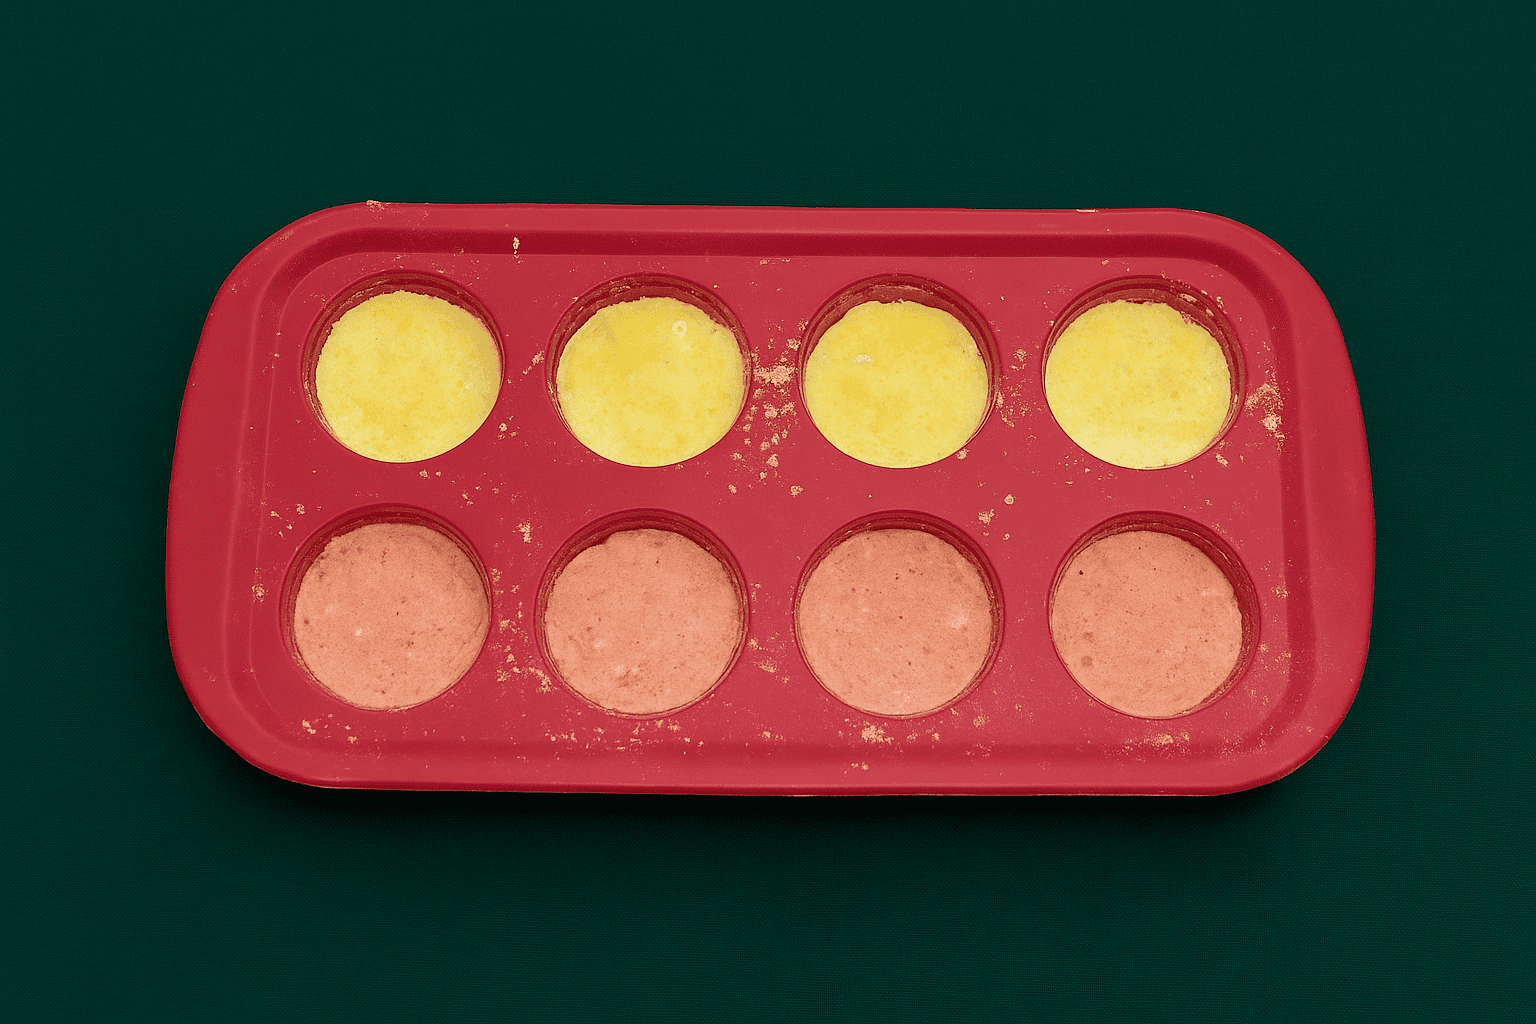
Once you have all the ingredients these are easy to assemble. Simply mix the dry ingredients, add in the wet ingredients, and mix. Pack the mixture into some type of mold. I used a silicone mold so it was easier to get them out.
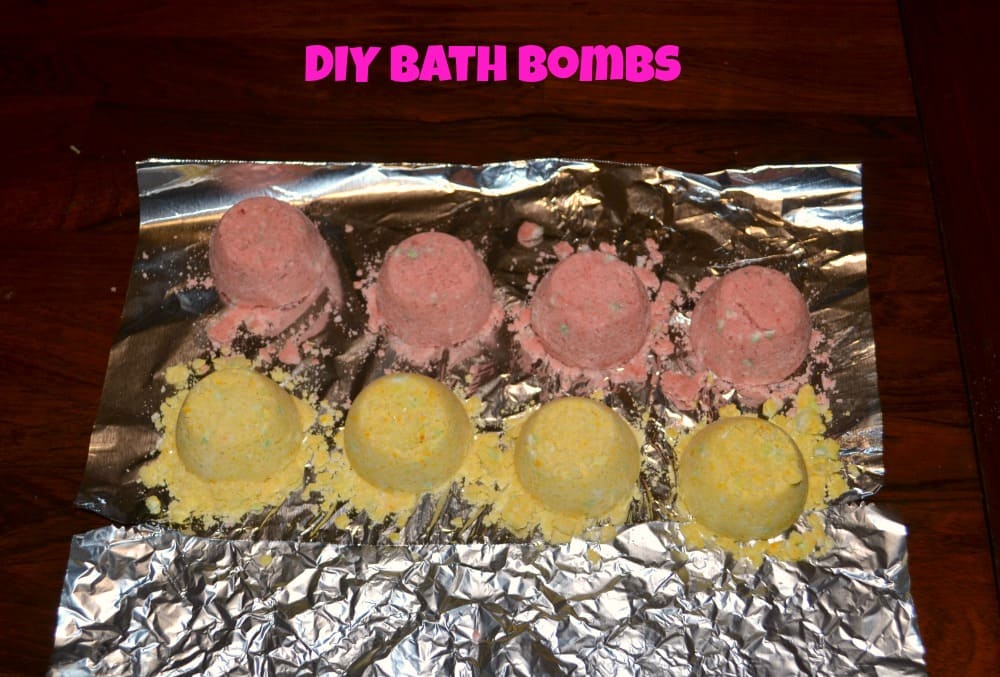
It’s important to spoon a little of the bath bomb mixture in at a time and pack it after each addition so they hold together. Allow them to sit for a time and then pop them out of the molds. After they are out it’s good to let them dry a full 24 hours before using.
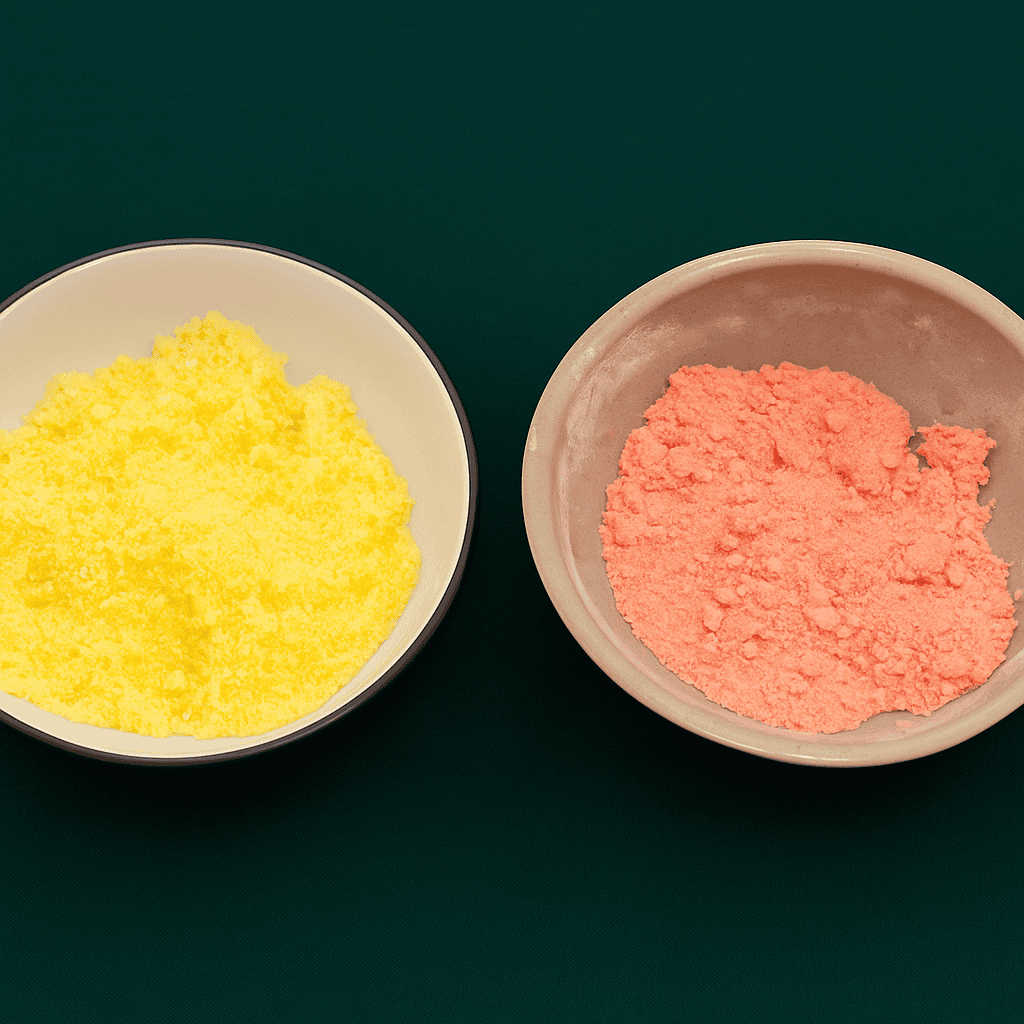
I ended up making two different scents of bath bombs. I colored one yellow and used a lemonade extract to scent it. The other one I turned red and had it smell like peppermint.
These are a fantastic holiday gift. They look pretty, they smell great, and they are so practical. You can give them in small Mason jars, tie them in some netting with a ribbon, or individually wrap them in cellophane!
If you’ve tried my DIY Bath Bombs or any other recipe on Hezzi-D’s Recipe Box please take a minute to rate the recipe and leave a comment letting me know how you liked it. I love hearing from you! You can FOLLOW ME on:
Ingredients
- 1 c. baking soda
- 1/2 c. citric acid
- 1/2 c. cornstarch
- 1/2 c. Epsom salts
- 1 t. water
- 1 T. olive oil
- 2 t. essential oil or 1 T. extract
- Food coloring
Instructions
- In a medium bowl combine dry ingredients. Stir until combined.
- In a small bowl combine the water and olive oil. Stir until combined.
- Mix together the wet and dry ingredients. Stir until the mixture begins to clump together. If it doesn't start to clump add an additional 1/2 teaspoon of water.
- Divide into two different bowls. Add food coloring and essential oils to each. Stir until combined.
- Pack the mixture into molds. Make sure you pack after each spoonful is added to the mold.
- Allow to dry for 5 hours. Carefully remove the bath bomb from the mold and set on a soft surface.
- Let the bath bombs dry for 1 day before using them or gift wrapping them.
- Store in an air tight container.
Notes