Easy Dragon Fruit Jam

As an Amazon Associate, I earn from qualifying purchases. Read the full disclosure here.
With just four simple ingredients you can enjoy the light and fruity taste of exotic dragon fruit in a tasty jam that’s great on toast, muffins, or cheesecake.
Any time I have fruit that is overly ripe I either like to turn it into a baked good or a jam. Both are easy to do and either is a great way to enjoy a fruit that’s getting past its prime.
Last week I decided to make a cheesecake. I’m currently crushing on Instant Pot cheesecakes so it was one of those.
My favorite cheesecake is an Instant Pot Vanilla Bean Cheesecake because you can top it off with any type of dessert sauce or fruit jam. When I can find key limes I’ve been love the sweet and tart flavors in this Instant Pot Key Lime Cheesecake.
In any case, I knew I wanted to make a cheesecake and I knew that I wanted a fruit jam on top. I’ve recently been making a delicious sweet and tart Kumquat Jam but that isn’t what I wanted for this dessert. I also make a lovely Peach Bourbon Jam but I haven’t been able to find any peaches lately so I had to go in another direction.
What is jam?
Jam is a type of sweet spread that i made from fruit. It is cooked down with sugar and sometimes pectin, which helps to gel and thicken the mixture. The fruit is usually crushed or chopped and then cooked with sugar until it reaches a thick, spreadable consistency. Jam can be used as a topping for bread, toast, pastries, and desserts, or as an ingredient in various recipes. It’s a popular way to preserve fruits and enjoy their flavor throughout the year.
I had received some dragon fruit from Melissa’s Produce last week and it was starting to get really soft. Since I don’t normally get dragon fruit and when I do it is expensive, I decided to try and save it by turning it into a jam for my cheesecake.
What is Dragon Fruit?
Dragon fruit, also known as pitaya, is a tropical fruit that comes from several species of cactus plants. It is native to Central and South America. Dragon fruit has a unique appearance with bright pink or yellow skin covered in spiky scales. The inside can be either white or red and is dotted with tiny black seeds similar to those in kiwi fruit. The flesh has a mildly sweet flavor with a texture similar to kiwi or pear.
Dragon fruit has a very light flavor that is just slightly sweet. The thing I love about the red dragon fruit is it’s bold color. I knew that I could a gorgeous pinkish purple jam that would look stunning on top of a white cheesecake.
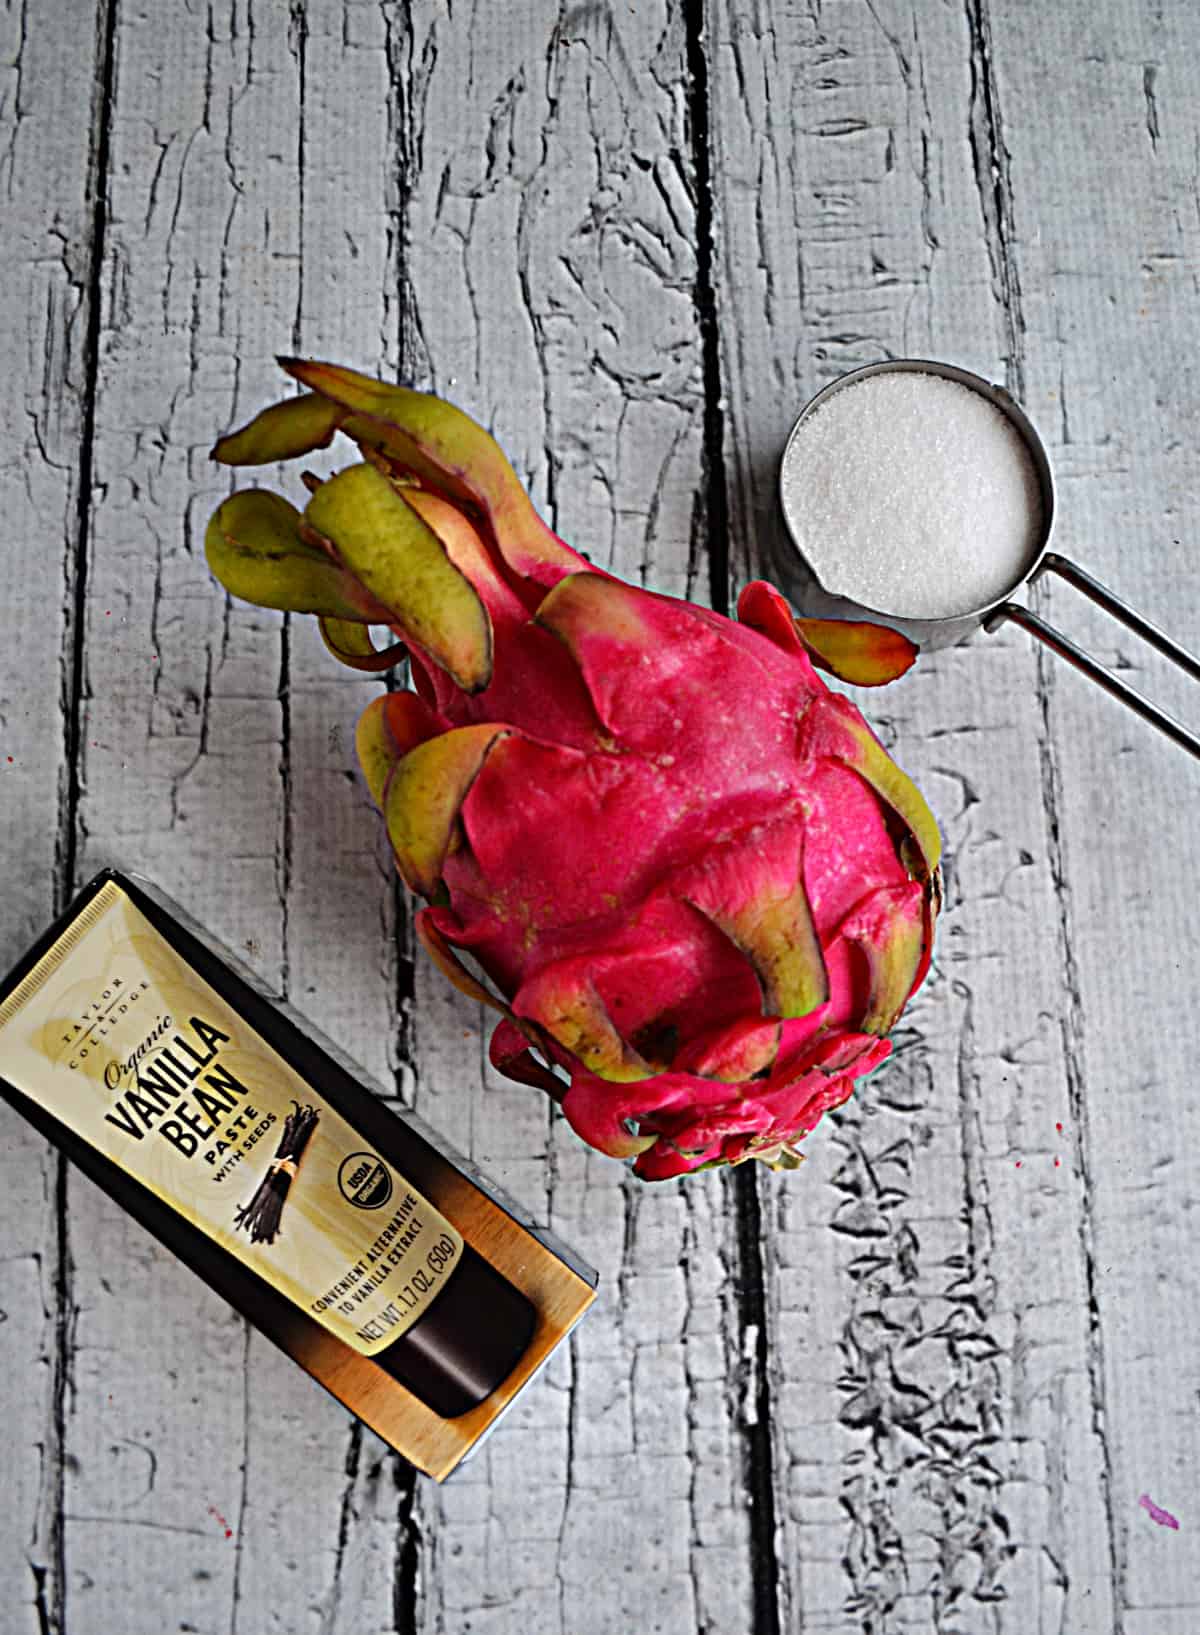
Ingredients:
- red dragon fruit (make sure you get the dragon fruit that is pink outside and red inside as there is one that is pink outside and white inside)
- granulated sugar
- lemon juice (I used fresh squeezed juice but you can use bottled)
- vanilla bean paste (I used paste from Taylor & Colledge)
Making this jam is actually very simple, it just requires a bit of patience while the jam is cooking.
Slice the dragon fruit in half and scoop out the flesh. Place it in a medium saucepan along with the sugar.
Heat the mixture over medium heat, stirring frequently to help break up the dragon fruit. Bring it to a simmer and cook for 15-20 minutes, stirring frequently to prevent burning, until it has reached a jam like consistency. You can cook it longer if you want it to be a firmer jam.
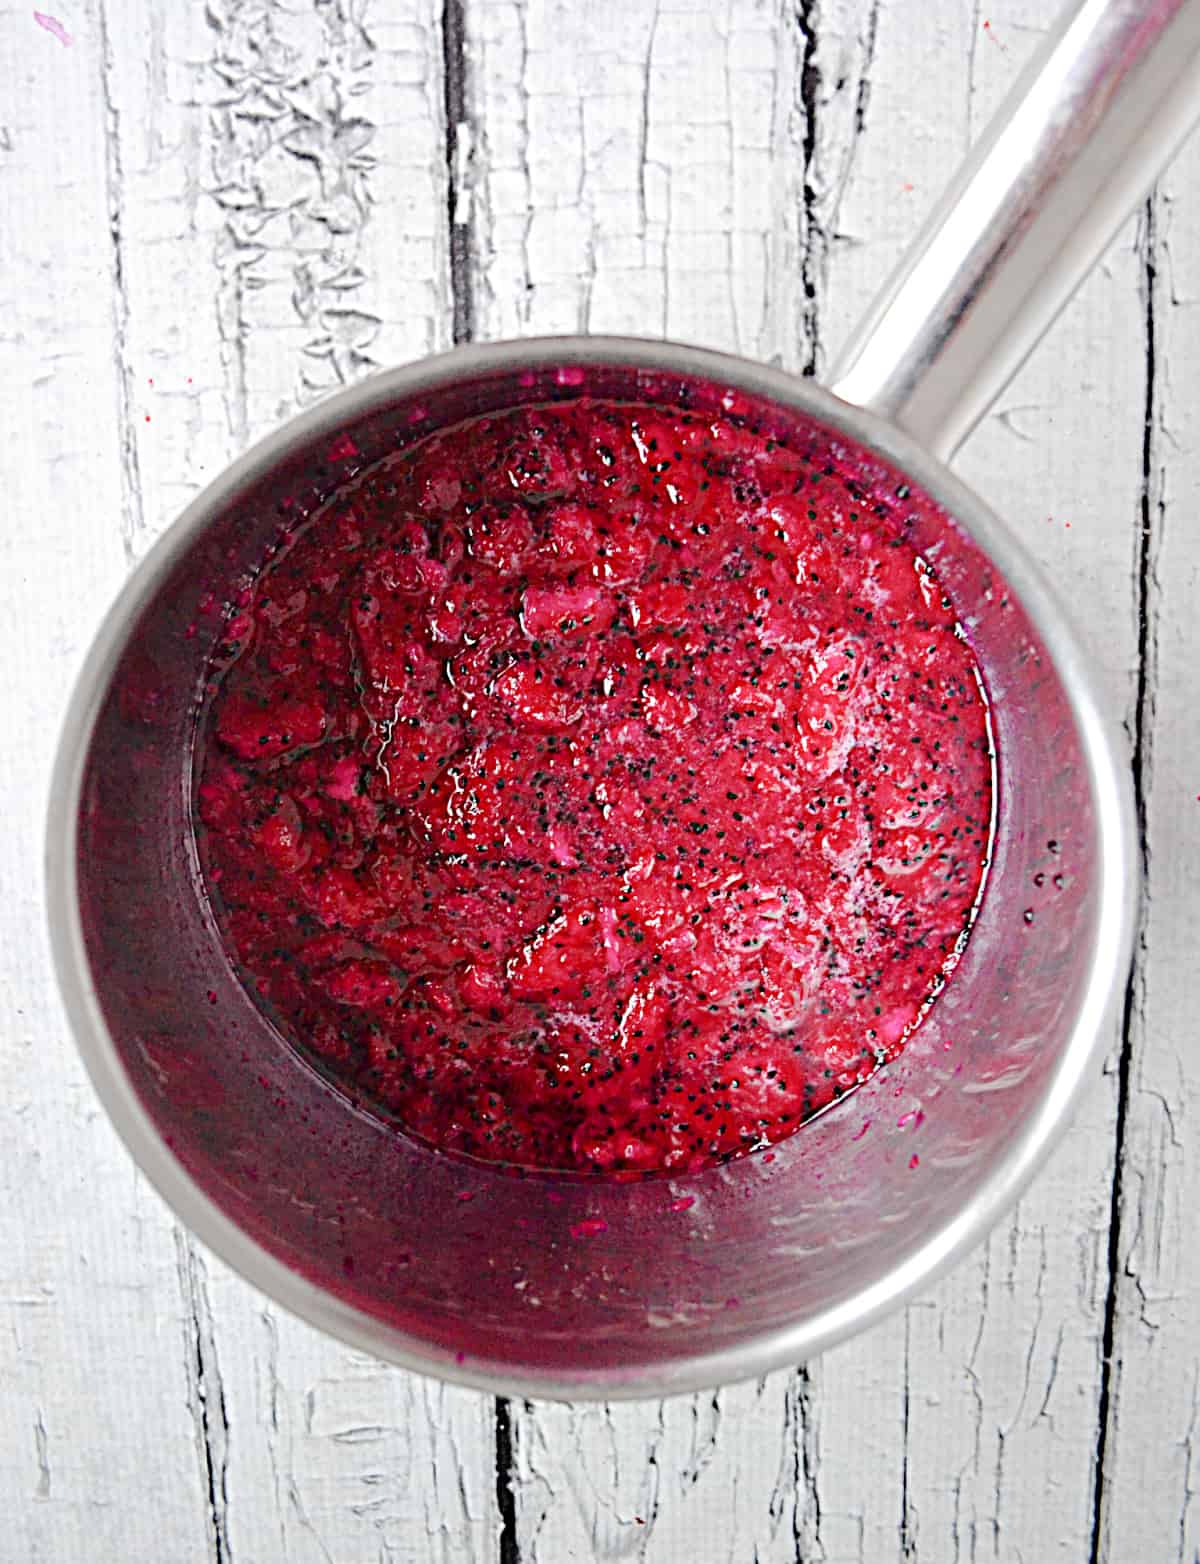
Once it has thickened add in the lemon juice and the vanilla bean paste and cook for 2 more minutes.
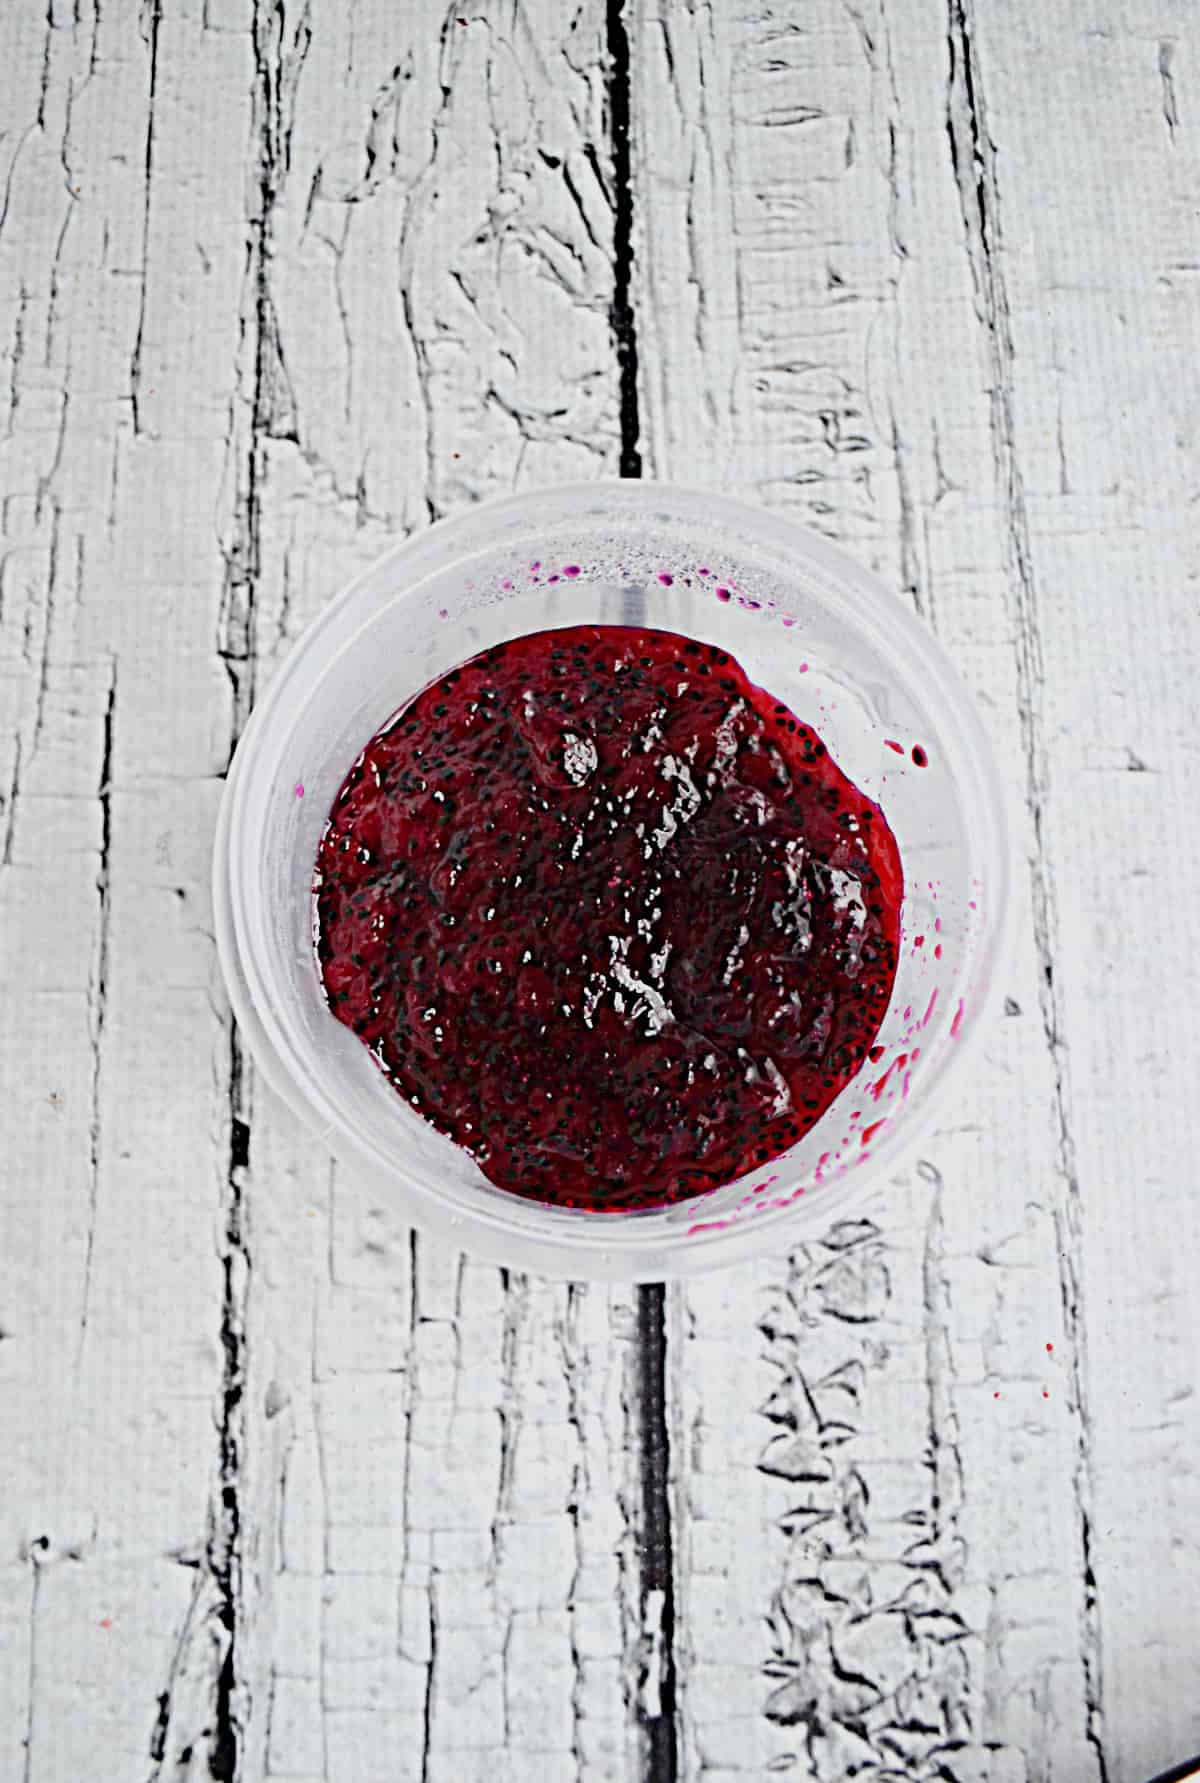
Remove from heat and allow to cool completely before transferring to a glass jar with a lid.
You will be able to keep the jam in the refrigerator for 2-3 weeks. If you aren’t going to use it all you can also freeze the jam for up to 6 months.
When you are ready to use it simply let it thaw in the refrigerator overnight. You can also set it in a hot water bath to warm it up quicker.
Can you water bath can this jam?
I have not tried it and since it is not a water bath canning recipe I would not try it unless you are experienced with it and know what ratios to combine the can the jam. Canning is tricky and I usually tend to stick with tried and true recipes since the jams will be sitting at room temperature and you do not want bacteria to grow if you canned the jam improperly.
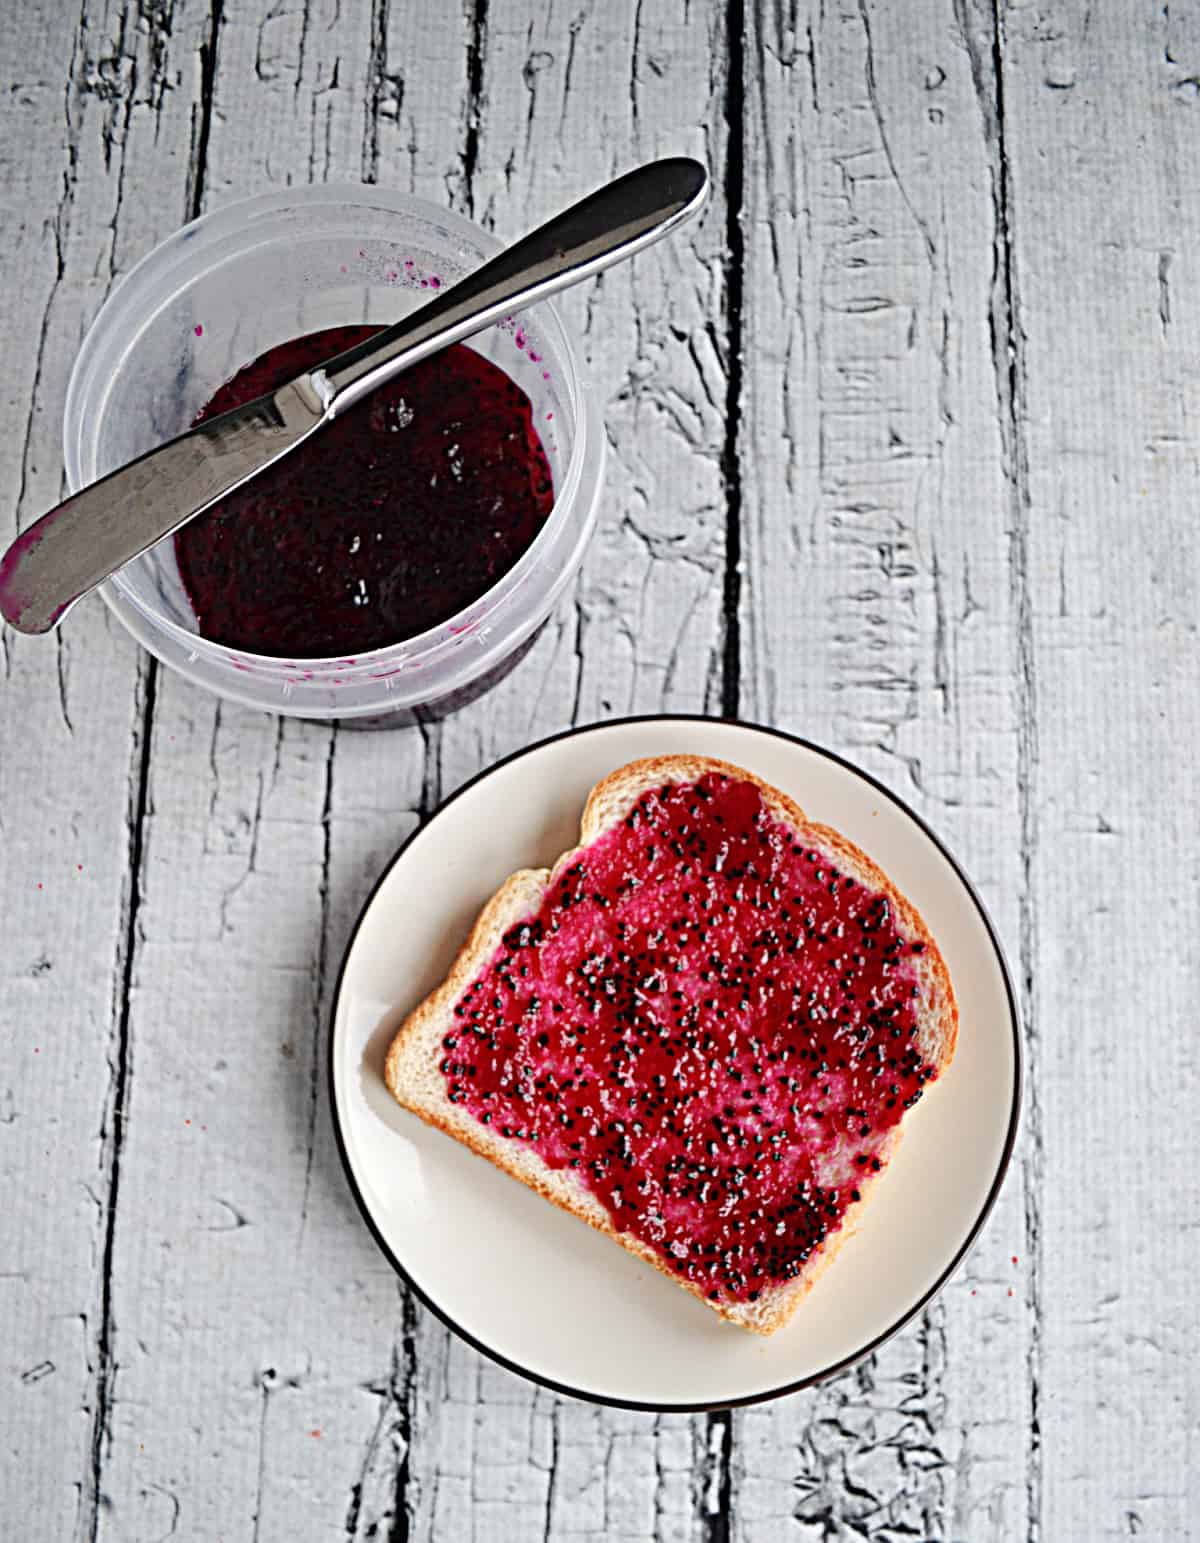
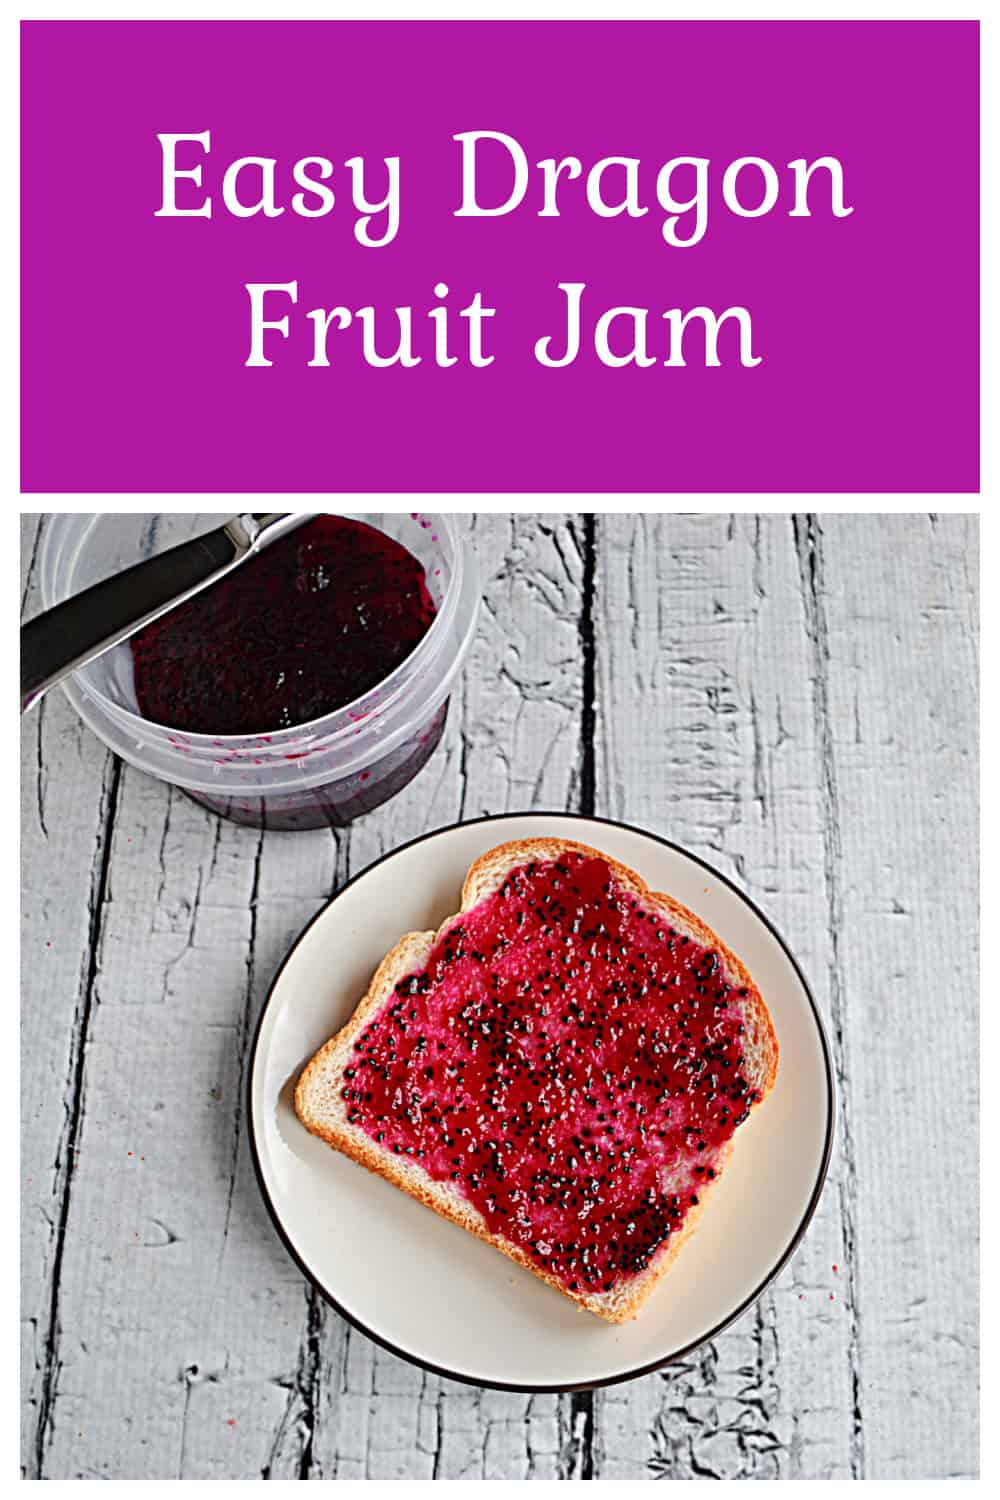
This jam ended up being a gorgeous deep pinkish purple color. You could see the black seeds throughout it which made it even more appealing.
It had a very light fruity flavor and was sweet. I poured half of it on top of my vanilla cheesecake and it was perfect. It looked pretty and it added a nice flavor to the jam.
I saved the remaining jam and ended up using it on toasted English muffins. It tasted great and was a good way to use the ripe dragon fruit.
Easy Dragon Fruit Jam
Equipment
Ingredients
- 2 pink dragon fruit
- 1/2 c. sugar
- 2 teaspoons lemon juice
- 1 teaspoon vanilla bean paste
Instructions
- Slice the dragon fruit in half. Scoop out the flesh and place it in a medium sauce pan. Discard the skin.
- Add the sugar to the sauce pan.
- Bring to a simmer over medium heat.
- Cook for 20-25 minutes, stirring frequently, until the dragon fruit has reached a jam like consistency.
- Add in the lemon juice and vanilla bean paste and mix well.
- Cook for an additional 2 minutes.
- Remove from heat and allow to cool before placing in a glass jar with a lid.
Notes
How long will this jam last in the fridge?
At least 2 weeks, probably closer to 3 weeks.