Easy Halloween Bark
As an Amazon Associate, I earn from qualifying purchases. Read the full disclosure here.
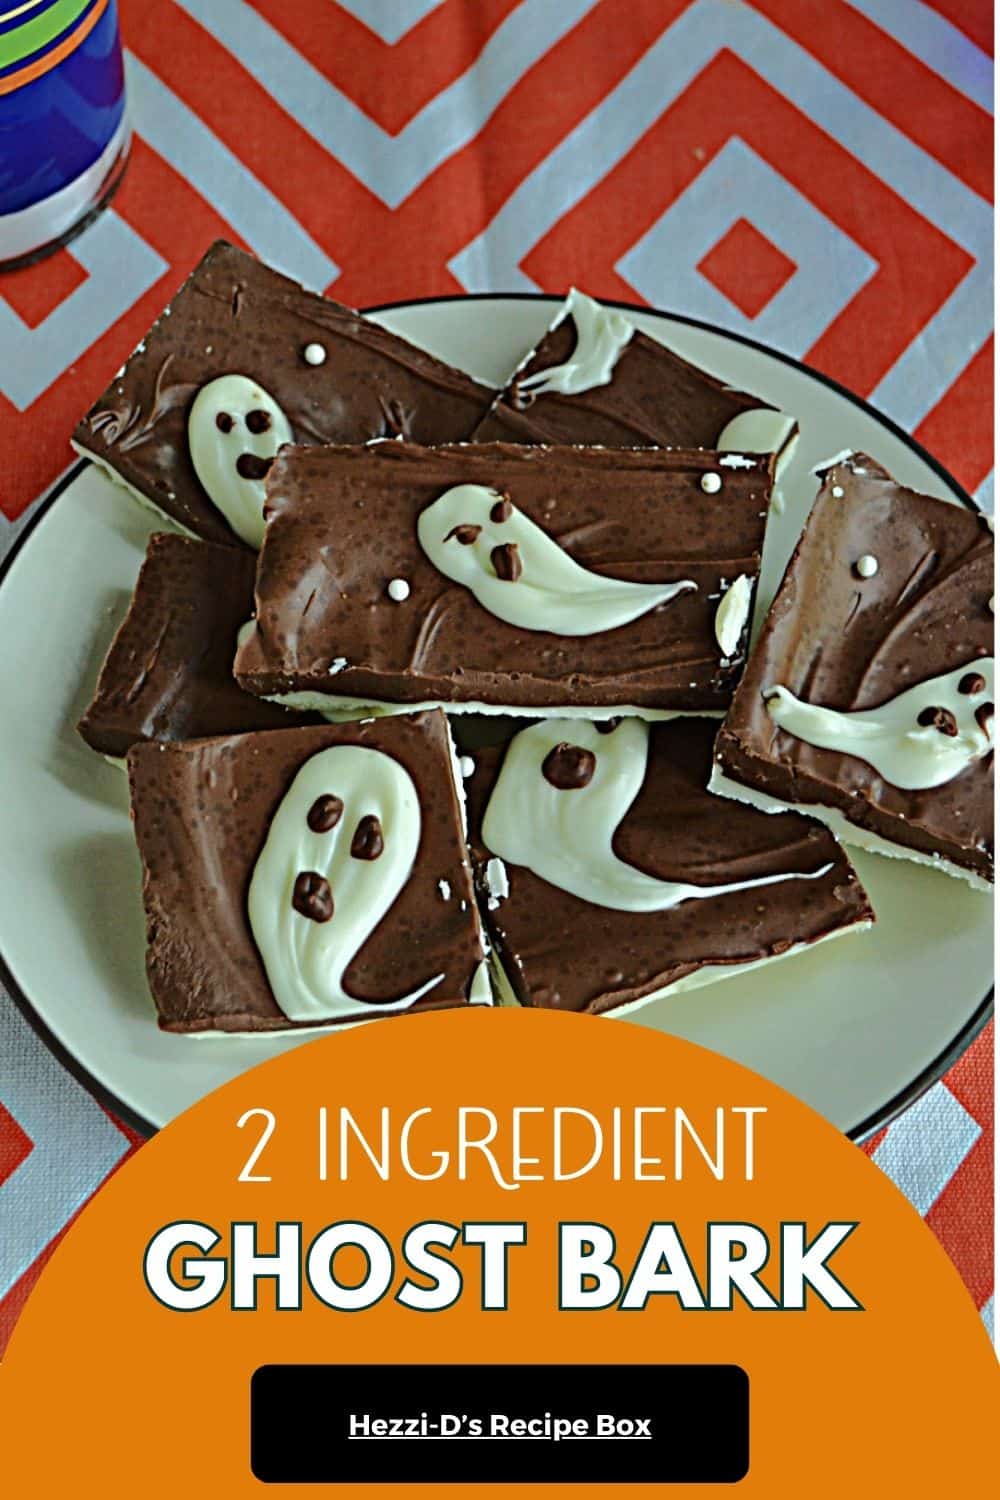
Spooky, sweet, and so easy! This Easy Halloween Bark uses just two ingredients to create a fun double layer treat covered in spooky little ghosts. Perfect for Halloween parties, treat bags, or a festive snack!
It’s almost time for Halloween and you know that means I’ve been in my kitchen making all the Halloween treats and desserts. Every year I like to find at least one or two new treats to make for this holiday.
While over the years I’ve made some pretty elaborate desserts like my Bloody Glass Shard Cake or my Triple Layer Candy Corn Cake, the last two or three years I’ve been looking for Halloween recipes that are quick and easy to make.
One thing I do when making easy treats is to start with a cake or brownie mix and go from there. This helps to cut down on both time and ingredients.
Last year I made these adorable Ghost Brownies using a mix. I also made these Easy Spider Cupcakes with a cake mix but then I made homemade buttercream frosting for on top.
This year I saw a recipe for two ingredient Halloween Ghost Bark. It doesn’t get much easier than two ingredients and since it’s a candy recipe I knew I wouldn’t even have to turn on the oven.
The biggest thing to worry about when making this bark is heating the chocolate. You can heat it in the microwave or on the stove top but either way you need to make sure your chocolate doesn’t burn.
How do you melt chocolate?
You can melt your chocolate in the microwave or on the stove top. For melting it in the microwave place the chocolate in a heat safe bowl and heat for 20 seconds. Remove and stir (I know at this point it won’t be melted but stirring helps to distribute the heat). Continue heating in 20 second intervals followed by stirring for at least 10 seconds until your chocolate is completely melted.
The other method is to use a double boiled. Place 2 to 3 inches of water in a small saucepan. Heat over medium heat until it simmers or gently boils. Place a metal bowl on top of the pan making sure it doesn’t touch the water. Pour the chocolate into the bowl and stir until the chocolate is completely melted.
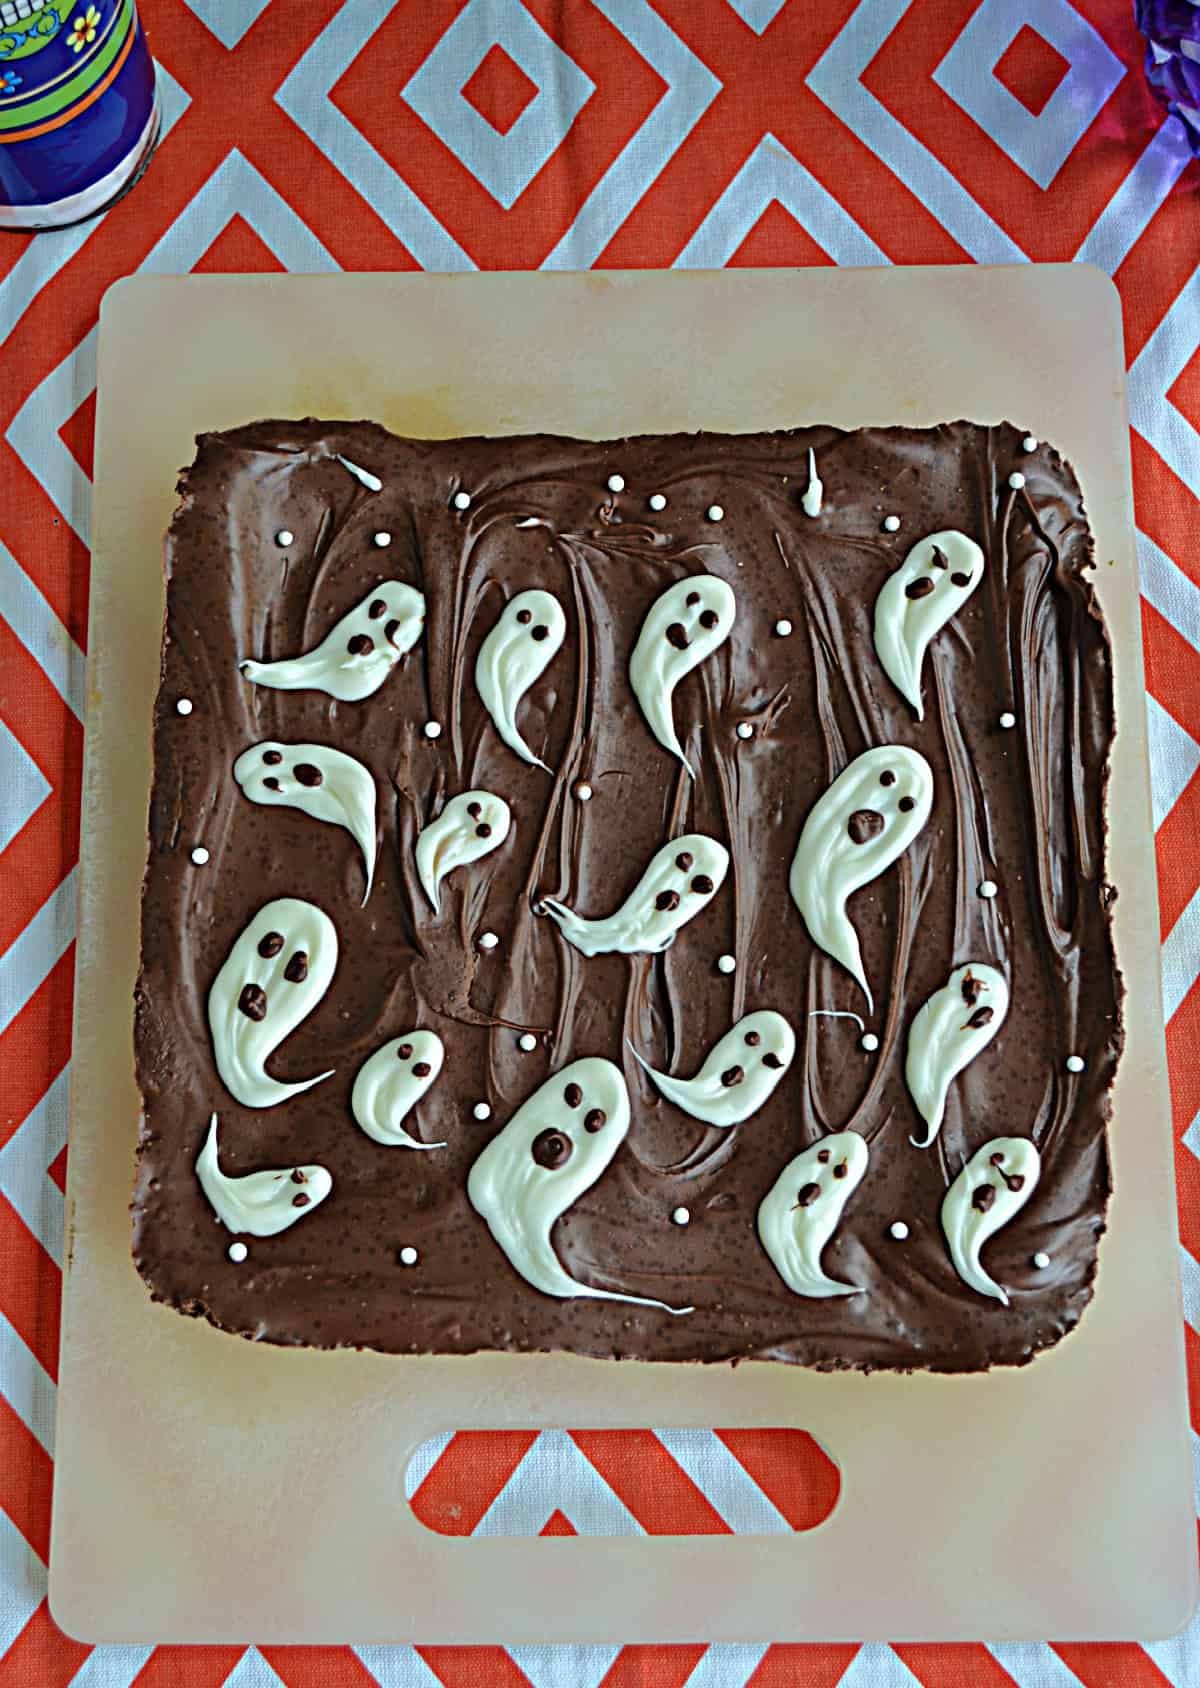
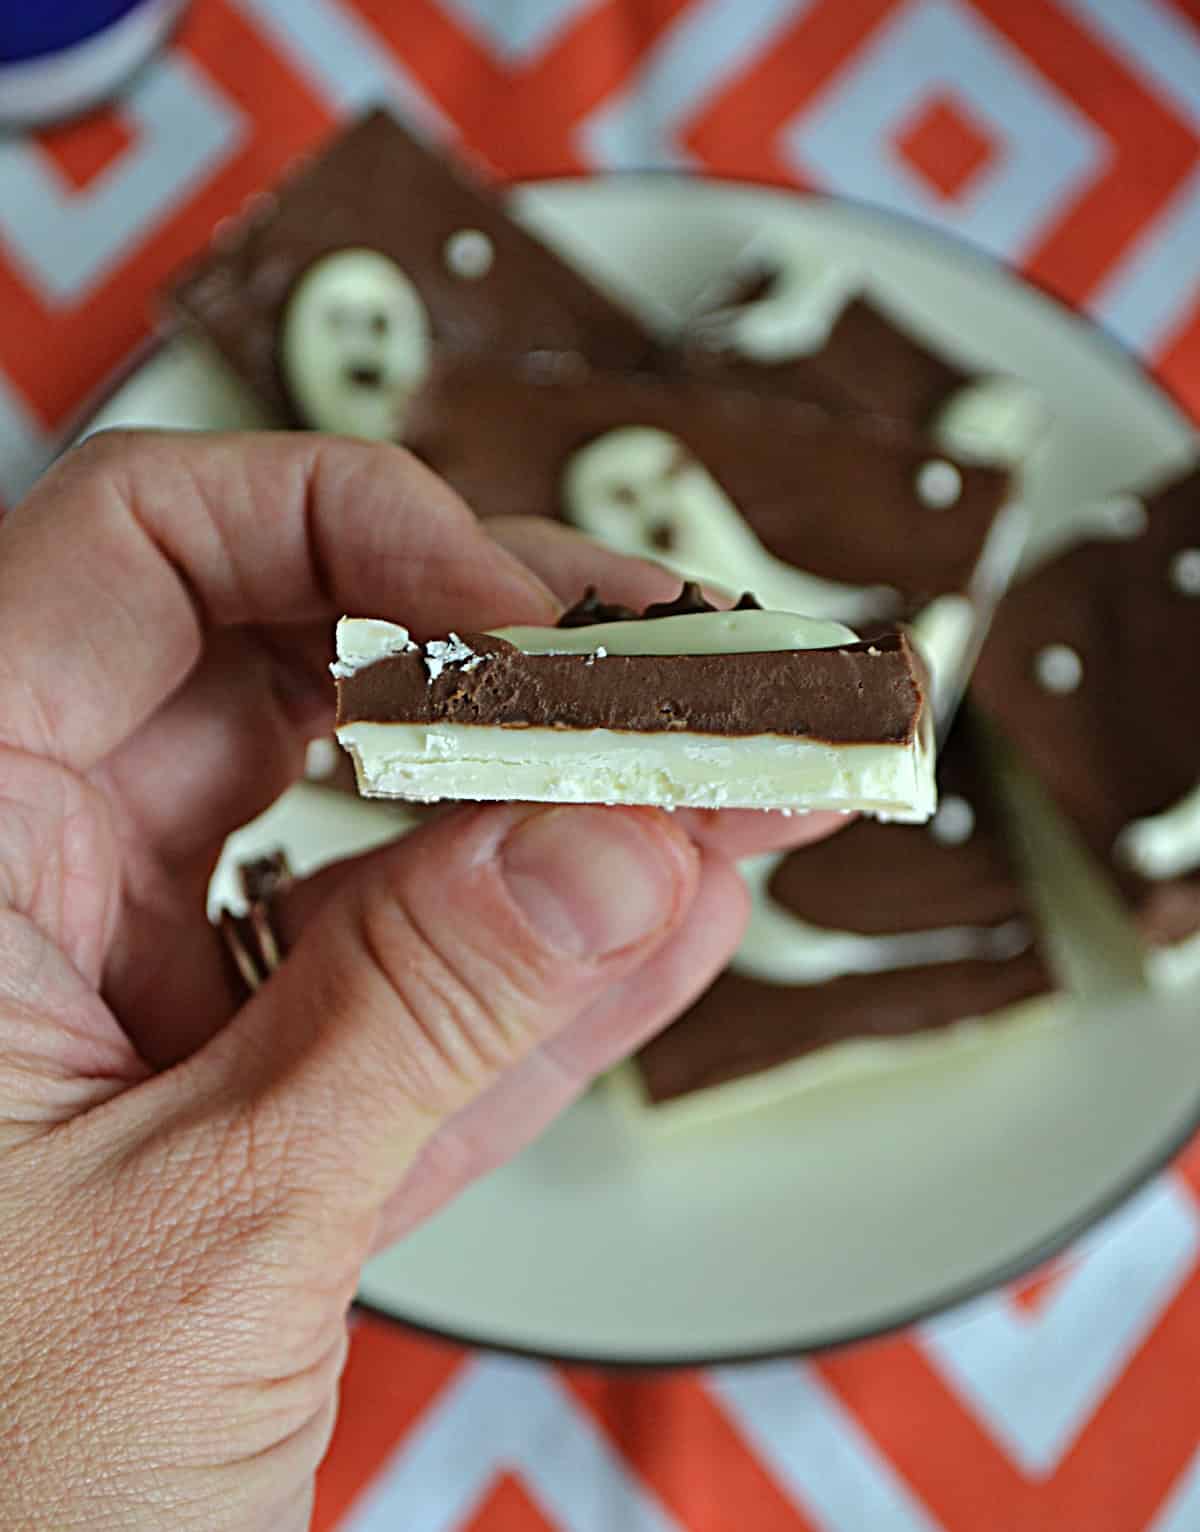
The original Halloween Bark recipe had three layers of chocolate bark but I didn’t see any sense in making all three layers because there is a lot of cooling time in between. So instead of doing a layer of chocolate, a layer of white chocolate, then another layer of chocolate I skipped the initial chocolate layer and just had mine be two layers which worked out fine.
For this recipe you will need milk, dark, or semi-sweet chocolate and white chocolate. You can use chocolate bars, chocolate chips, or candy melts. It just depends on what you like. Personally I prefer chocolate bars for myself but if I’m making this for kids I would go with the candy melts.
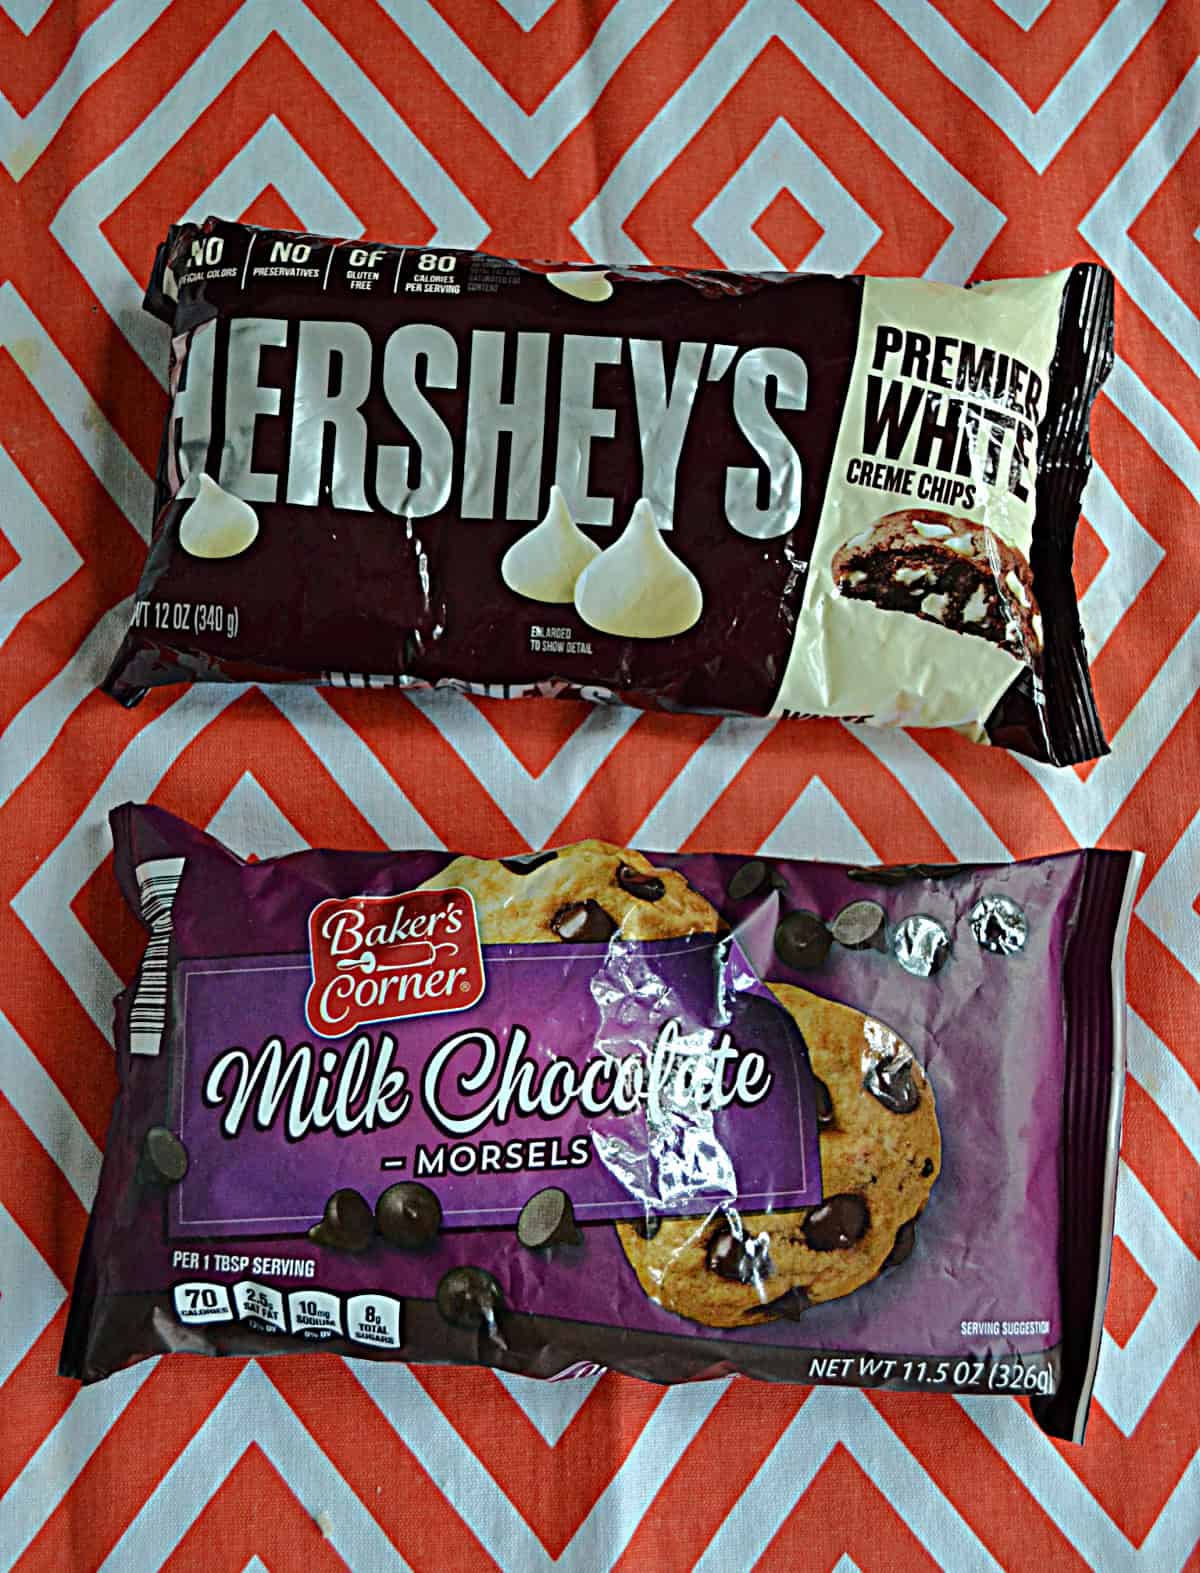
Ingredients:
- milk chocolate chips (or milk chocolate candy bars)
- white chocolate chips (or white chocolate candy bars)
- sprinkles (optional)
To make the Halloween bark first line an 8 x 8 baking dish with foil or parchment paper. I find that foil works better because it holds the shape of the pan better.
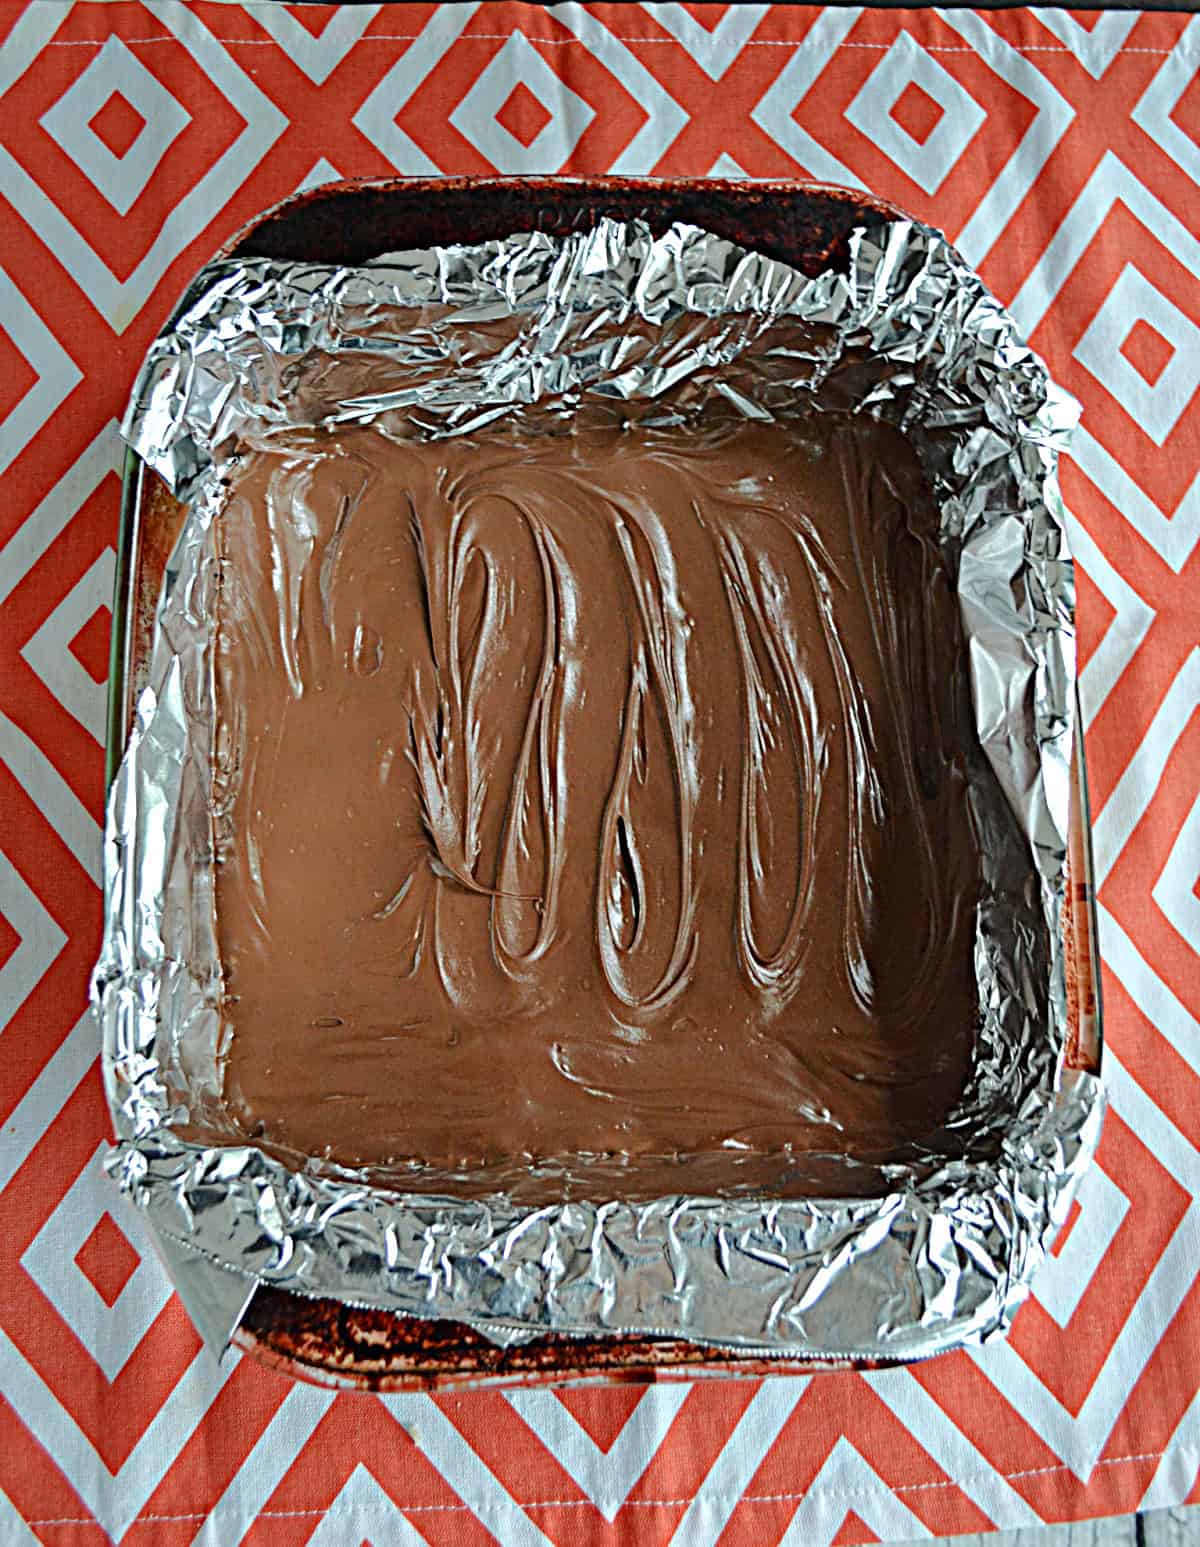
Place 1 1/2 cups of white chocolate chips or 10 ounces of white chocolate bars in a microwave safe bowl. Heat in 20 second intervals, stirring after each heating, until melted. Pour the white chocolate into the prepared pan and spread until smooth. Refrigerate for 10 minutes.
In another microwave safe bowl heat 1 1/2 cups of milk chocolate chips or 10 ounces of milk chocolate bars. Heat in 20 second intervals, stirring after each heating, until melted. Pour over top of the white chocolate layer and gently smooth.
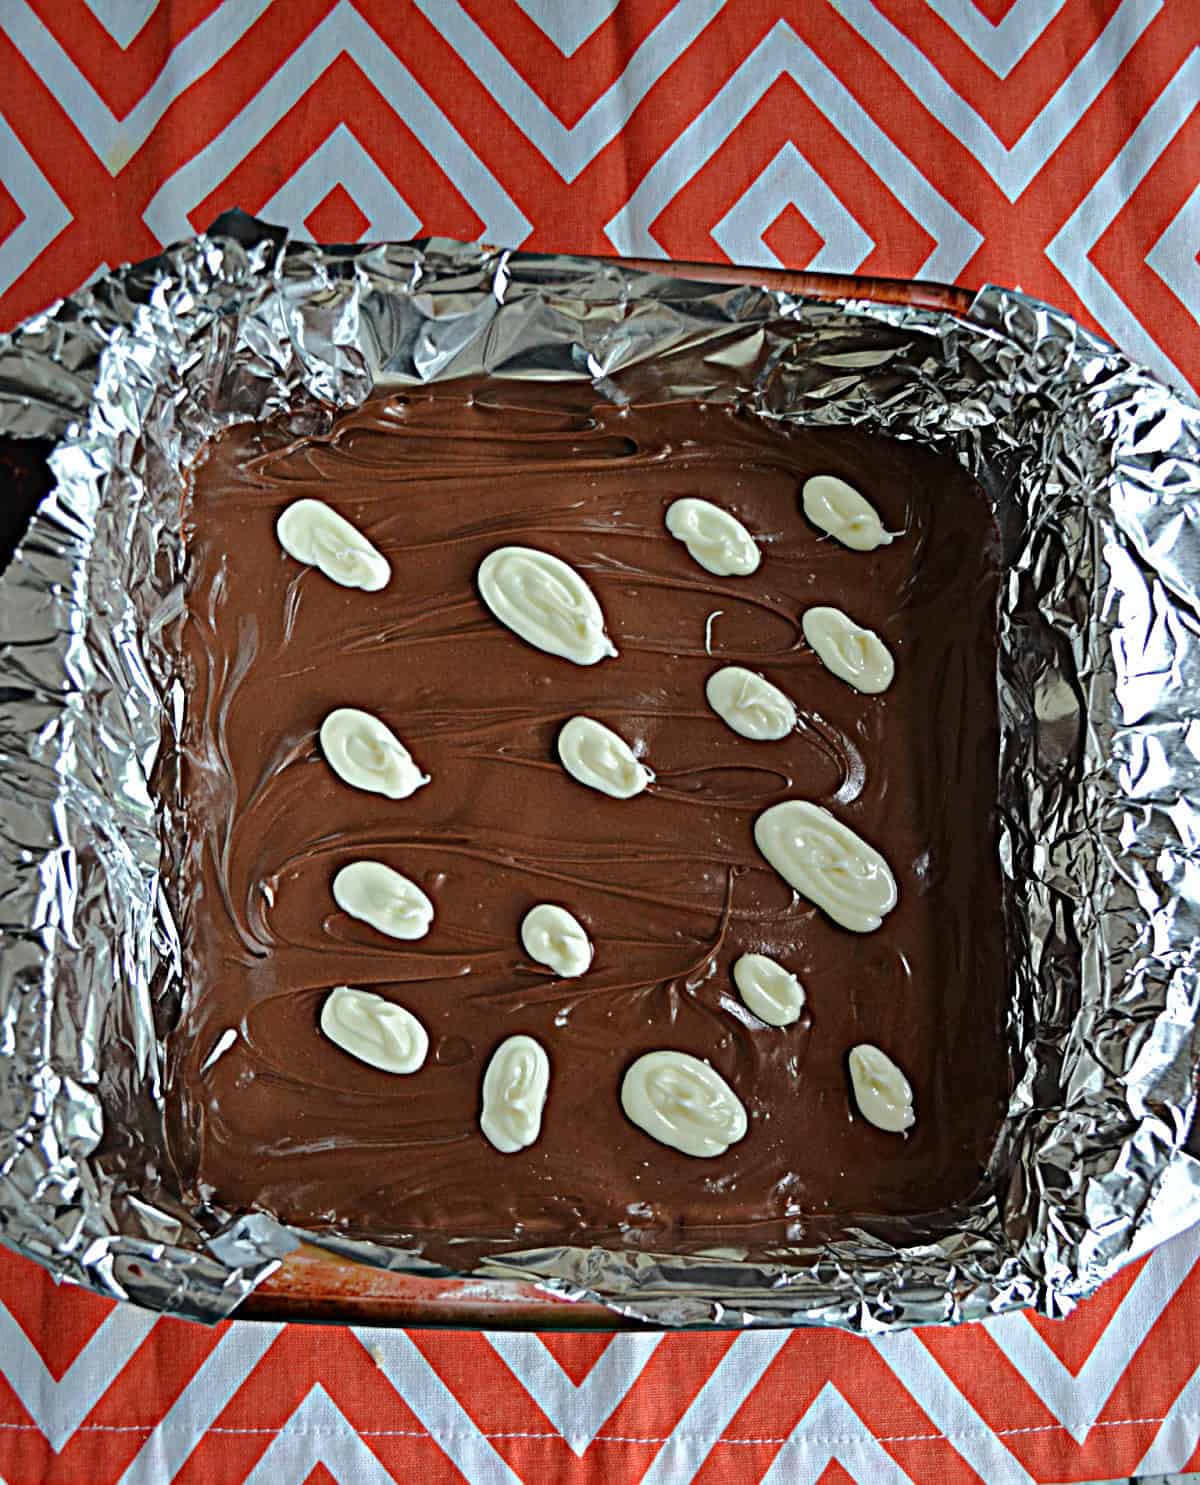
Heat another 1/2 cup of white chocolate chips or 3 ounces of white chocolate bar in the microwave in 15 second intervals, stirring after each heating, until the chocolate is melted. Place the white chocolate in a zip top baggie, snip off the end, and pipe different sized white ovals all over the top of the still wet milk chocolate.
Quickly get a toothpick and drag it through the end of each oval making it a ghost shape with a tail.
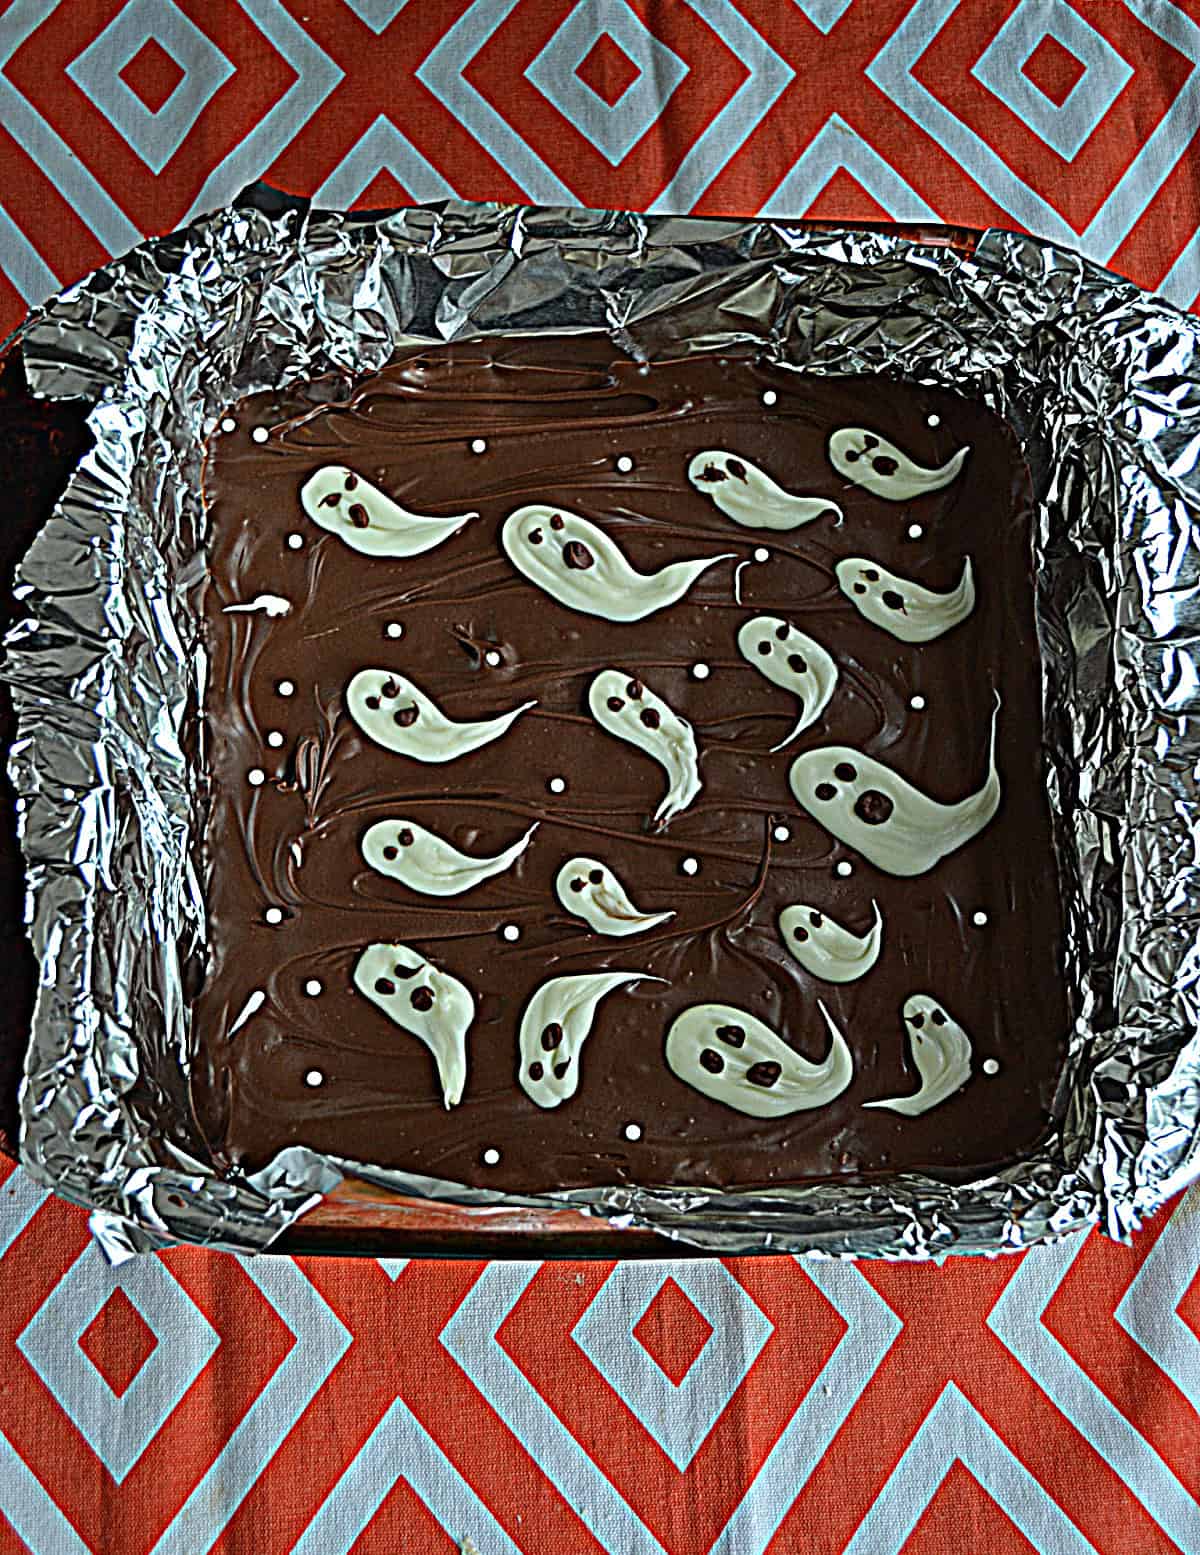
Heat another 1/4 cup of milk chocolate chips or 2 ounces of milk chocolate bar in the microwave in 15 second intervals, stirring after each heating, until the chocolate is melted. Place in a zip top baggie, snip off the end, and pipe eyes and a mouth on all of the ghosts.
If desired pour sprinkles over top of the bark. I used a few edible white pearls on top of mine but you could use any Halloween or ghost sprinkles. You can also just leave it as it is.
Allow the bark to harden for 1 hour before cutting into pieces.
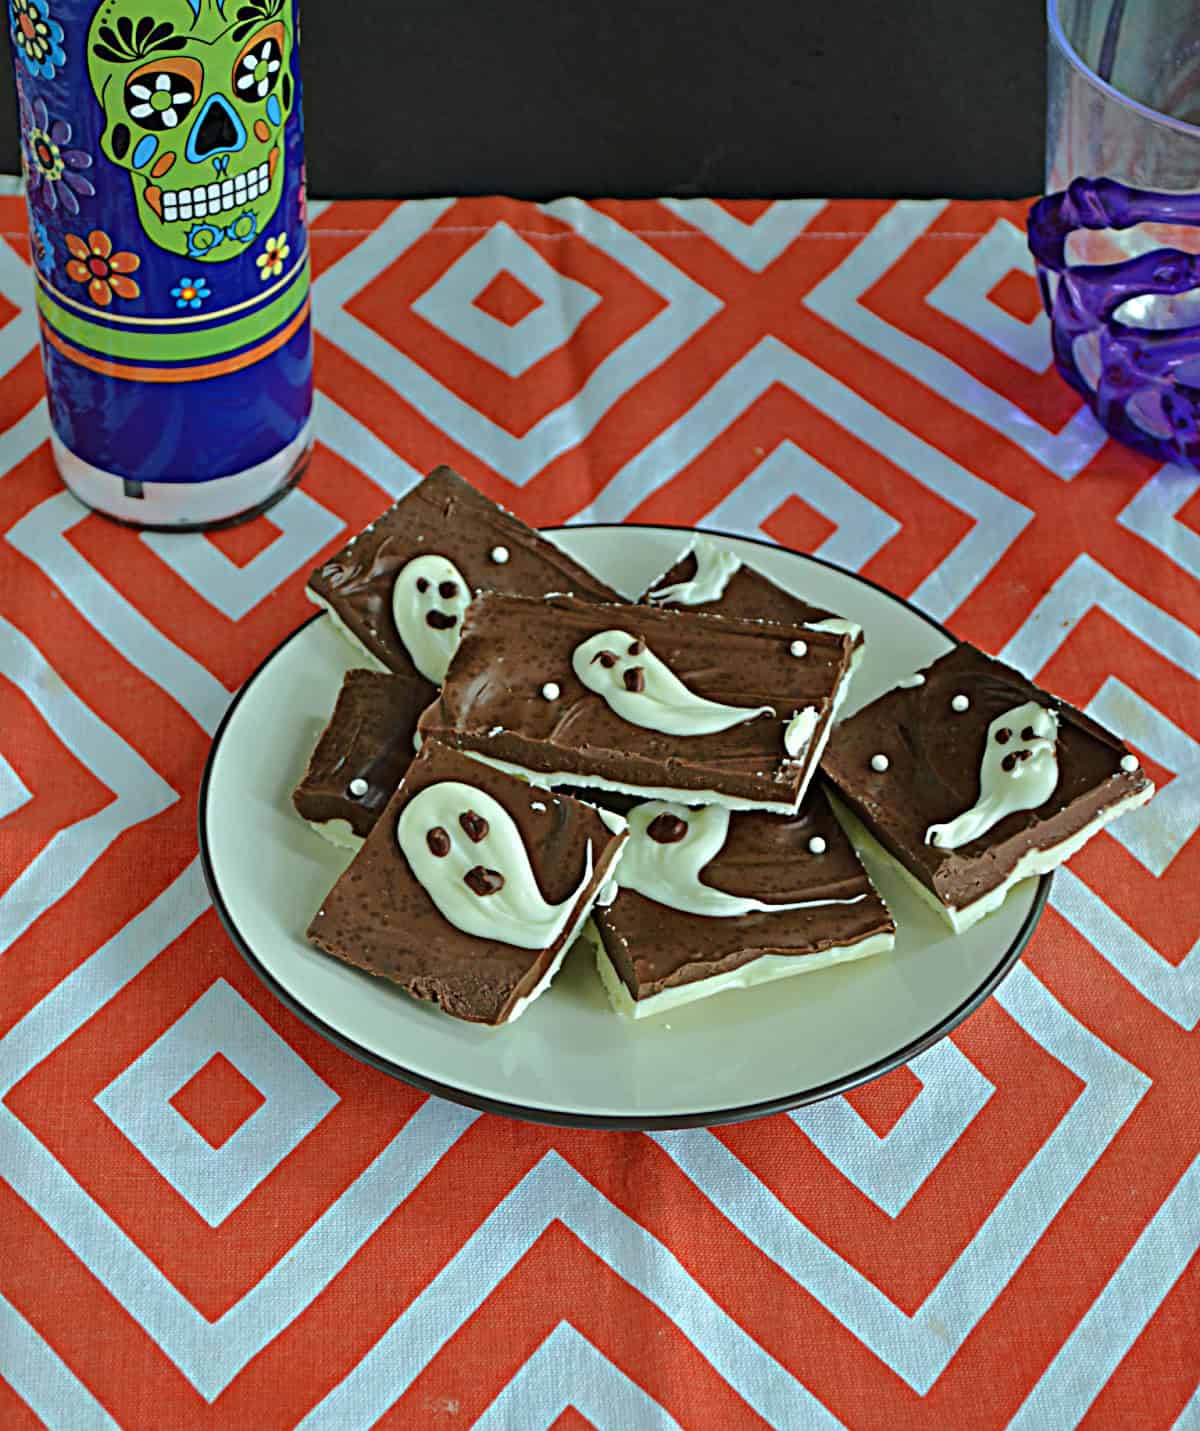
This Halloween bark is so fun! I love the little ghosts all over the top of the bark. I added eyes and mouths to some of them and just eyes to others so there’s a lot going on.
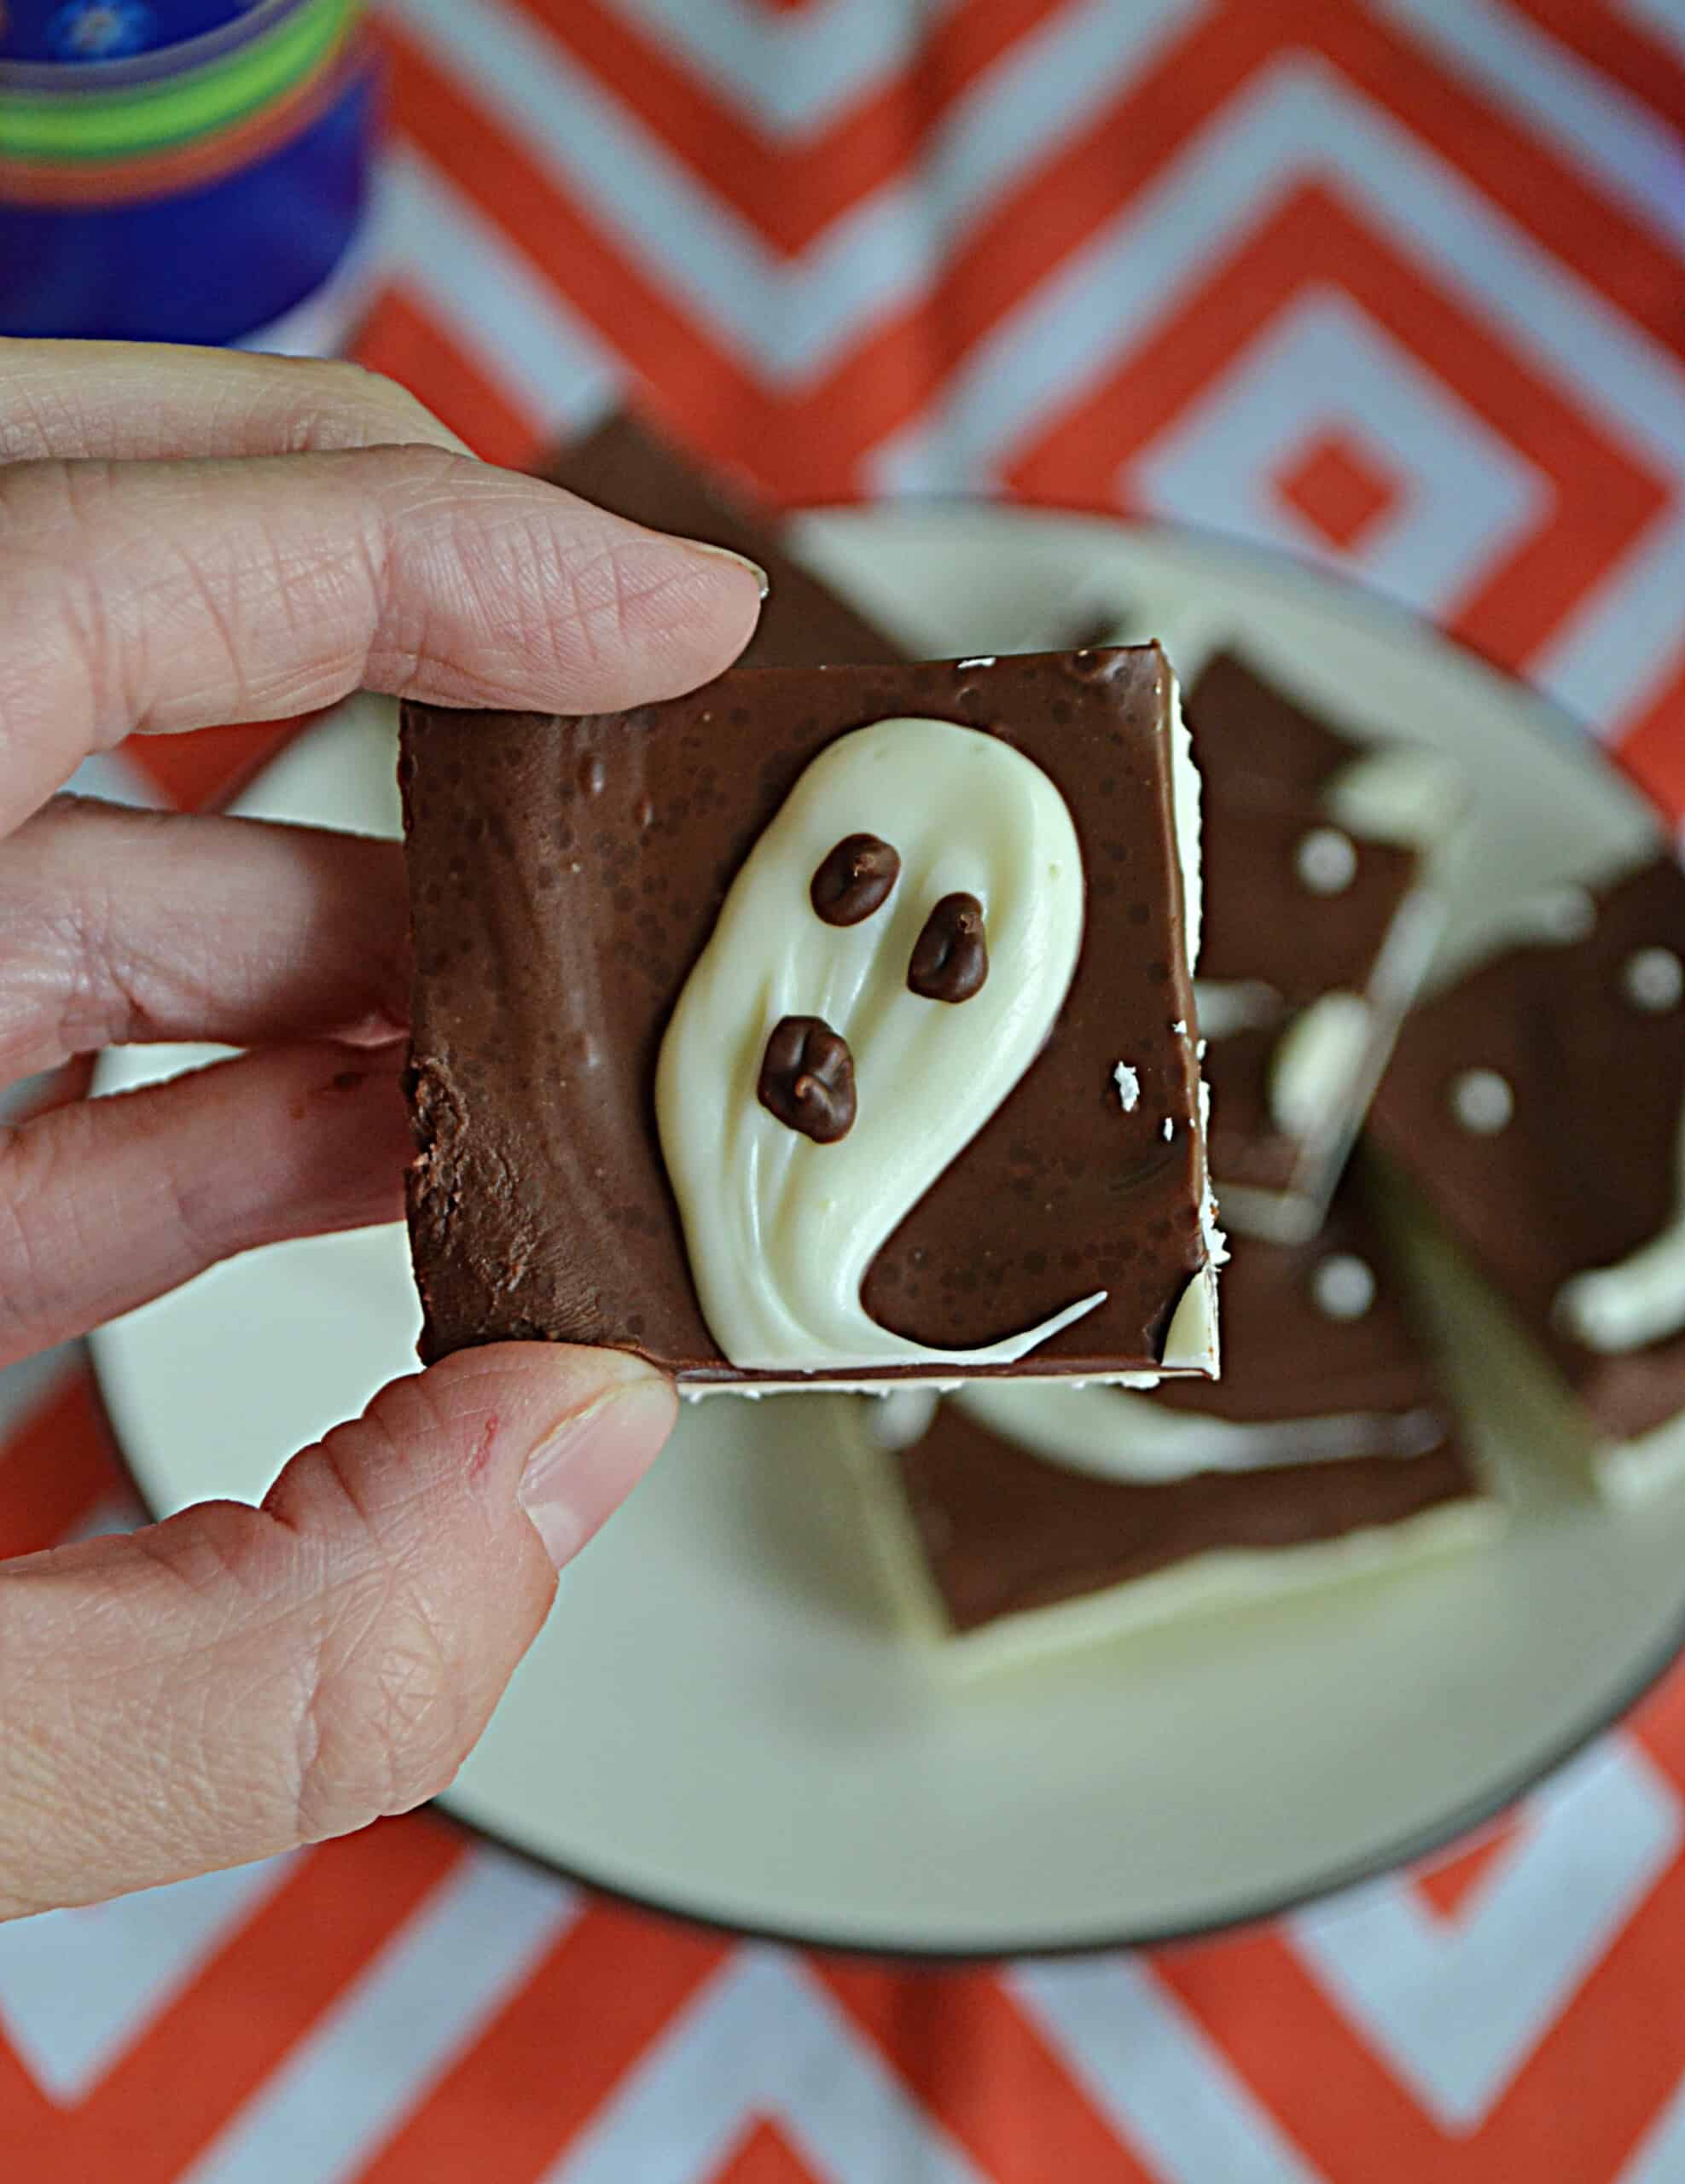
I ended up cutting the bark into small squares because it’s very sweet. It looks amazing when it’s sitting on a platter with all the ghosts flying around.
Can I make the ghosts different colors?
You can use purple, neon green, and orange candy melts to make Halloween colored ghosts if you don’t want the bark to just be black and white. These colors are so fun and look great again the dark brown background.
How do you store Halloween bark?
Store the Halloween bark in an air tight container and put on the counter for up to 2 weeks or in the refrigerator for up to 4 weeks.
The flavor of this bark is pure chocolate. The rich milk chocolate pairs nicely with the sweet white chocolate.
I enjoy mine with a cup of coffee because chocolate and coffee pair well together. Kids would really like this with a cup of hot cocoa.
Halloween Bark
Equipment
Ingredients
- 2 cups white chocolate chips or 13 ounces white chocolate bars
- 1 3/4 cups milk chocolate chips or 12 ounces milk chocolate bars
- Sprinkles optional
Instructions
- To make the Halloween bark line an 8 x 8 baking dish with foil or parchment paper.
- Place 1 1/2 cups of white chocolate chips or 10 ounces of white chocolate bars in a microwave safe bowl. Heat the white chocolate in 20 second intervals, stirring after each heating, until melted. Pour the white chocolate into the prepared pan and spread until smooth. Refrigerate for 10 minutes.
- In another microwave safe bowl heat 1 1/2 cups of milk chocolate chips or 10 ounces of milk chocolate bars. Heat in 20 second intervals, stirring after each heating, until melted. Carefully pour the milk chocolate over top of the white chocolate layer and gently smooth.
- While the milk chocolate is still wet heat another 1/2 cup of white chocolate chips or 3 ounces of white chocolate bar in the microwave in 15 second intervals, stirring after each heating, until the chocolate is melted. Place the white chocolate in a zip top baggie, snip off the end, and pipe different sized ovals all over the top of the still wet milk chocolate.
- Quickly get a toothpick or a skewer and drag it through the end of each oval in a hook shape making it a ghost shape with a tail.
- Heat another 1/4 cup of milk chocolate chips or 2 ounces of milk chocolate bar in the microwave in 15 second intervals, stirring after each heating, until the chocolate is melted. Place in a zip top baggie, snip off the end, and pipe eyes or eyes and a mouth on all of the ghosts.
Notes