Homemade Gummy Bears

As an Amazon Associate, I earn from qualifying purchases. Read the full disclosure here.
With just a handful of ingredients you can make your favorite flavors of gummy bears at home!
My son is not big on sweets which pains me as a baker. He won’t eat my cakes, cupcakes, or cookies. He doesn’t eat any candy except for gummies.
Gummy bears, gummy worms, sour gummies, or gummy fruit snacks are all on the list. We buy a lot of them so when I found a gummy bear mold and a gummy worm at a local baking shop I couldn’t wait to make them for myself.
Are plastic or silicone molds better?
In the case of making gummy bears and gummy worms I think that silicone is better because it makes it very easy to pop out the candies without much effort. You can use plastic molds but because the bears are so small I found them hard to take out without breaking them. Gummy worms in the plastic molds weren’t too bad so if that is your only option it should work fine.
I searched through plenty of recipes for homemade gummy bears and found that they were all very similar. I decided to make ones that used Jell-O as the flavoring because it was easy to choose a flavor that we liked.
Ingredients:
- flavored gelatin (your favorite flavor-we like cherry, lime, grape, and orange)
- unflavored gelatin
- citric acid (make sure it is food grade)
- light corn syrup (do not use dark corn syrup as your colors will not be very bright)
- water
Let me start by saying that this recipe makes a ton of gummy bears. I expected to have a hundred or so but I easily had over 200 gummy bears using this recipe.

You also need to let the gummy bears sit and dry for 24-48 hours so don’t expect to be able to eat them the same day you make them. If you do eat them they will taste like Jell-O.
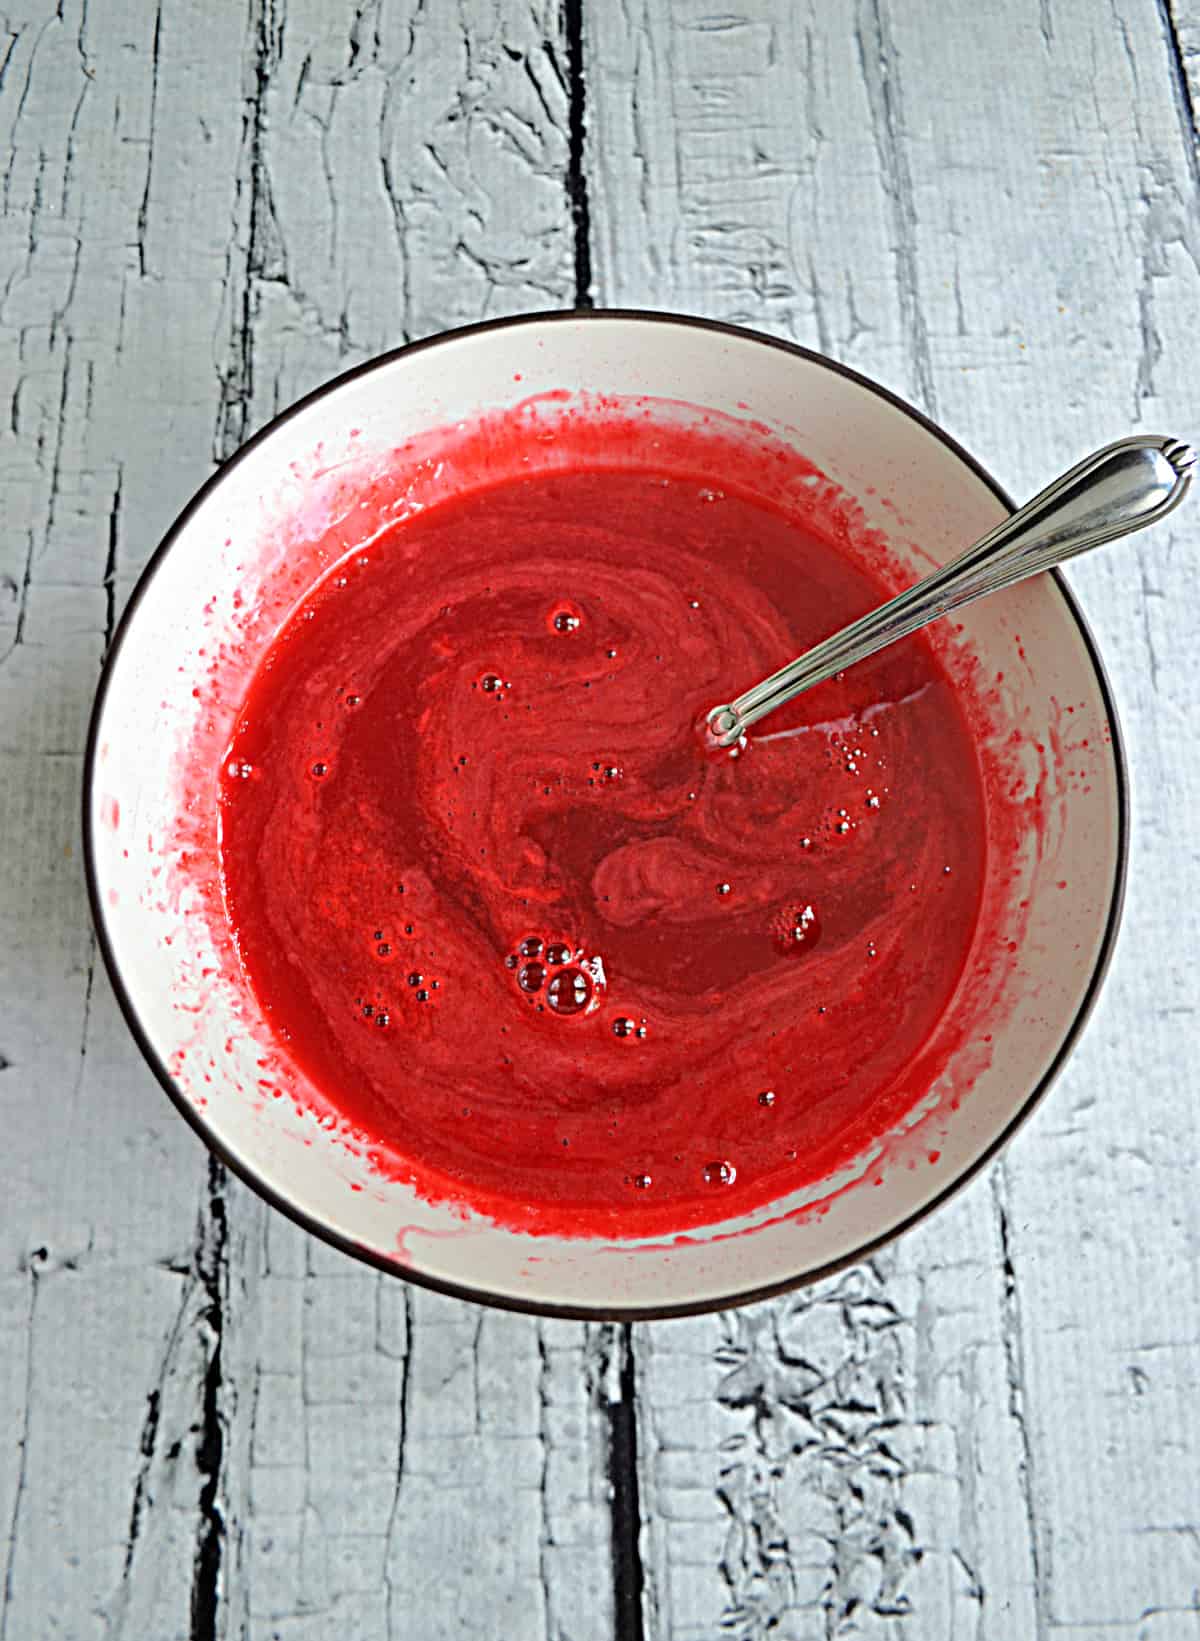
To make the gummy candy combine all the ingredients in a bowl and let it sit for 5 minutes. Then microwave the mixture in intervals, stirring after each interval, until everything has dissolved.
Let the mixture sit for ten minutes stirring every minute or so to assure that air bubbles don’t form. Lightly grease your gummy bear or gummy worm mold.
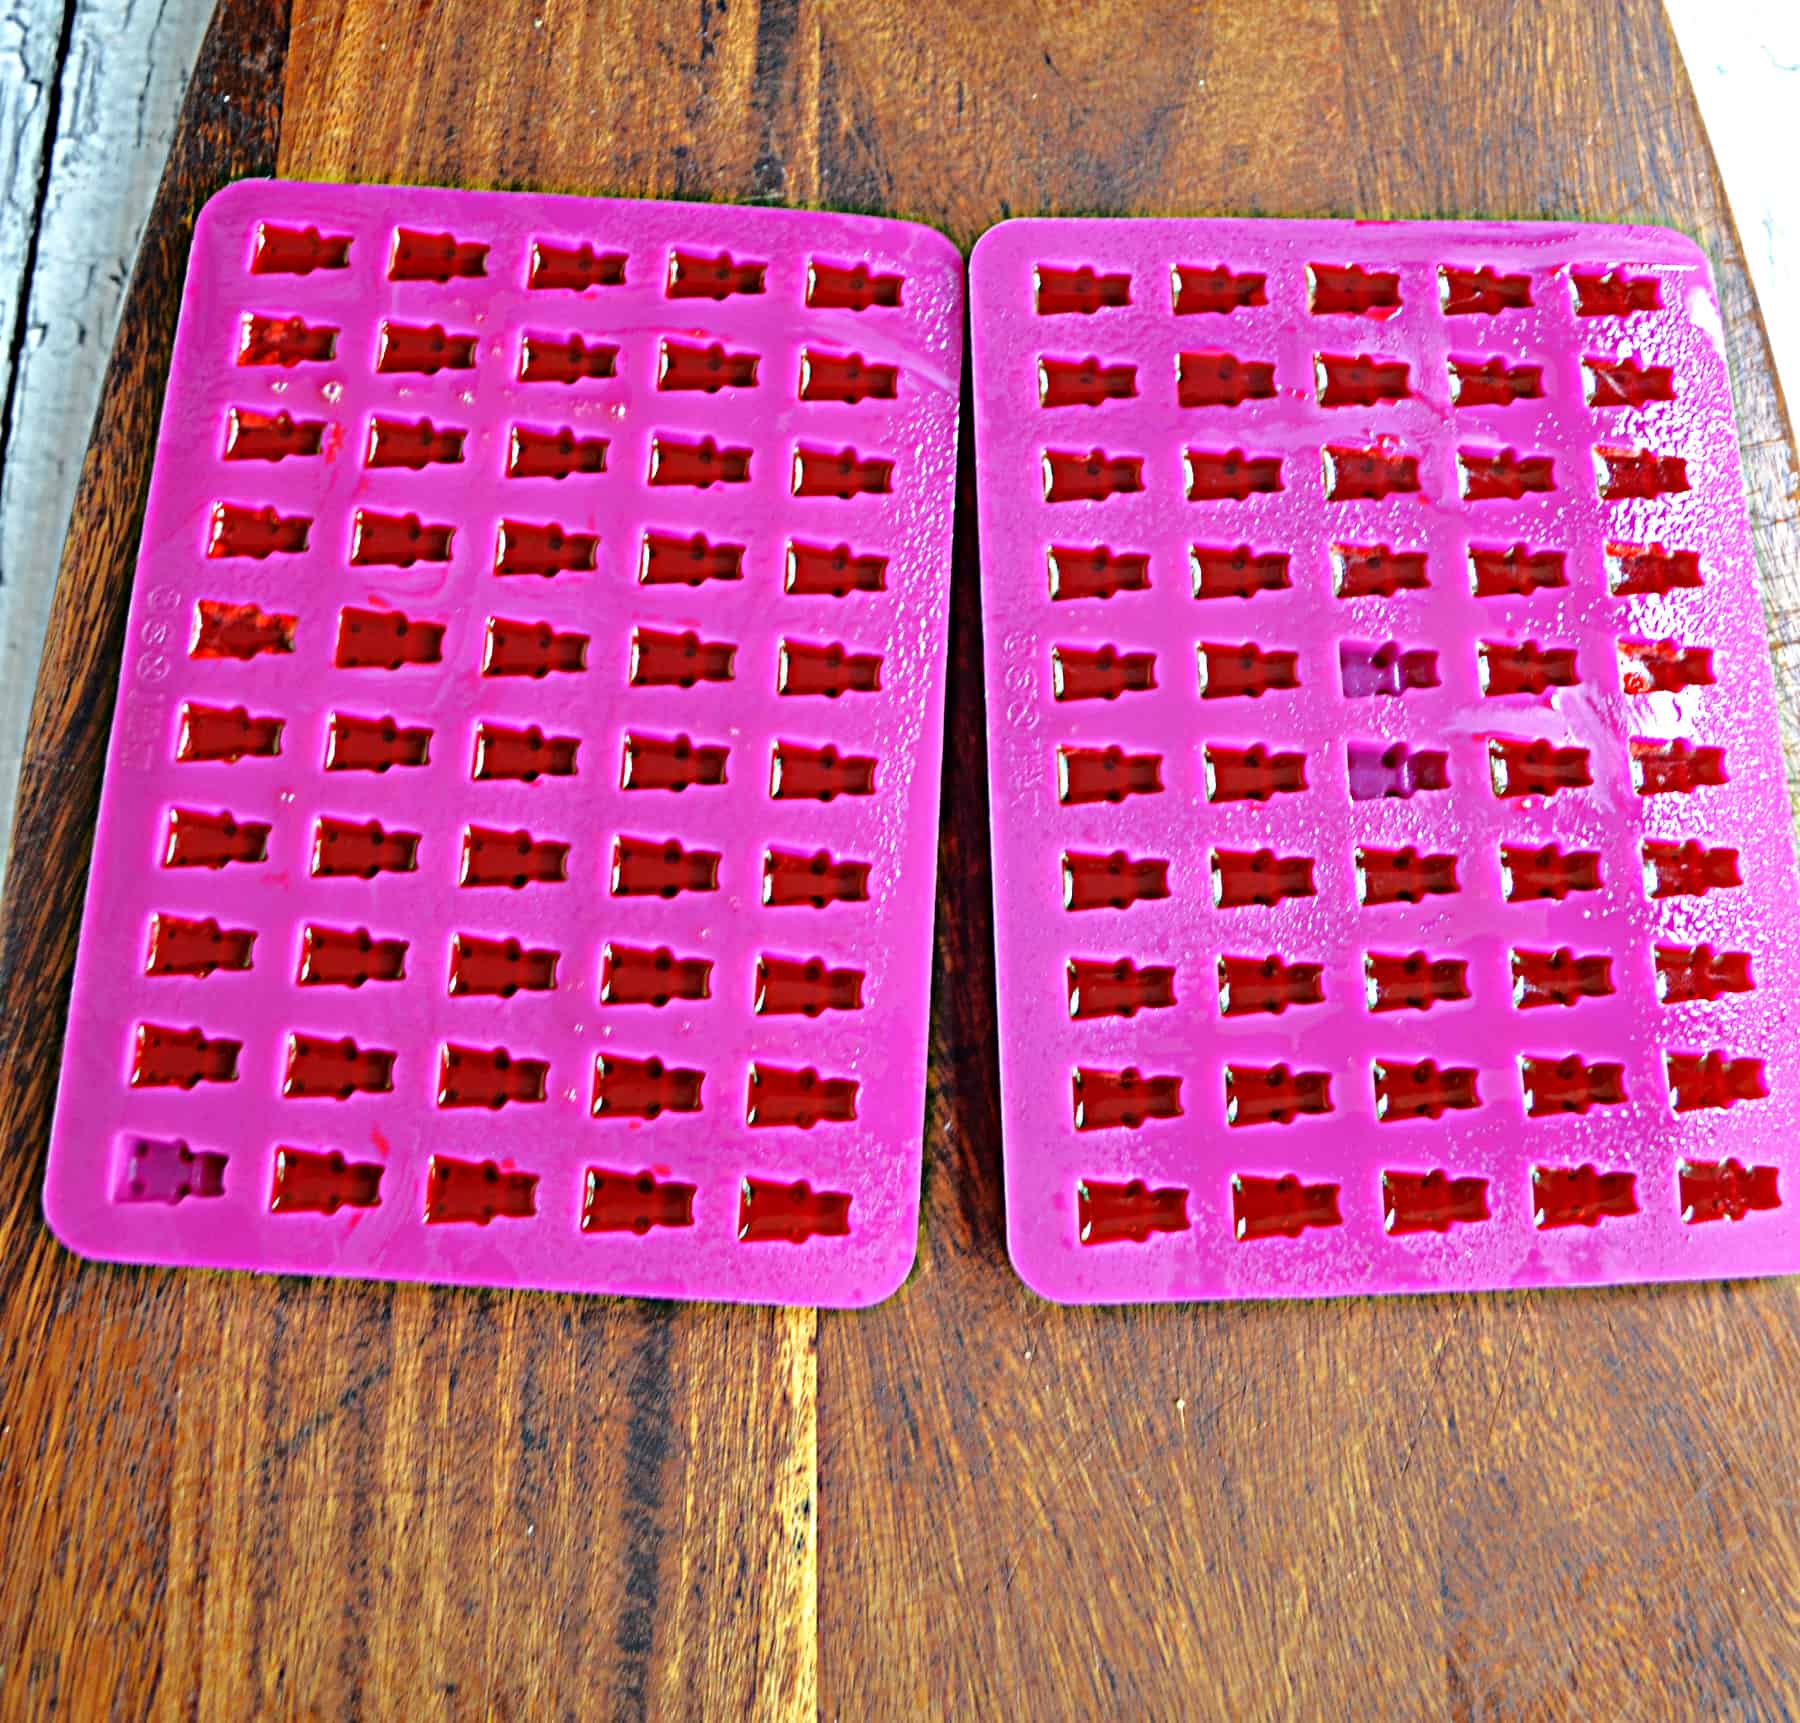
how do i fill the molds?
If you have a dropper you can suck the mixture up in the dropper and put several drops in each gummy bear mold. I did not have a dropper so I poured the mixture into a liquid measuring cup with a spout and slowly poured it into the mold. Make sure all the mixture goes into the mold and not on the edges. Wipe any that gets on the edges with hot water so that the edges of the bears or worms stays clean.
Once the mixture is ready pour it into the molds. Let the mixture sit at room temperature for 30 minutes and then refrigerate for another 30 minutes.
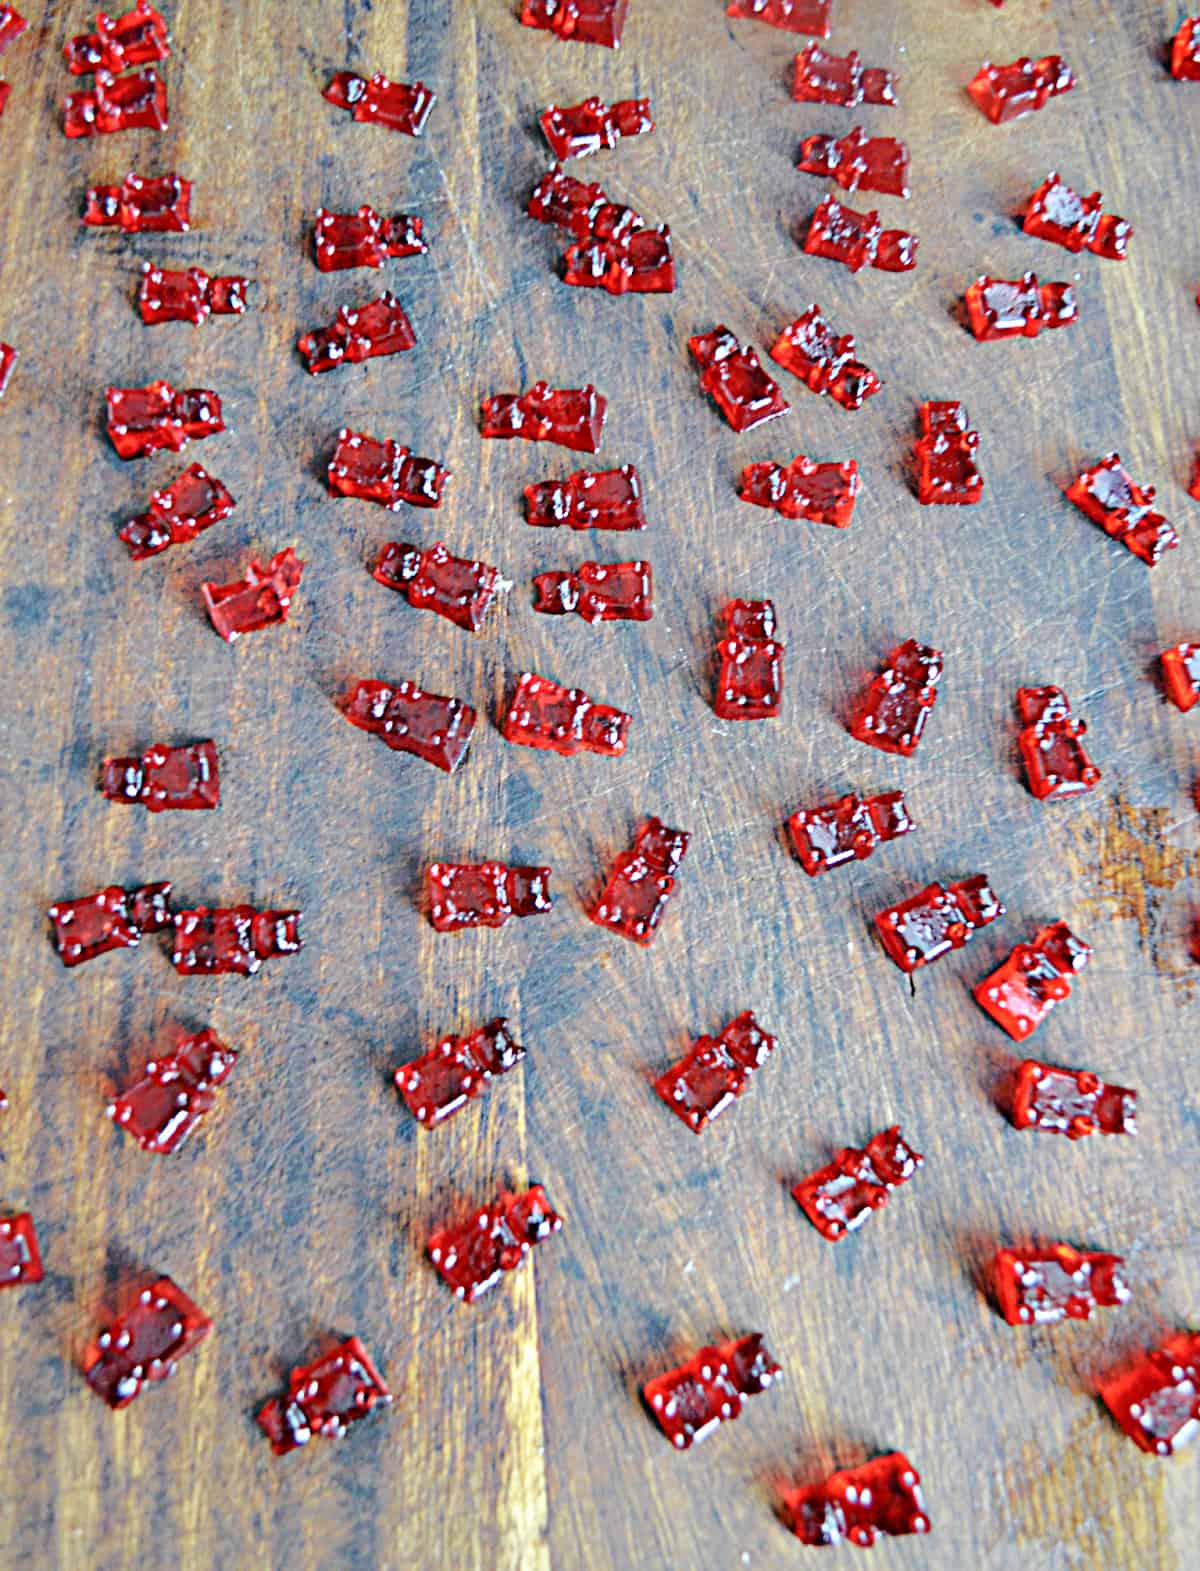
Once they are firm you will need to remove them from the molds. Place them on a baking sheet on their backs for 24 hours. Flip them over to their fronts for another 24 hours. If needed stand them up for an additional 24 hours.
Do I have to wait to eat the gummy bears?
The answer is you do not have to wait but if you do they will taste more like gummy bears. I tried a few right out of the mold and they basically tasted like Jell-O. After 24 hours the gummy candy started to get chewy. After 48 hours they had the texture of a gummy bear. So while you don’t have to wait, if you want them to have the correct consistency you should wait.
Once they have dried out for at least 48 hours they are ready to enjoy! My son, who is extremely picky, really liked them! He chose the cherry ones and was trying to eat them by the handful.
more candy recipes:
- Peanut Butter Truffles
- Old Fashioned S’mores Fudge
- Chocolate Covered Honeycomb Candy
- Bailey’s Nut Truffles
- Cookie Butter Cups
I thought they were pretty good for homemade. The had the right consistency and while they didn’t taste exactly like our favorite gummy bears they were a good substitute.
We packed them in an air tight container and they easily lasted over a week. I’m sure they would have lasted longer but they were gone after 8 days.
The best part about this recipe is that you can change up the flavor by adding a different flavor of gelatin so it’s easy to customize to your family!
Homemade Gummy Bears
Ingredients
- 1 box about 3 oz flavored gelatin
- 1 packet 7.2 grams unflavored gelatin
- 1/4 teaspoon citric acid
- 1/4 c. corn syrup
- 1/3 c. water
Instructions
- In a medium sized microwave safe bowl combine the flavored gelatin, unflavored gelatin, and citric acid. Mix to combine.
- Add the corn syrup and water to the bowl and stir until well combined. Make sure to stir slowly so you do not create bubbles. Allow the mixture to sit and bloom for 5 minutes.
- After five minutes stir the gelatin mixture and then place in the microwave. Heat on high for thirty seconds and mix again. Heat for 20 seconds then remove and stir. Heat another 20 seconds then remove and stir.
- Make sure all of the gelatin has dissolved then allow the mixture to sit for ten minutes, stirring every two minutes.
- Lightly grease your gummy bear mold with non-stick spray.
- Pour the gelatin mixture into a measuring cup with a spout of grab a dropper. Carefully pour or drop the gelatin mixture into the bear mold filling about 3/4 of the way full.
- Wipe off any excess gelatin from the mold then let the bears sit for 30 minutes.
- Place the gummy bears in the refrigerator for another 30 minutes.
- The gummy bears are ready to remove when they are firm. Push each piece out onto a baking sheet. Position them on their fronts and allow to dry for 24 hours.
- Flip the bears onto their backs and let dry another 24 hours.
- Place in an air tight container and enjoy!
Notes
Love your recepe, your process is really nice!