Homemade Beef Jerky + ICO Vacuum Sealer Review
As an Amazon Associate, I earn from qualifying purchases. Read the full disclosure here.
The men in my family really like beef jerky. It’s something that’s great as a stocking stuffer because they all like it. I’m not a huge fan of beef jerky but if there is a good one I’ll eat it.
Lately I’ve come across several recipes for homemade beef jerky. I decided to give Michael Symon’s recipe a try because it seemed like the jerky wouldn’t be totally chewy and leather like. The only problem was I didn’t know how I would store it. I also thought it would be cool to give as a holiday gift.
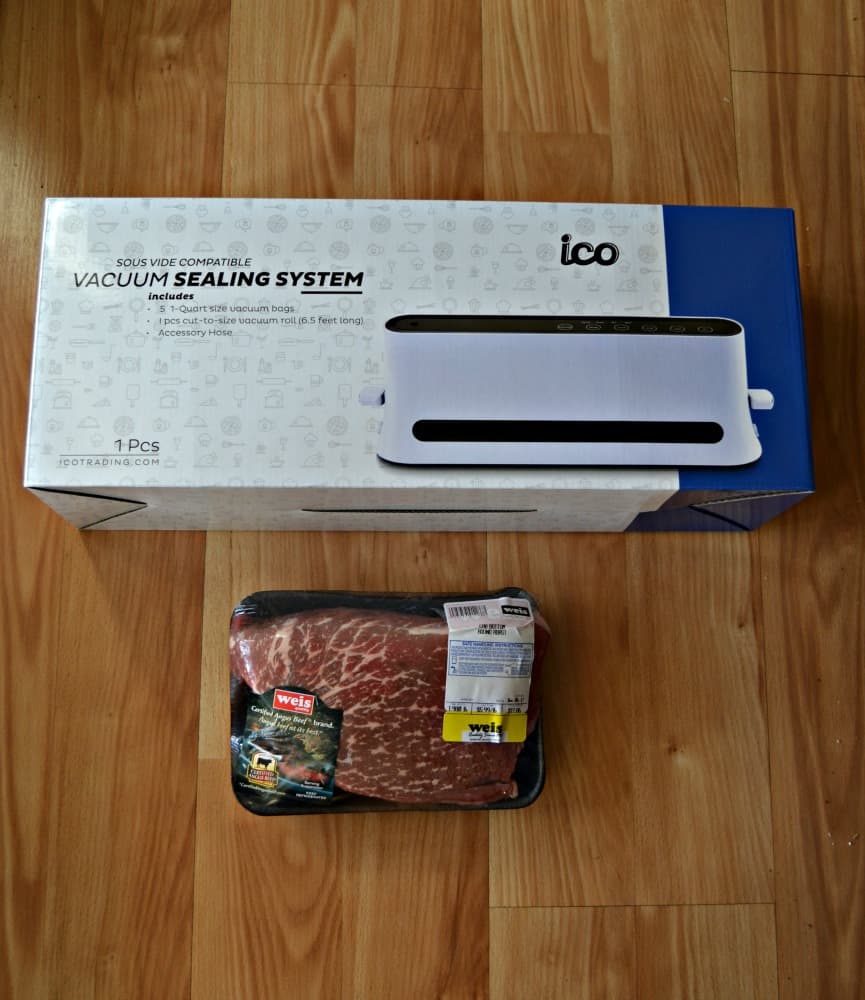
Enter the Impeccable Culinary Objects (ICO) Vacuum Sealer. I’ve never had a food grade vacuum sealer but I’ve always wanted to try one because sometimes we buy meat in bulk and then I freeze it. It will stay in there for a few months before getting freezer burn. With this vacuum sealer it will last well over a year without getting freezer burn.
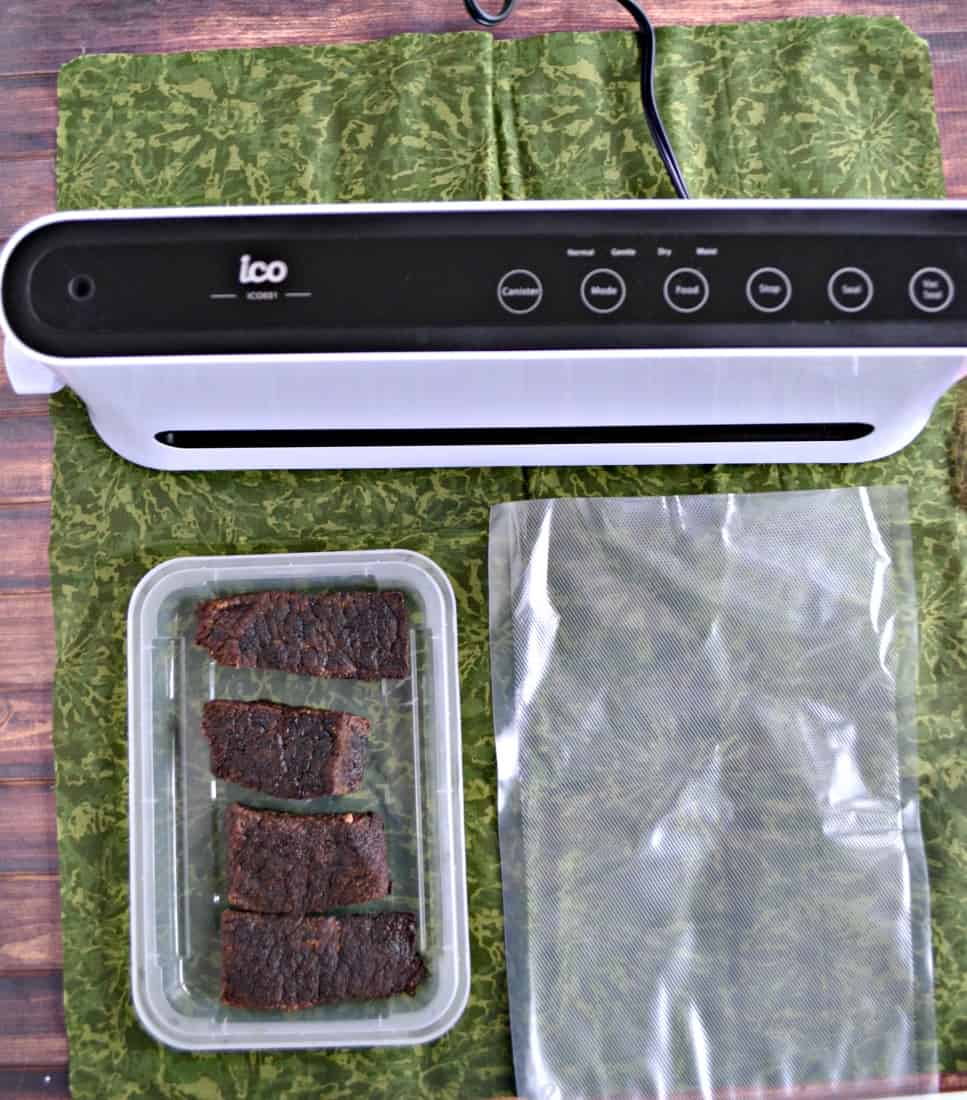
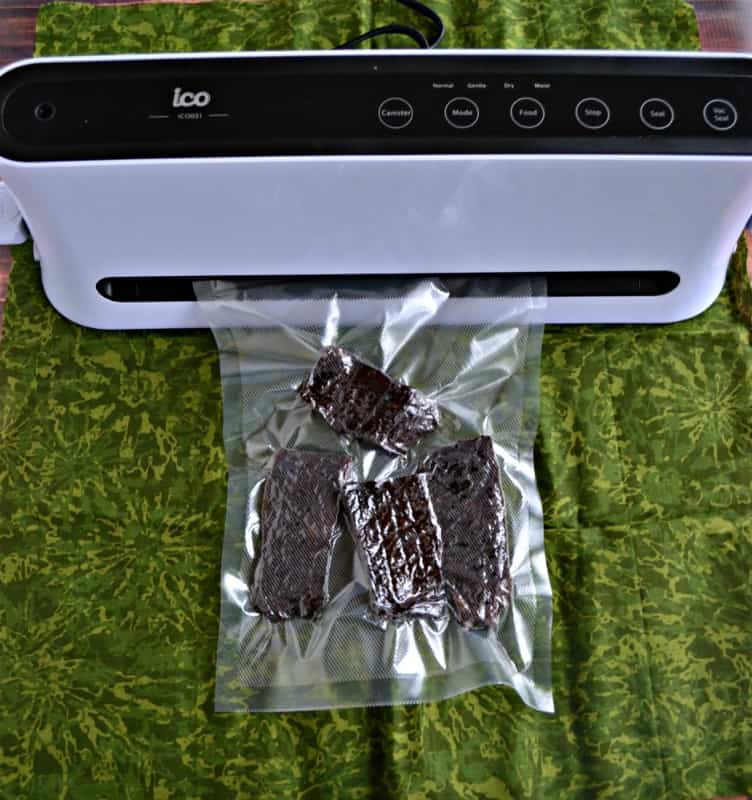
I tried the ICO Vacuum Sealer and loved how easy it was! I mean, all I had to do was plug it in, put my food in a bag, and hit the button. That’s it! My food was vacuumed and sealed in less then 30 seconds. I also love how small it is! I can put it pretty much anywhere to use. It comes with quart sized bags and a roll you can cut to size, Plus it can be used for sous vide.
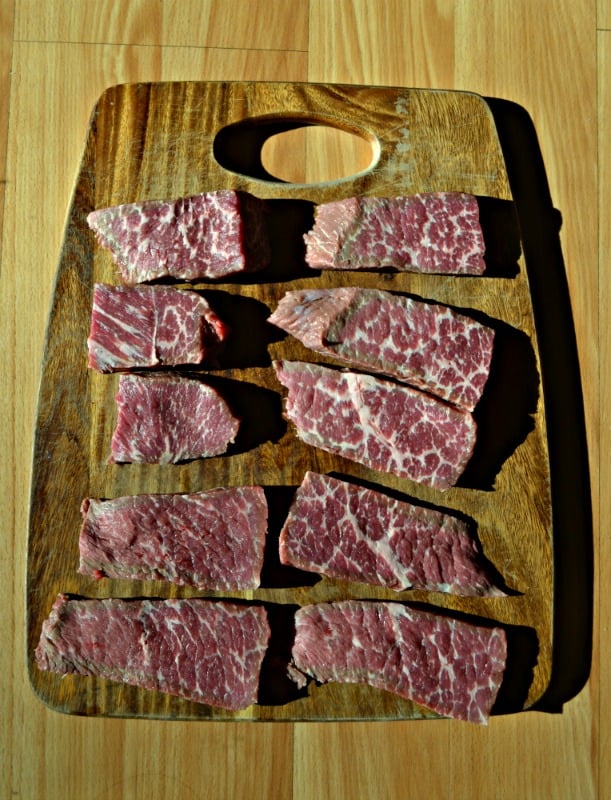
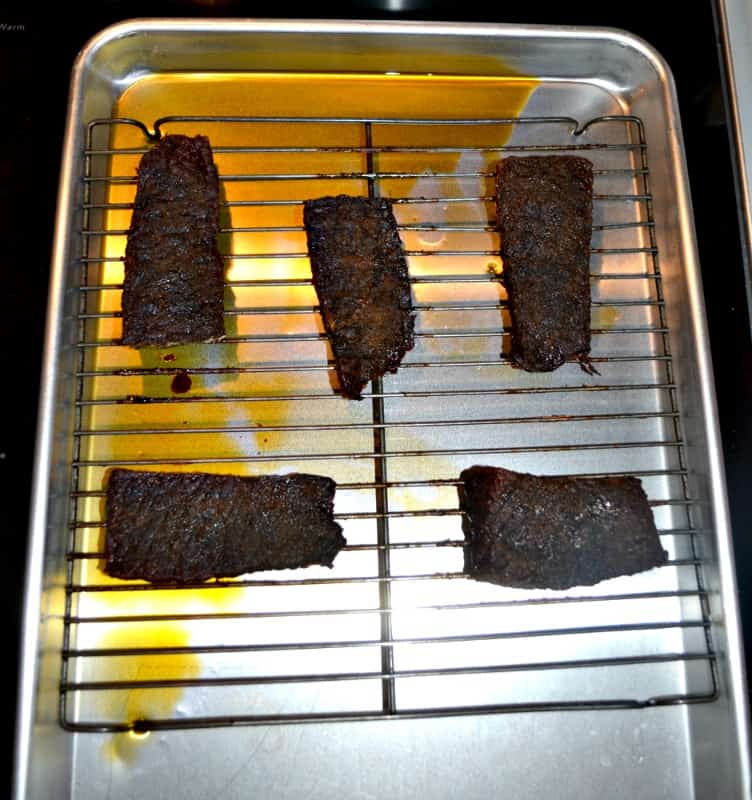
I tried it out with my homemade beef jerky. I started out with a Certified Angus Beef brand roast. I would have preferred to use an Eye of Round Roast but settled for Bottom Round. I sliced it into 3/4 inch thick slices and then rubbed it with a tasty spice mixture. Then I covered it and refrigerated it for 24 hours. When I took it out I put it in the oven on low heat for 7 hours. It smelled so good!
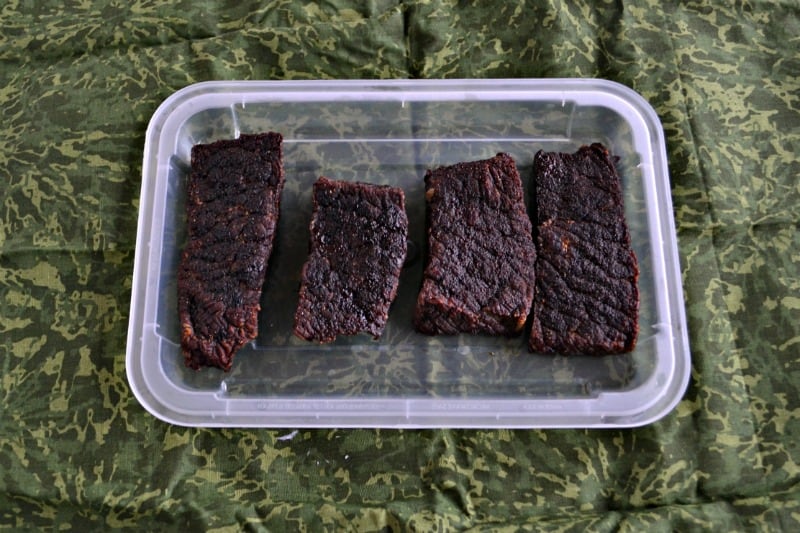
When it came out the beef was much smaller. It wasn’t as thin as typical jerky but I thought that made it better. It was tender and so full of flavor. I really liked it and think it will make a great holiday gift.
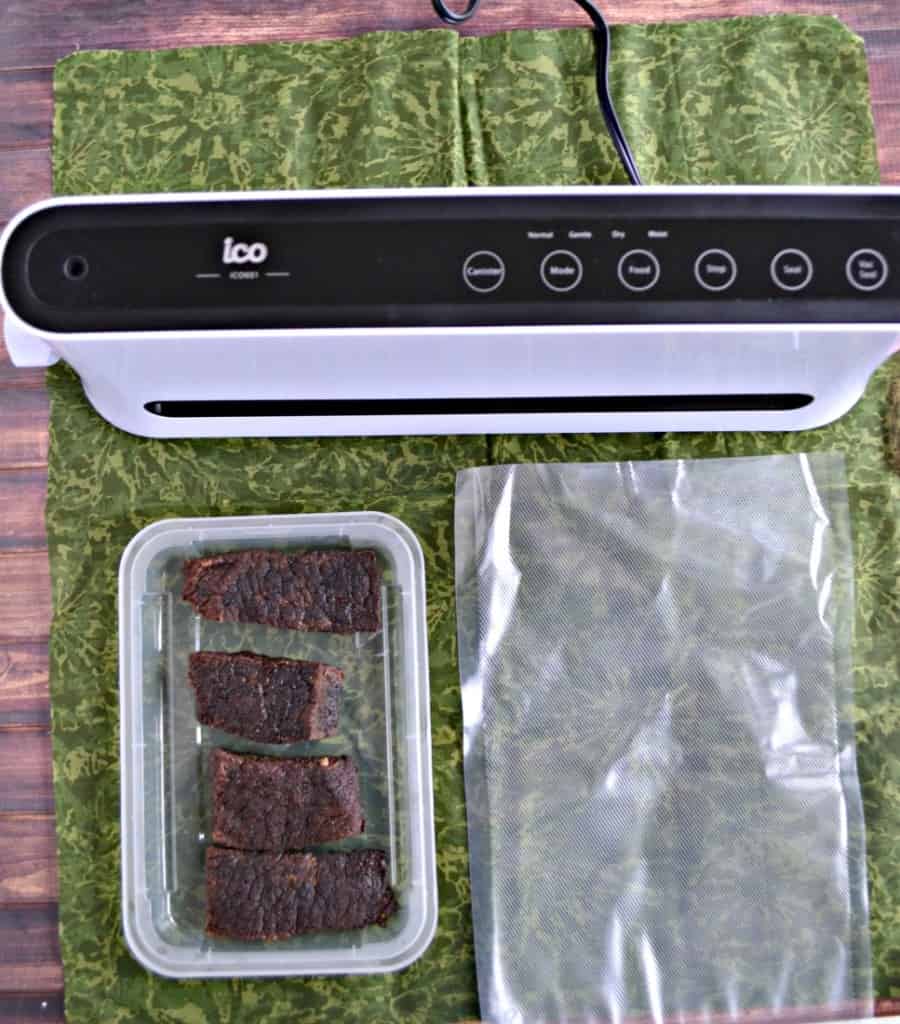
To package it I simply put it in a vacuum bag, put it in the ICO Vacuum Sealer and sealed it up! I had it all packaged in under 5 minutes. I wish I could say it made it until Christmas but my husband and I broke into it and ate it.
Homemade Beef Jerky
Ingredients
- 2 lb. beef roast preferably Certified Angus Beef Brand eye of round roast trimmed of fat
- 2 Tablespoons kosher salt
- 2 teaspoons black pepper
- 2 teaspoons sugar
- 3 teaspoons garlic powder
- 1 teaspoon onion powder
- 1 teaspoon cayenne pepper
- 1/2 teaspoon ground coriander
- 1 teaspoon paprika
Instructions
- Slice the beef in strips that are 3/4 inches think and 3 inches long. The strips will look big but will shrink in the oven.
- In a mixing bowl combine the spices and mix well. Season the beef slices with the spice mixture. Cover the beef and refrigerate for 24 hours.
- Preheat the oven to 250 degrees. Put the beef strips on a wire rack sitting on top of a baking sheet. Make sure the beef is not touching or overlapping.
- Bake for 7 hours.
- Divide the jerky into bags and vacuum seal if possible. Store at room temperature for 1 month.
Notes
I received the Impeccable Culinary Objects (ICO) Vacuum Sealer in exchange for my honest review. All opinions are 100% my own.


Did you let the jerky cool before putting it in sealer bags?
Yes I did!