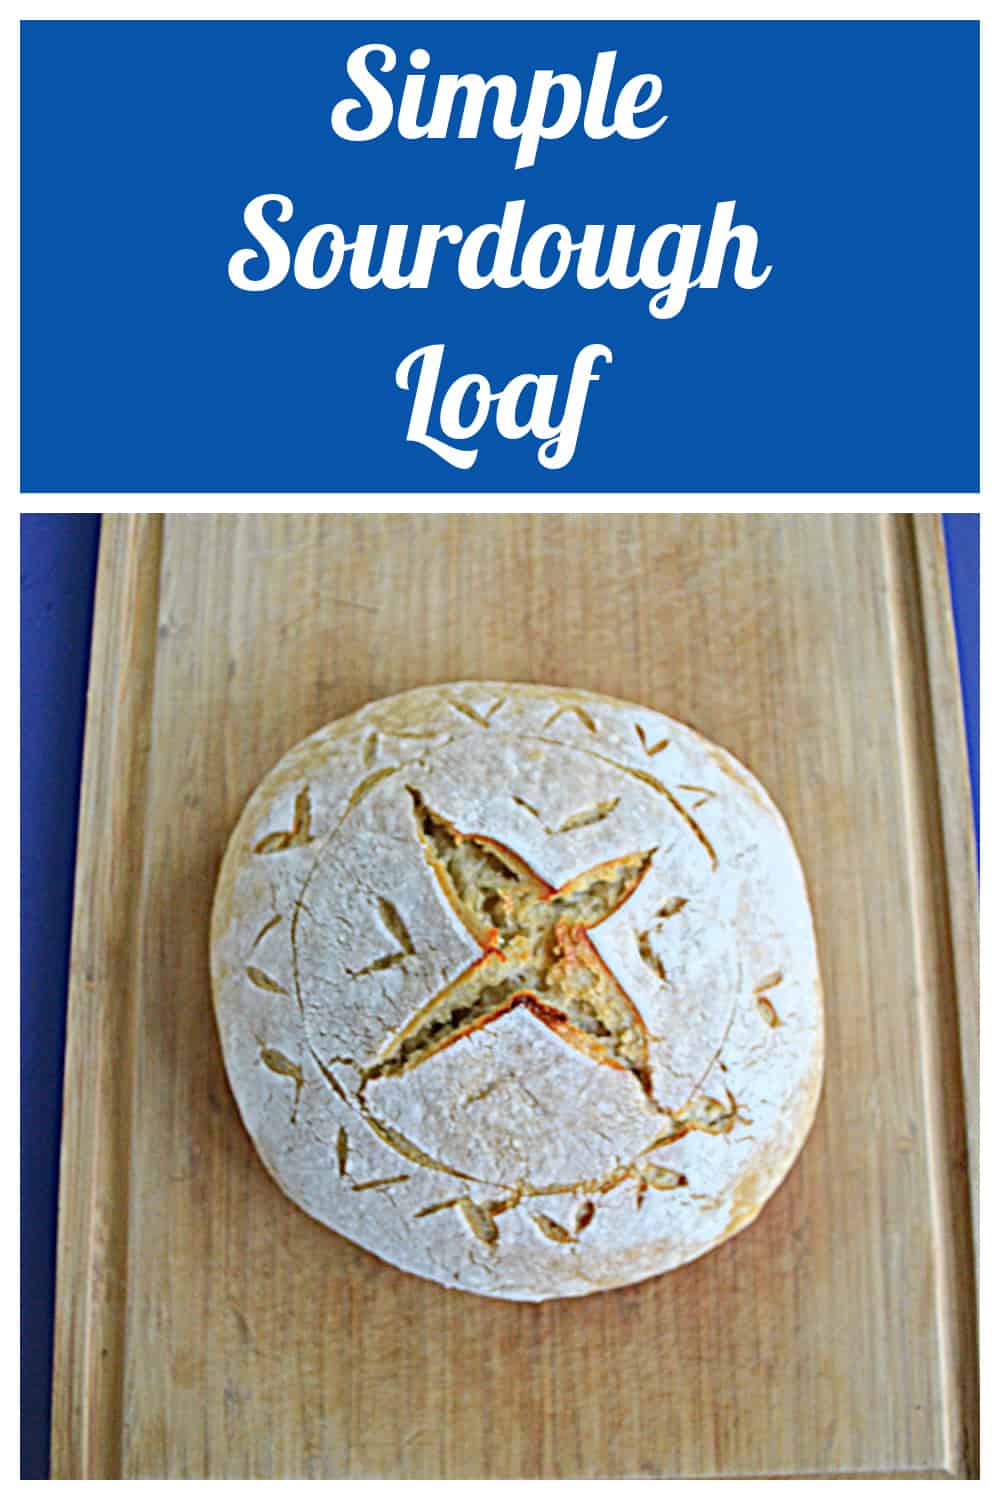
Simple Sourdough Loaf: Sourdough Sundays

As an Amazon Associate, I earn from qualifying purchases. Read the full disclosure here.
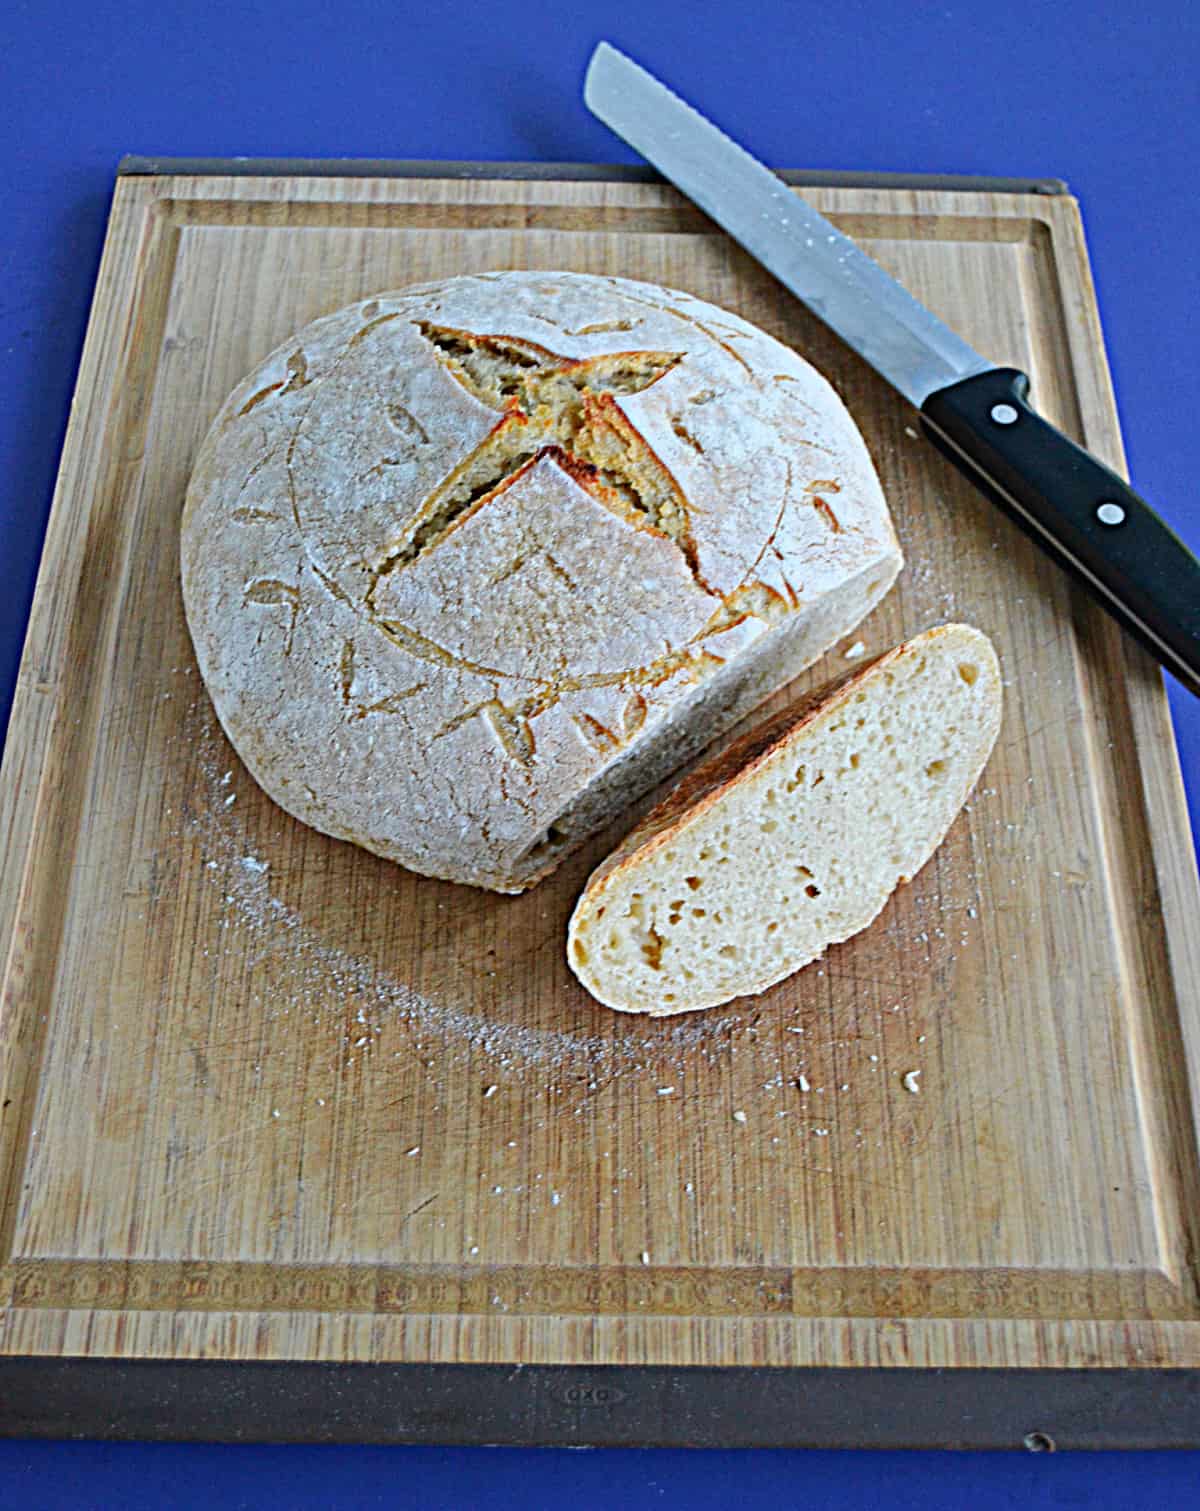
Simple Sourdough Loaf is a simple recipe that’s easy enough for sourdough beginners but still has the golden brown crispy crust with the soft and fluffy interior.

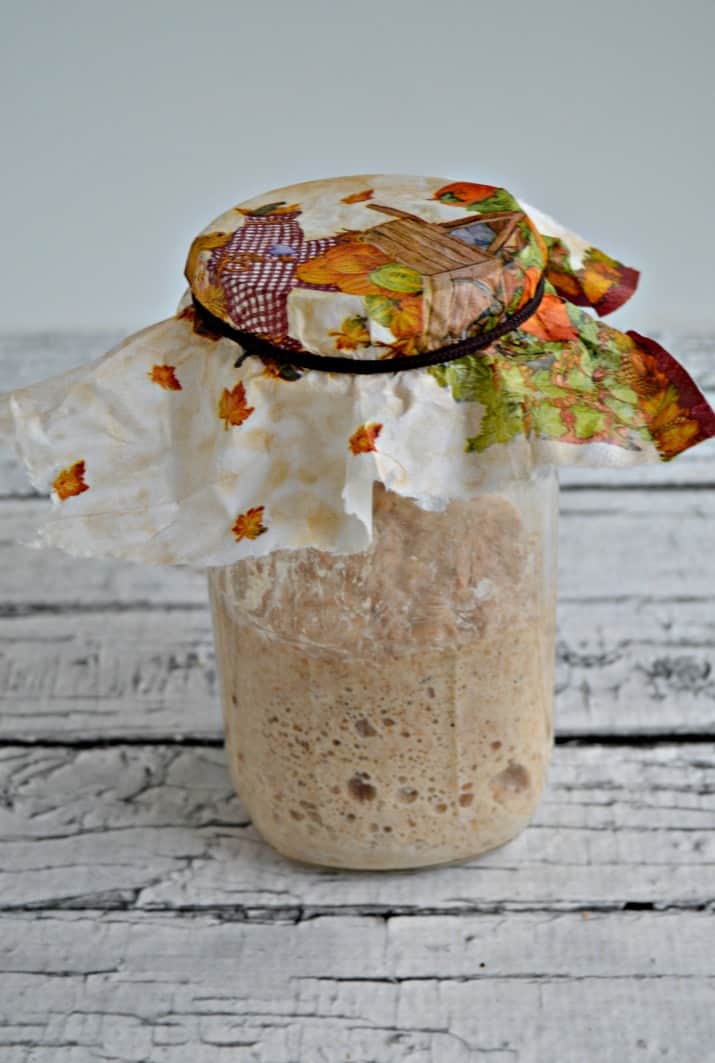
I started my sourdough starter in May 2020. Yes, I was one of those people. When things started getting crazy and I couldn’t find any yeast I decided it was time.
I’ll admit that having a sourdough starter is definitely work. You have to take it out and feed it periodically. Sometimes it’s too wet and sometimes it’s too dry so you have to troubleshoot and figure out what the problem is.
However, I’ve found that when making something it’s not nearly as difficult as I thought it would be. I’ve made tons of recipes using sourdough discard and they are all fairly easy to make and turn out great. My actual sourdough bread has been pretty good as well.
The one thing I dislike about making sourdough bread is that it takes forever. You have to know a few days in advance so that you are able to work with all the rising times.
Ingredients:
- sourdough starter
- water
- flour
- salt
- To make the dough whisk the starter and water together in a large bowl. Add the flour and salt. Mix until a still dough forms making sure all the flour is fully incorporated. The dough will feel shaggy and it will stick to your fingers. Place in a bowl and cover with a damp towel. Let rest for 30 minutes.
-
After the dough has rested, work the dough into a fairly smooth ball. If you have trouble doing this grab a piece of the dough and fold it over, pressing your fingertips into the center. Repeat, working your way all around the dough until it begins to tighten.
-
Next you will do a long rise. Cover the bowl with a damp towel and let rise overnight at room temperature. The dough will need at least 8 hours but may take up to 12 hours. The dough is ready when it has doubled in size.
-
In the morning turn the dough into a lightly floured work surface. Shape it into a round by starting at the top and fold the dough over towards the center. Turn the dough a quarter turn and fold over the next section of dough. Repeat until you have come full circle. Flip the dough over and let rest for 5 to 10 minutes.
-
Meanwhile, line an 8-inch bowl with a towel and dust it with flour. Using a bench scraper, place the dough into the bowl, seam side up.
-
Cover the bowl and let rest for at least 1 hour but up to 2 hours. The dough is ready when it looks puffy and has risen slightly but has not yet doubled in size.
So I like to start my sourdough 2 days before I need it. So if I’m looking to use it on Sunday I’ll start making the dough Friday night and allowing it to rise over night. This gives me all day Saturday to work with the dough before baking.
Technically I could then eat it Saturday night but I find that I often bake it later in the evening so then I won’t eat it until the next day which would be Sunday.
While your rising times will vary my first rising time almost always takes close to 12 hours. The second rising time varies between 1-2 hours.
My sourdough starter doesn’t look very bubbly, can I still use it?
If your starter doesn’t look active feed it and let it sit for several hours before using it. This should activate it and make it ready to use. You want to make sure it’s bubbly before using it in this recipe.
Do I really need to heat my pan before placing the bread in it?
Yes! If your pan isn’t hot prior to adding the bread then you aren’t going to get that crisp crust on the outside of the bread with the soft inside. It’s important to do this.
What type of pan should I use to cook my bread?
You have to use a pan with a lid that is oven safe to 450 degrees. Dutch ovens generally fit into this category but there are plenty of other oven safe baking vessels with lids that will work.
When do I score my bread?
Only score the bread once you’ve put it in the pan and right before you bake it. If you score it too early the bread continues to rise and it turns into a mess.
How do you score sourdough bread?
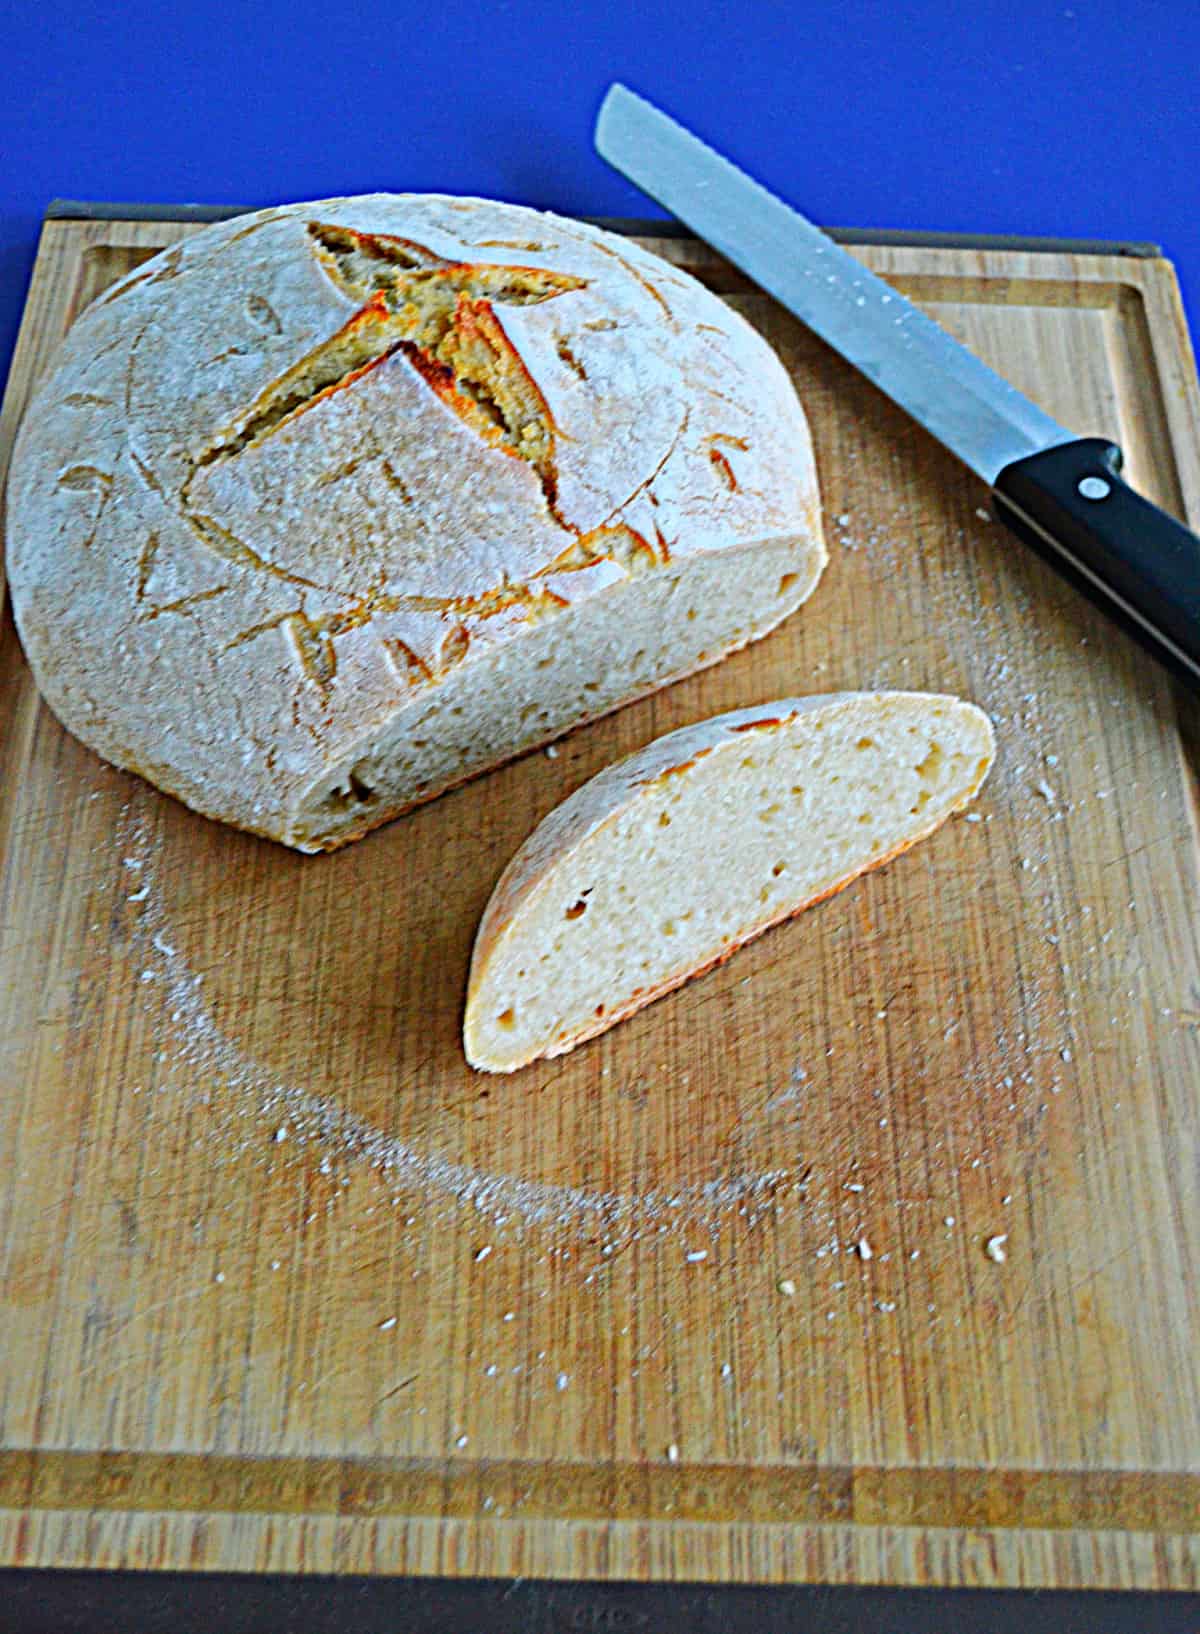
Scoring sourdough using an X score is an easy way to do it that has great end results. Using a very sharp knife (I use a paring knife) or a double edged razor blade, score a large X shape into the top of your dough. It will spread apart while baking in the oven which results in a cross shape. There are many other techniques and posts on them but this is a super simple way of doing it.
After the dough rises it’s time to score it. The first few times I made sourdough bread I just used a simple X pattern because I was afraid of ruining the bread.
Now that I’ve made several I’ve begun to get creative with my scoring. I like to make all types of patterns in my bread. Just make sure you don’t score it too deep or you’ll lose the pattern and the bread will erupt from the scoring.
While this bread takes a while to make it’s worth it. The outer crust is golden brown and crisp while the inside is soft and fluffy. It’s truly a spectacular sourdough. I like to enjoy it with a bit of salted butter but I know lots of people who enjoy it with apple butter or jam.
More Sourdough Recipes:
- Sourdough Cinnamon Rolls
- Sourdough Bread Bowl
- Sourdough Pretzels
- Sourdough Belgian Waffles
- Sourdough Naan
If you’ve tried my Simple Sourdough Loaf or any other recipe on Hezzi-D’s Books and Cooks please take a minute to rate the recipe and leave a comment letting me know how you liked it. I love hearing from you! You can FOLLOW ME on:
Ingredients
- 1/4 c. sourdough starter
- 1 1/3 c. warm water
- 4 c. all purpose flour
- 2 teaspoons sea salt
Instructions
- To make the dough whisk together the starter and water in a large bowl until combined. Add the flour and salt. Mix until a still dough forms making sureall the flour is fully incorporated. The dough will feel shaggy and it will stick to your fingers. Place in a bowl and cover with a damp towel. Let rest for 30 minutes.
- After the dough has rested, work the dough into a fairly smooth ball. If you have trouble doing this grab a piece of the dough and fold it over, pressing your fingertips into the center. Repeat, working your way all around the dough until it begins to smoothen and tighten.
- Next is the long rise. Cover the bowl with a damp towel and let rise overnight at room temperature. The dough will need at least 8 hours but may take up to 12 hours depending on the temperature of your room. The dough is ready when it has doubled in size.
- In the morning turn the dough onto a lightly floured work surface. Shape the dough into a round by starting at the top and folding the dough over towards the center. Turn the dough a quarter turn and fold over the next section of dough. Repeat until you have come full circle. Flip the dough over and let rest for 5 to 10 minutes.
- Meanwhile, line an 8-inch bowl with a clean kitchen towel and dust it with flour. Using a bench scraper, place the dough into the bowl, seam side up.
- Cover the bowl and let rest for at least 1 hour but up to 2 hours. The dough is ready when it looks puffy and has risen slightly but has not yet doubled in size.
- Place a Dutch Oven with a lid in the oven and preheat the oven to 450 degrees.
- Cut a piece of parchment paper to fit in the bottom of the pot plus extra to help lift it out of the pot.
- Place the parchment paper over top of the bowl and flip it so that the dough falls onto the parchment paper.
- Lightly sprinkle the dough with flour and rub the flour over the surface of the dough. Using the tip of a small knife score the dough in an X pattern about 1/4 inch deep and 3 inches in length.
- Remove the Dutch Oven from the preheated oven and carefully remove the life. Use the parchment paper to transfer the dough into the pot.
- Cover the pot and bake for 20 minutes. Remove the lid and bake for an additional 25 minutes.
- Carefully remove the loaf from the pan (using the parchment paper) and bake right on the oven rack for 10 minutes.
- Cool for 1 hour before slicing.
Notes